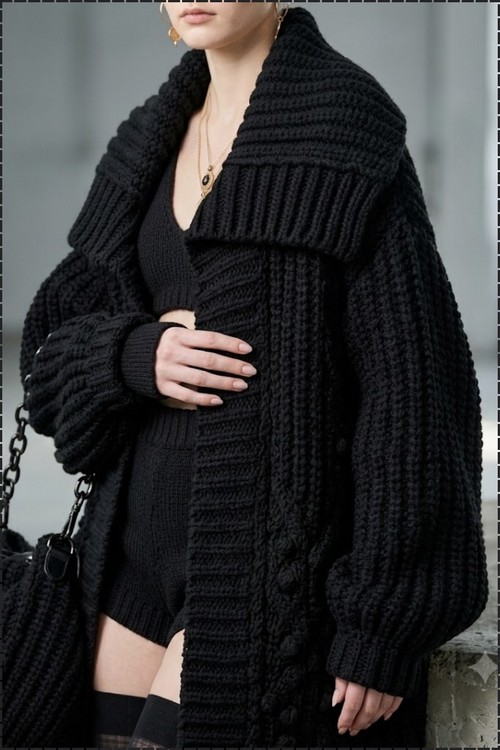
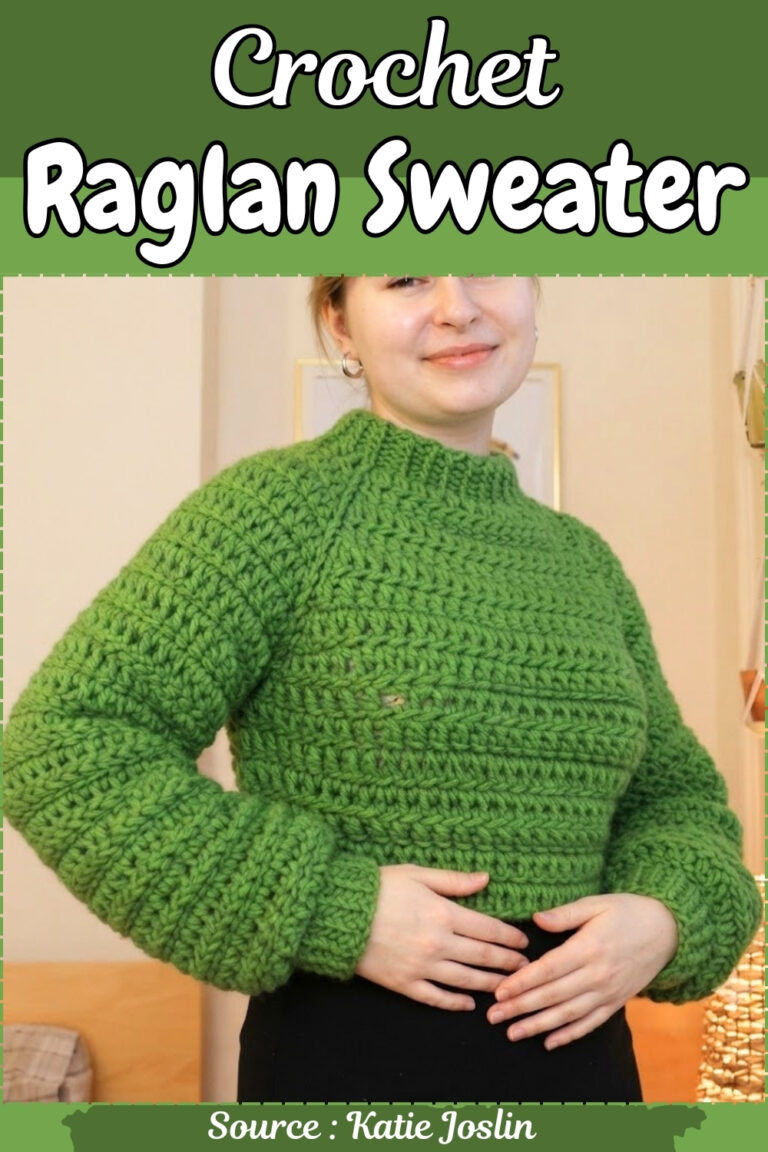
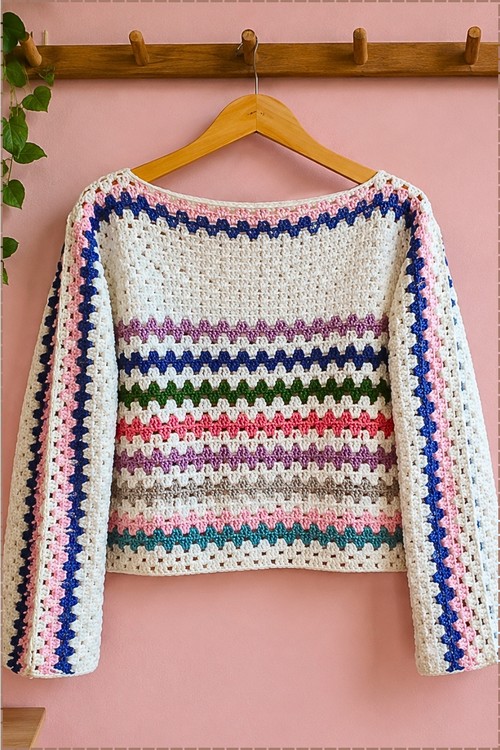
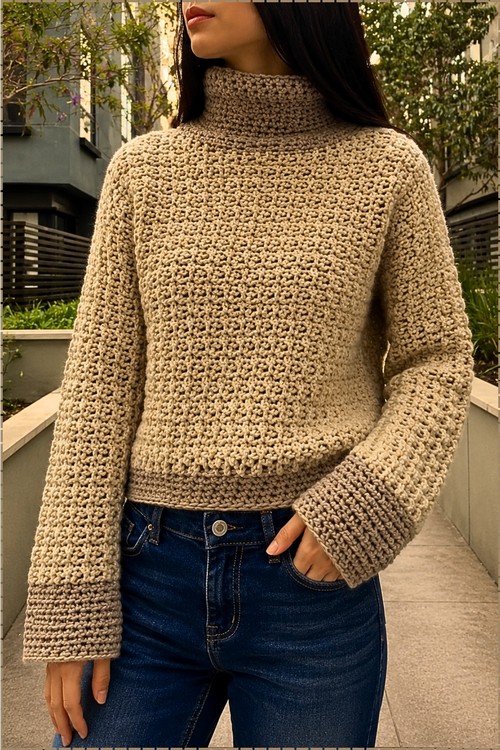
Y2k crochet sweater outfits come together with high rise trousers, since the hem stops at the natural waist and the sleeves fall past the wrists. Once the weather turns cold, the long sleeve crochet crop sweater keeps arms warm and shoulders bare for parties and date nights.
Bubblegum pink, a collar that folds wide across the collarbone, and two small black bows doing all the talking. That combination is exactly why the y2k crochet sweater keeps landing on every mood board this season. Anyone who has already made the off shoulder version with the fold over neckline will recognize the shape instantly, just cropped shorter and worked in a tighter rib.
Y2k Crochet Sweater

Ribbing does most of the structural work in this one. Vertical columns run the full length of the body and down each sleeve, which keeps the cropped hem from flaring and lets the wide collar sit flat instead of rolling forward. The black edging goes on last as a separate pass, so the color is easy to swap or leave off entirely without changing a single row of the pattern.
Materials and Tools
- Your preferred yarn in a main color. The original sweater uses approximately 4 balls or skeins total. Choose a weight that has good drape so the off-the-shoulder collar folds and sits the way it should.
- A small amount of contrasting yarn in the same weight for the optional decorative border. The original uses black.
- A crochet hook sized to match your chosen yarn.
- A measuring tape for taking your body measurements and checking fit as you work.
- Scissors and a tapestry needle for finishing and weaving in ends.
- Optional: a small length of yarn in your main or contrast color for making the bow embellishment.

Master It Before Starting
Difficulty and Time
- Skill level: Advanced beginner to intermediate. You need to be comfortable with double crochet, slip stitch seaming, and working into the middle of a stitch for the ribbed effect. The sleeve attachment technique, where you join each row directly to the torso edge as you work, is the one step that requires a little patience and a slow first pass. Everything else in this pattern is accessible to anyone who has finished a project or two.
- Time to make: Plan for a relaxed week of regular stitching. The torso works up quickly because it is a simple rectangle worked to measurement. The sleeves and collar each take a dedicated session, and finishing with the optional border adds a pleasant hour at the end.
Abbreviations Used
- ch = chain
- dc = double crochet
- sl st = slip stitch
- st / sts = stitch / stitches
Beginner Technique Notes
Working into the middle of a stitch for the ribbed texture
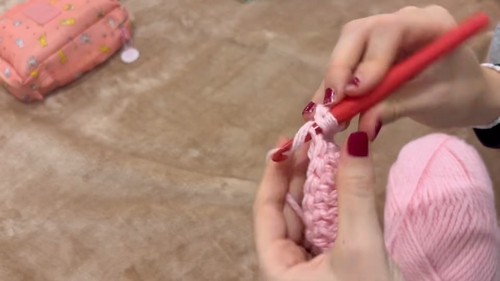
This is the technique that gives the torso its raised, ribbed surface. Instead of inserting your hook under the two loops at the top of the stitch as usual, you push the hook directly through the body of the stitch from front to back. The result is that the stitch post stands up slightly and creates a visible ridge. It sounds more complicated than it is: once you try it for two or three stitches in your first ribbed row, the motion becomes entirely natural. If you prefer a flat, plain surface, you can work standard double crochets throughout instead, and the construction stays exactly the same.
How the sleeve attachment works
Rather than crocheting the sleeves separately and seaming them in afterward, this pattern has you attach the sleeve to the torso in real time as you work. At the end of each of the first five sleeve rows, instead of simply turning and continuing, you join the working edge of the sleeve directly into the edge of the torso body. This creates the armhole curve as you go and eliminates a separate seaming step entirely. Work slowly through these joining rows on your first sleeve and the logic will be clear by the time you reach the second one.
The Pattern
Step 1: The Torso
- Take your body measurements: decide on the desired width and length for the torso section.
- Make your foundation chain for the length of your torso. The creator worked 33 chains for a balanced, fitted length.
- Row 1: Work a row of dc stitches across the full foundation chain.
- Row 2 and all following rows: Ch 1 and turn. For the ribbed relief texture, insert your hook directly through the middle of each stitch rather than under the two top loops, and work dc across the row. Alternatively, work standard dc for a flat fabric if you prefer.
- Continue working rows until the torso piece is wide enough to wrap comfortably around your body. The creator worked 29 rows for a snug fit; add more rows for a looser silhouette.
- Closing the torso: Fold the torso piece so the two short ends meet. Starting from one end, work sl st through the middle of each stitch on both layers to seam the torso into a tube, working from right to left.
- Chest expansion panel: When you reach the halfway point of the seam, switch to working standard dc stitches across the remaining stitches to create a small expansion panel for the chest opening so the tube is not too snug across the bust.
- Turn the work and sl st the remaining portion of the seam closed.
- Cut and fasten off securely.
Step 2: The Sleeves (Make 2)
- Take your measurements: measure your shoulder circumference and the distance across your upper back and front shoulders to confirm that both sides match.
- Make your foundation chain for the desired sleeve length. The creator worked 56 chains for an average to slightly long sleeve.
- Row 1: Ch 1 extra, then work a row of dc down the full foundation chain.
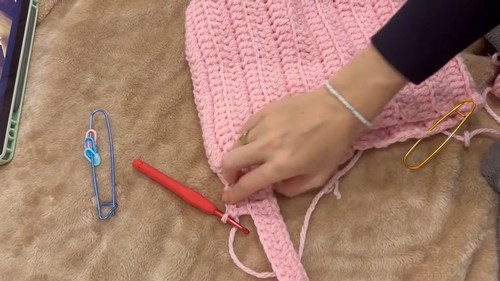
- Joining the sleeve to the torso (rows 1 to 5): On the last stitch of each row, before completing the final pull-through, insert your hook into the edge of the torso body, pull the yarn through, and complete the stitch to join the sleeve edge to the body. Ch 2, then anchor the third chain by sl stitching it into the torso body at a measured point along the edge. Turn and work dc back down the row.
- Repeat this joining process for approximately 5 rows to form the underarm and armhole curve.
- Free sleeve rows: Once past the armhole attachment, stop joining to the body and work the remaining rows back and forth freely for the rest of the sleeve length. The creator worked 12 total rows for the full sleeve.
- Closing the sleeve: Fold the sleeve and seam it closed using the same sl st through the middle of the stitches method as the torso.
- Try the garment on at this point to confirm the sleeve fits properly before working the second sleeve.
- Repeat the entire sleeve process symmetrically on the other side of the torso.
If you’re new to reading crochet patterns, don’t worry, just follow along with the video tutorial below and use the written pattern as a reference!
Step 3: The Off the Shoulder Collar
- Make your foundation chain for the fold-over collar band. The creator worked 20 stitches for a collar that reaches slightly below the chest line.
- Work dc stitches along the chain to the edge.
- Just as with the sleeves, anchor the edge of the collar directly into the upper edge of the sweater body as you work each row around the neckline.
- Continue working rows all the way around the neckline opening. The creator worked 33 rows total for the full collar circumference.
- Seam the collar closed using the same sl st through the center of the stitches method.
Step 4: Optional Contrast Border and Finishing
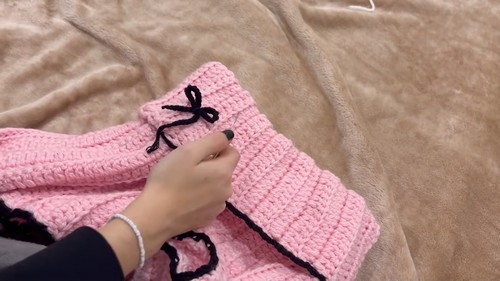
- Decorative border (optional): Attach a contrasting yarn at any point along the edges of the sweater. Ch 3, then anchor the chain to the edge with a sl st at a point approximately 4 spaces along, calculating even spacing. Repeat this sequence all the way around each major edge for a neat bordered finish.
- Weaving in ends: Secure and weave in all loose yarn tails thoroughly using a tapestry needle, pulling them into the fabric in at least two directions so they will not work loose during wear.
- Bow embellishment (optional): Create a small chain loop, wrap a separate piece of yarn tightly around the center to form a bow shape, secure with a knot, and trim the ends. Sew the finished bow onto the sweater at the neckline or wherever you like as a decorative accent.
Tips and Troubleshooting
- Measure before every section begins, not just at the start. Your torso, sleeve, and collar measurements are all interdependent. Taking the thirty seconds to re-measure before each new section prevents the most common fitting frustrations in this pattern, particularly the sleeve-to-shoulder width check.
- Work the first sleeve joining rows slowly. The technique of anchoring each sleeve row into the torso edge as you go is the one genuinely new motion in this pattern. Pull up a video on the technique if you want to see the hook placement before you attempt it, and do not rush through those first five rows. The second sleeve will feel completely natural.
- Try the sweater on before closing the collar. The collar is the last major piece to close, and it is the easiest place to add or remove a few rows if the fold-over depth is not quite right for your proportions. Try the piece on with the collar hanging open, fold it to where you want it to sit, and adjust your row count if needed before seaming.
- Keep your slip stitch seams relaxed. The torso and sleeve seams are worked through the middle of the stitches rather than through the loops, which creates a neat invisible seam. If you pull the slip stitches too tightly the seam will draw in and create a visible ridge on the outside. Match the tension of your sl sts to the tension of the main fabric.
- Use stitch markers to keep the border spacing consistent. If you add the optional contrast border, placing a stitch marker every several spaces before you begin gives you a visual guide for keeping the chain loops evenly spaced around all the edges. Uneven spacing is the most common issue with a decorative picot-style border, and markers prevent it almost entirely.
- Add the bow last. It is small and easy to place incorrectly if the sweater is not finished. Completing all the seaming and the optional border first gives you the full picture of the sweater before committing to bow placement.

Yarn Substitution
- The original sweater uses a single yarn weight across both the main color and the contrast border, and maintaining that consistency is genuinely important here. If the main and border yarns differ in weight, the border will either pucker or pull the edge, and neither is the look you want. Beyond that, the fiber choice is relatively open. A smooth acrylic or acrylic blend gives you easy care and consistent tension, which is useful in a pattern where you are working to your own measurements rather than a gauge. A cotton or linen blend will produce a cooler, drapier sweater that leans more toward spring and summer wear. A soft wool or mohair blend gives warmth and a slightly hazy surface that softens the ribbed texture, producing a different but equally appealing finish.
- Whatever yarn you choose, prioritize drape over stiffness. An off-the-shoulder collar only works the way it should when the fabric is relaxed enough to fold down and stay there. If you test a sample and the fabric springs back aggressively or sits board-flat rather than draping, consider going up a hook size or choosing a different fiber before starting the full project.
Customization Ideas
- The collar depth is the single most impactful customization available in this pattern, and it requires no extra math. Fewer rows produce a narrower collar that sits closer to the shoulders; more rows give you a deep, dramatic fold that sits at mid-chest. The original settles somewhere in between, which is the most versatile option, but a deeper collar worn folded down further is a strong look on its own. The sleeve length is equally adjustable: stopping a few rows earlier gives a three-quarter sleeve, and continuing past the wrist gives an intentionally long, oversized Y2K sleeve that trails slightly over the hand.
- Color is the other obvious place to make the sweater distinctly yours. A single solid color with a contrasting border is the classic two-tone approach the pattern intends, but working the collar in the contrast color and the body in the main color is a bolder variation that reads as a design statement. The bow is small but surprisingly impactful: a bow in a third accent color, or made from ribbon rather than yarn, shifts the whole vibe of the finished piece.
Frequently Asked Questions
- Can I make this sweater without the ribbed texture and still get the same fit? Yes. The ribbed texture comes from inserting the hook into the middle of the stitch rather than under the top two loops, and it changes only the surface appearance, not the structure or sizing of the piece. Working standard double crochets throughout gives you a flatter, slightly less stretchy fabric that is otherwise identical in construction. The off-the-shoulder collar and sleeve attachment work exactly the same way regardless of which surface technique you use.
- How do I know how many rows to work for the torso if I am not the same size as the creator? You are working until the piece fits around your own body, not to a fixed row count. After every several rows, fold the piece and hold it against yourself to check how far it wraps. Stop adding rows when the torso comfortably encircles your body with the amount of ease you prefer. The creator’s 29 rows is a reference point for a snug fit, not a target for everyone. Trust the fit-as-you-go process and your own measuring tape over any row number.
- The sleeve attachment rows are confusing me. Is there an easier way to understand the technique? The core idea is that for the first five rows of the sleeve, instead of working those rows as a standalone piece, you tether each row’s ending edge to the torso body before you turn. Think of it as sewing as you crochet: each row gets anchored before the next one starts, building the armhole curve stitch by stitch. If the written description is not clicking, work through the motion on a small practice swatch with two scrap pieces of fabric before you try it on the actual sweater. The physical action makes the logic clear very quickly.
- My collar is not staying off the shoulder and keeps sliding up. What went wrong? A collar that slides up is usually too narrow or worked in a yarn with too much grip. If the collar is already finished, try working a single crochet border around its outer edge with a slightly heavier yarn to add weight and encourage it to fold down. For future projects, adding a few extra rows to the collar depth, or choosing a yarn with more drape, gives the collar the weight it needs to stay folded without constant adjustment.
- Can I skip the optional bow and border entirely? Absolutely. Both are decorative choices rather than structural ones. The sweater is fully functional and wearable without the contrast border or the bow. The border adds a clean visual frame around the edges, particularly the neckline, and is worth adding if your edge stitches are slightly uneven, since it covers them neatly. The bow is purely a personal touch. Leave it off for a cleaner, more minimal finish.