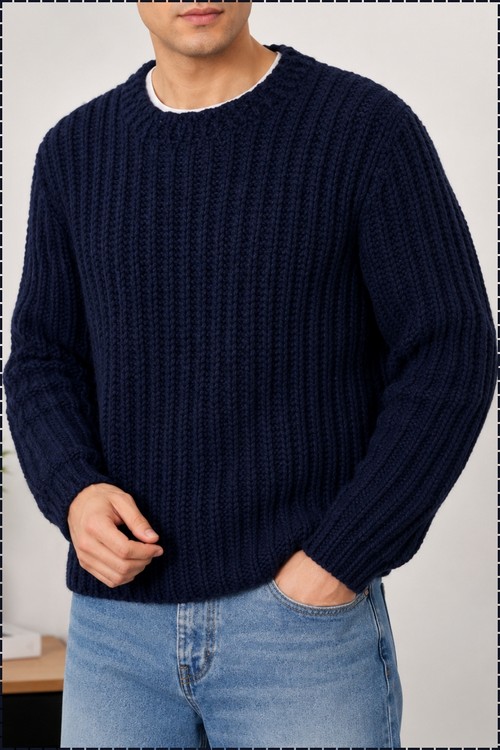
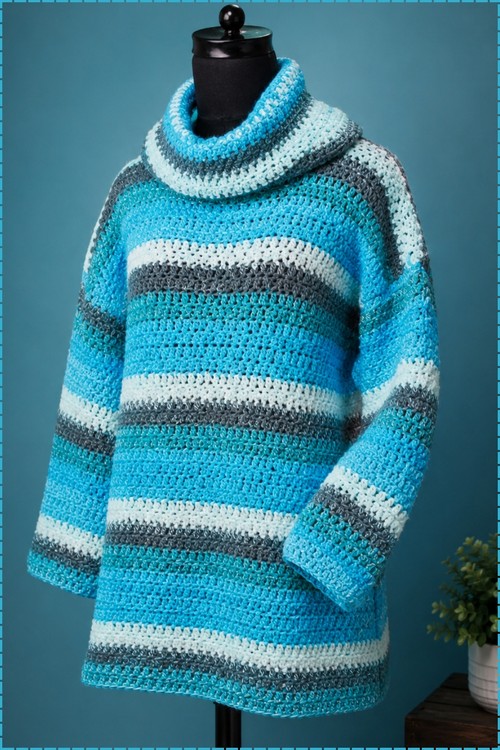
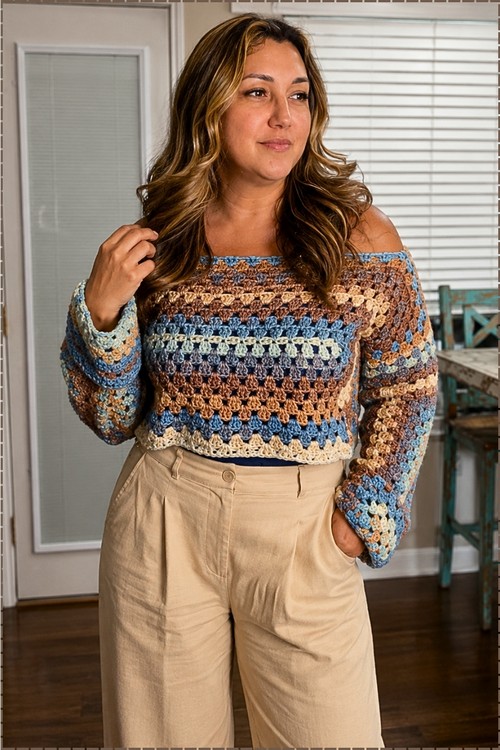
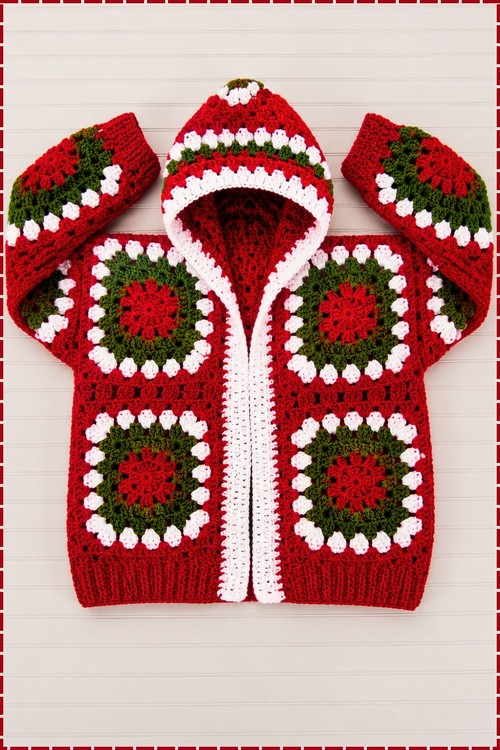
Weekend brunches and casual office days both suit a chunky crochet sweater vest whose cropped hem stops at the waistband of high rise trousers. Wide shoulder straps let the free crochet vest top go solo on warm days, and fans of oversized sweaters will reach for it all year.
Nothing about this vest needs shaping beyond the armholes and neck, so the wide pink and charcoal stripes stay perfectly straight from hem to shoulder. Ribbing in the darker shade finishes the crew neck, both armholes and the hem, which frames the stripes and keeps every edge from curling. It layers over a tee the way any pullover vest does, and the boxy cut leaves room for a long sleeve underneath in colder months.
Crochet Sweater Vest
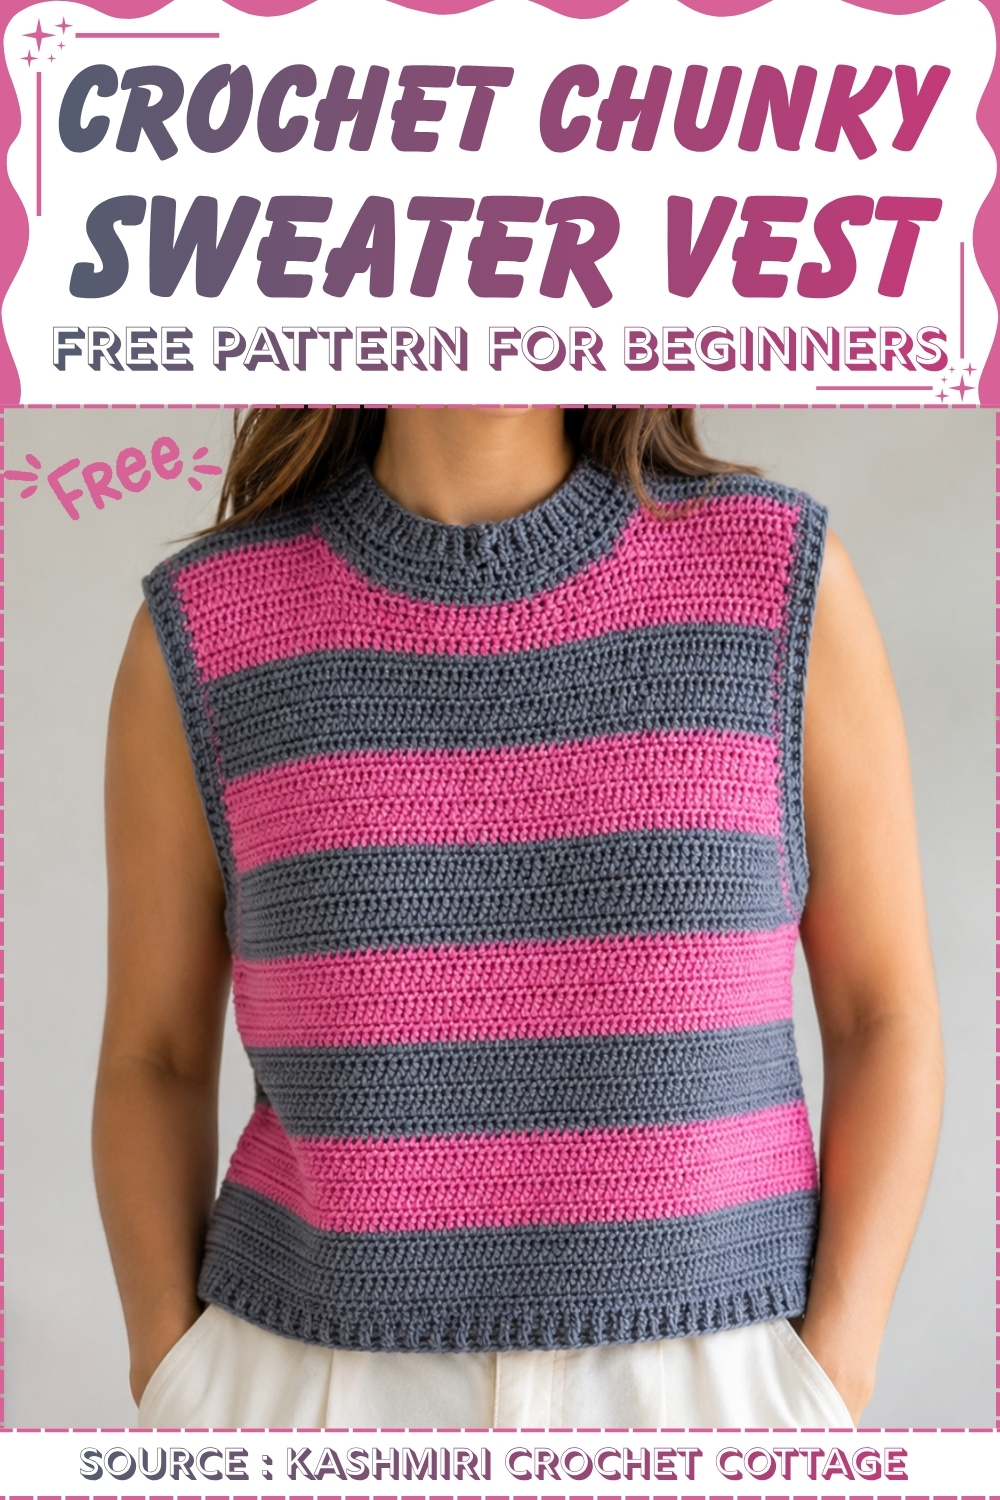
The hem band is the very first piece you make. It works up as a long narrow strip of vertical ribs, then the body rows are picked up along one edge and worked straight up in alternating stripes. Front and back are separate panels joined at the shoulders and sides, and the neckline and armholes get their own ribbed edging to match the hem.
Materials and Tools
- Bulky weight yarn (#5) in one main color, plus extra colors if you want stripes
- Plan on roughly 700 to 1,000 yards for an adult vest, depending on size and length; buy one extra skein from the same dye lot
- Crochet hook in the size recommended on your yarn label (usually 6.5 mm to 8 mm for bulky yarn)
- Yarn needle for weaving in ends
- Stitch markers to mark the armhole edge stitches
- Measuring tape
- Scissors
Difficulty and Time
This vest sits firmly in easy territory. The whole garment uses only chains, slip stitches, single crochet, half double crochet and one simple decrease, and every panel is worked flat in rows. Shaping comes from leaving stitches unworked rather than from complicated increases, so you never need to track a tricky repeat. Most makers finish it in about 8 to 12 hours of hooking time, depending on the size, body length and how many color changes you add. The seaming and edging take one relaxed evening at the end. If you have made a scarf or a blanket, you already have every skill this pattern asks for.
Beginner Technique Notes
- Back loop single crochet: Insert your hook under only the loop farthest from you. Working every row this way pushes the front loops forward into raised ridges, which gives the hem its stretchy ribbed look.
- Working along the ribbing edge: The body starts on the long side of the ribbing, into the ends of the rows. You will see ridges that dip in and ridges that pop out. A half double crochet fills each sunken ridge and a single crochet sits on each raised ridge, which keeps the edge flat and even.
- Half double crochet through both loops: Unlike the ribbing, the body uses both loops of each stitch. This creates a dense, warm fabric with a smooth face.
- Joining a new color: Change colors at the start of a row. Work the last stitch of the old color until two loops remain on the hook, then pull the new color through to finish it.
- HDC 2 together (decrease): Yarn over, insert into the first stitch and pull up a loop, yarn over, insert into the next stitch and pull up a loop, then yarn over and pull through all five loops.
- Seaming with single crochet: Hold both panels together and push your hook through matching stitches on both layers at once. This makes a strong, slightly raised seam that stays hidden on the inside.
Free Chunky Crochet Sweater Vest Pattern
Abbreviations
- CH: Chain
- SLST: Slip Stitch
- SC: Single Crochet
- HDC: Half Double Crochet
- HDC2tog: Half Double Crochet 2 Together (decrease)
Front Panel
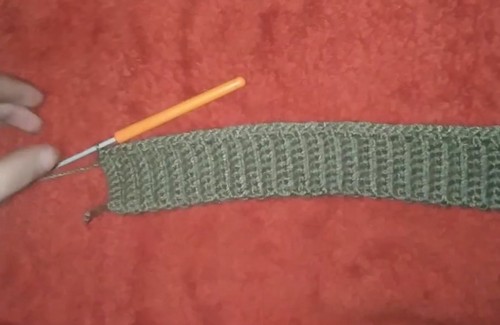
Bottom Ribbing
- Make a slip knot and CH 8.
- CH 1 more, then work 1 SC into each of the 8 chains across. [8 sts]
- CH 1 and turn, then work 1 SC in the back loop only of every stitch across. [8 sts]
- Repeat this back loop row again and again to build the ribbed border. [8 sts]
- Stop when the ribbing measures 20 inches, or when it matches the width you want across the front hem.
Main Body
- Turn the ribbing so you can work along one long edge, into the ends of the rows.
- Base row: work 1 HDC into each sunken ridge and 1 SC into each raised ridge, alternating all the way to the end of the edge.
- Next row: CH 1 and turn, then work 1 HDC through both loops of every stitch across.
- Repeat that HDC row to grow the body.
- Optional stripes: switch to a new color every few rows, always joining it at the start of a row.
- Keep working HDC rows until the main body measures 17 inches, or your preferred length up to the underarm.
New to crochet and not sure how to read a pattern yet? The video tutorial below will guide you through it step by step, you’ve got this!
Armhole Shaping
- CH 1 and turn, then work 1 SC in each of the first 8 stitches. [8 sts]
- CH 1, then continue your usual HDC across the middle of the panel.
- When you reach the last 8 stitches, CH 1, then work 1 SC in each of those final 8 stitches. [8 sts]
- Keep this setup of SC on both edges and HDC through the middle to mark out the armholes; once the SC edge stitches are finished, work back and forth over the center HDC stitches only.
- Work HDC rows across the center stitches until the armhole section measures 6 inches tall.
Neckline and Shoulders
- Begin the neck shaping by working your HDC pattern across the first 29 stitches only, leaving the rest unworked for now; you can adjust this by 2 stitches for your size. [29 sts]
- CH 1 and turn, then SLST or SC across the first 4 stitches to carve the neckline curve. [4 sts skipped]
- CH 1 and continue the HDC pattern to the end of the row at the armhole edge.
- CH 1 and turn, then work back toward the neck, leaving the last 3 stitches unworked. [3 sts unworked]
- CH 1 and turn, work 1 SC in each of the first 2 stitches, CH 1, then continue HDC to the end of the row, leaving exactly 20 stitches for the shoulder strap. [20 sts]
- Work 3 more HDC rows over these 20 stitches with no further decreases, then fasten off. [20 sts]
- Rejoin your yarn on the opposite side of the panel and repeat the same neckline decreases and shoulder rows for the second shoulder. [20 sts]
Back Panel
Ribbing and Body
- Make a second panel with ribbing and main body worked exactly like the front panel.
Back Armholes
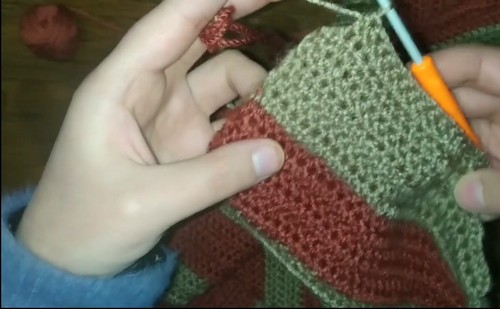
- Shape the armholes the same way as the front, but keep going until the armhole section measures 7 inches instead of 6 inches.
Back Neckline and Shoulders
- Work across the first 22 stitches only. [22 sts]
- Decrease by 2 stitches in a single row to create a much shallower dip than the front neckline. [20 sts]
- Work 3 HDC rows for shoulder height, just as on the front panel, then fasten off. [20 sts]
- Rejoin your yarn on the opposite side and repeat for the second back shoulder. [20 sts]
Seaming
- Lay the front and back panels together with the right sides facing inward.
- Join each shoulder by working SC through both panels across the 20 shoulder strap stitches. [20 sts]
- Seam both sides of the vest from the bottom ribbing up to the point where the armhole shaping begins.
Collar
- Turn the vest right side out.
- Join your yarn at the center of the neckline, or at one of the shoulder seams.
- CH 1, then work 1 HDC evenly into every space around the neckline opening.
- To keep the neck flat and round, work an HDC2tog at each corner where the shoulder straps meet the front and back neck drops.
- Complete 3 to 4 rounds of HDC for the collar.
- Optional split collar: skip the SLST join at the end of each round; instead, CH 1, turn and work back and forth so the front of the collar stays slightly open.

Armhole Edging
- Join your yarn at the bottom of one armhole.
- CH 1, then work 1 HDC evenly into every space around the armhole opening.
- Work an HDC2tog at the sharp underarm curves, right where you made the original armhole decreases.
- Complete 2 full rounds around the armhole and close with a SLST.
- Repeat on the second armhole, then weave in all loose ends.
Tips and Troubleshooting
- Measure the ribbing against half of your full chest measurement plus a little ease, because the front panel only covers half of your body and the back covers the other half.
- Lay your work flat on a table whenever you measure; holding a bulky panel in the air stretches it and makes every length read longer than it really is.
- Place a stitch marker after the first 8 stitches and before the last 8 stitches before you start the armholes, so you never miscount the SC edges.
- Count the shoulder strap on both front shoulders and both back shoulders before seaming; matching 20 stitch straps line up neatly and keep the shoulders from twisting.
- If the base row of the body ripples, you likely put HDC stitches on the raised ridges; pull it back and make sure the HDC sits in each sunken ridge.
- Block both panels lightly before seaming so the edges lie straight and the side seams come together without puckering.
- Weave your color change tails into the side seams, where they disappear completely and never poke through the front.
- Try the vest on before you start the collar; if the neck feels tight, you still have room to adjust the front neckline by 2 stitches on your next attempt.
Yarn Substitution
Bulky weight yarn gives this vest its plush, cozy body, so stay close to that weight for the best result. Super bulky yarn works too, though you will reach every measurement faster and the fabric turns stiffer, so choose a larger hook and trust your tape measure over row counts. Two strands of worsted weight held together make a lovely stand in and open the door to marled color blends. Acrylic keeps the vest light and easy to wash, while a wool blend adds warmth and memory to the ribbing. Pure cotton feels heavy and stretches with wear, so save it for a cropped spring version.
- Bulky (#5): best match for the pattern as written
- Super bulky (#6): faster, thicker, and slightly stiffer
- Worsted (#4) held double: soft, flexible, and great for marled looks
- Wool blend: warmest choice with springy ribbing
- Acrylic: budget friendly and machine wash friendly
- Cotton: heavier drape, best for shorter vests

Customization Ideas
- Classic stripes: Alternate two colors every few rows for a retro sweater vest look.
- Color block: Make the ribbing and edgings in one shade and the body in another.
- Cropped fit: Stop the main body a few inches shorter for a vest that pairs perfectly with high waisted jeans.
- Tunic length: Add extra body length so the vest sits over leggings.
- Split collar: Use the optional back and forth collar for a relaxed, slightly open neckline.
- Mismatched panels: Work the front in stripes and the back in a solid color for a playful twist.
- Taller collar: Add an extra round or two to the collar for a cozier, mock neck feel.
Frequently Asked Questions
How do I make this vest in a different size? Change the length of the ribbing to adjust the width, and change the body length to move the underarm up or down. The neckline step already allows you to shift the 29 stitch count by 2 stitches, which helps balance the neck opening on smaller or larger sizes.
Why is the back armhole taller than the front? The back reaches 7 inches before the neck shaping while the front stops at 6 inches. Combined with the shallow back neckline, this lifts the back slightly higher so the vest sits comfortably on your shoulders without sliding backward.
Can a complete beginner make this sweater vest? Yes. If you can chain, single crochet and half double crochet, you can finish this vest. The shaping relies on leaving stitches unworked, which feels far easier than increasing, and every panel stays flat until seaming.
My ribbing curls at the ends. What went wrong? Ribbing worked in back loop SC naturally relaxes once you attach the body and block it. If the curl stays, check that you worked every row through the back loop only, since a stray full stitch creates a stiff spot.
How should I wash my finished vest? Follow the care label on your yarn. Most acrylic vests handle a gentle machine cycle, while wool blends prefer a cool hand wash. Always dry the vest flat so the weight of the bulky fabric does not stretch the body.