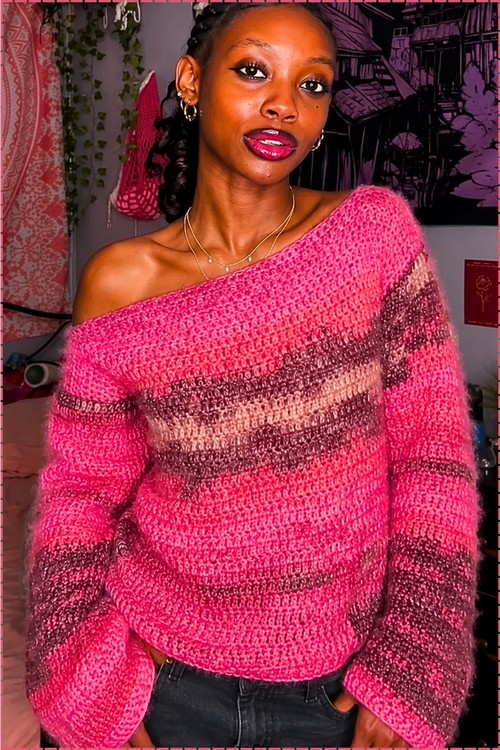
Gold hoops and a slicked-back bun are all a chic crochet sweater in pink mohair needs for date nights, gallery visits and brunch. Deep plum streaks through the pink give a boho crochet sweater outfit room for a berry lip, dark high-rise jeans and chunky silver rings.
Hot pink melts into mauve and dusty rose across this sweater, with a fuzzy halo softening every color change. A wide neckline lets it slip off one shoulder on its own, and the balloon sleeves keep the whole thing feeling deliberately oversized rather than accidentally roomy.
Chic Crochet Sweater
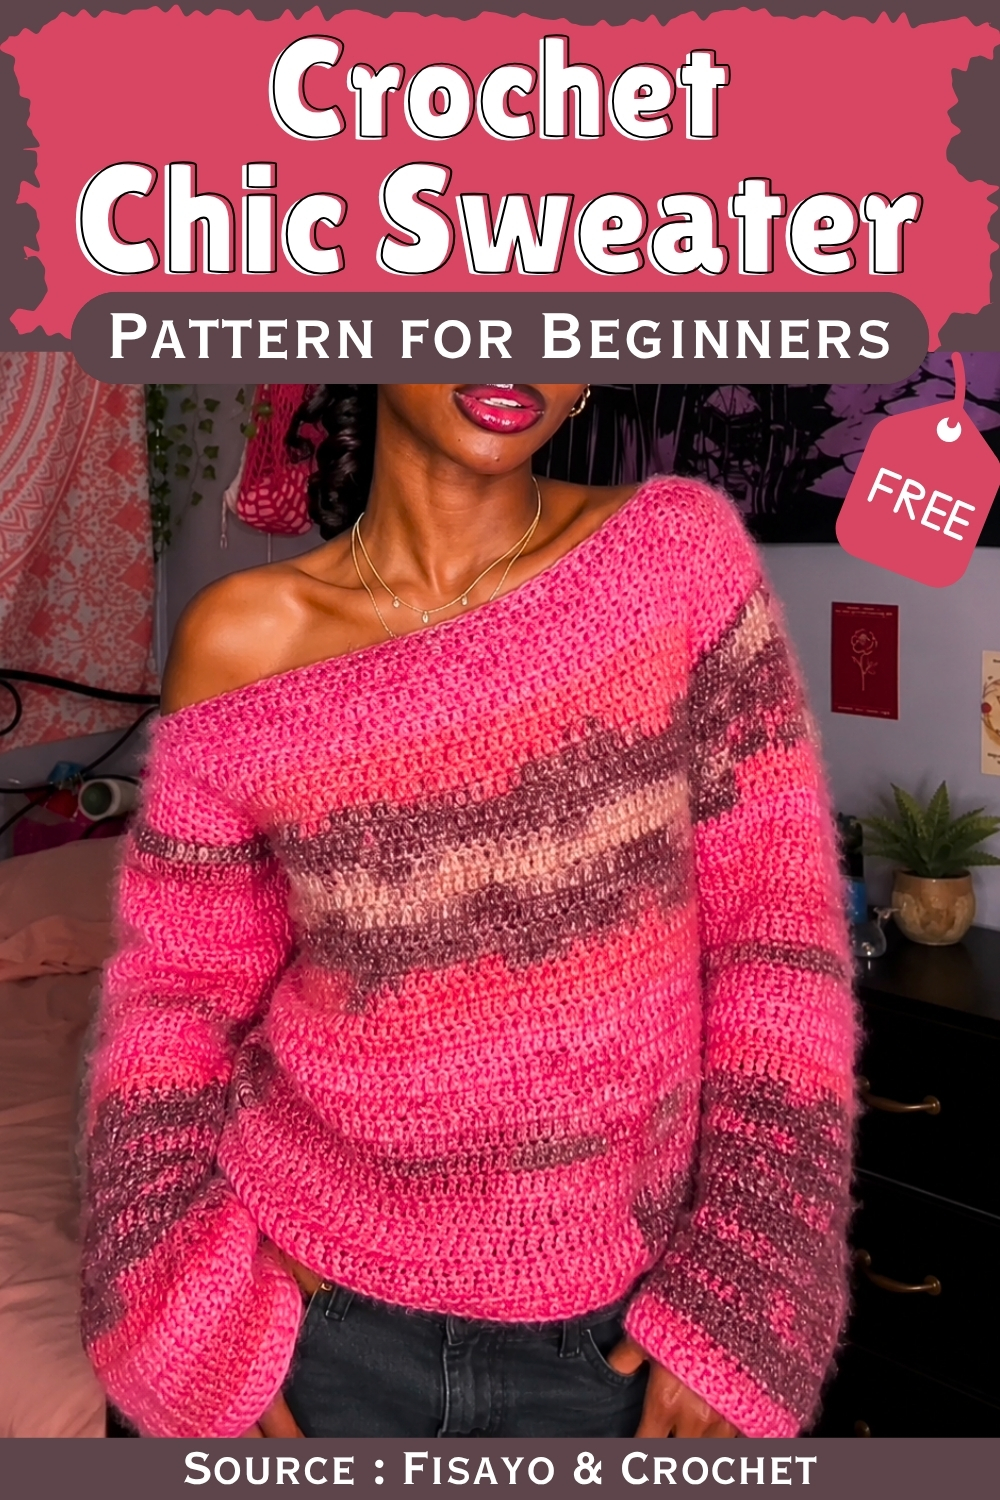
Yarn choice is doing more here than the stitch. A brushed self striping fiber blends each color into the next with no ends to weave and no colorwork to plan, so the whole garment stays a simple repeat worked in rows. Panels are seamed at the shoulders and sides with sleeves set in afterward, which is what gives the neckline enough width to sit wherever you push it.
Difficulty and Time
- Skill level: beginner friendly
- Stitches used: chain, single crochet, double crochet
- Construction: two flat rectangular panels plus two flat sleeves, joined at the shoulders and sides
- Special technique: second bar single crochet for a straight, professional edge
- Yarn: mohair type, approximately 300 g total
- Hook: 5.5 mm
- Time: most makers finish this across 3 to 5 sessions; the long oversized version takes longer than a cropped one
Customization Ideas
- Wrap your starting chain across your body to test the width before committing to a chain count; this is more reliable than following a number blindly
- Work fewer rows for a cropped, waist length fit or more rows for a full oversized length
- Adjust the sleeve chain length to change the opening size at the wrist
- Add more sleeve rows for full length sleeves or fewer for three quarter or elbow length
- Count further inward from each shoulder edge to create a wider, off shoulder neckline
- Count fewer stitches inward for a closer, narrower neck opening
- Work the panels in one color and the sleeves in a contrast shade for a color blocked result
- Block aggressively after finishing if you want a more fluid, draped silhouette
Materials and Tools
- Mohair type yarn, approximately 300 g total depending on your size and desired length
- 5.5 mm crochet hook
- Scissors or yarn cutter
- Darning or knitting needle for weaving ends
- About 6 stitch markers
The half size bump up from the yarn label recommendation is intentional. A 5.5 mm hook against a yarn rated for 5.0 mm gives each stitch a little more breathing room, and the result drapes better than a tightly worked fabric would. Mohair type yarns can feel stiff when worked at the labeled tension; the looser gauge is what allows them to relax into the soft, hazy finish the fiber is known for. Do not compensate by holding the yarn tighter. Let the stitches sit open and trust the blocking process to bring everything together.
Become Familiar with This Stitch
The Pattern
Make 2 identical body panels and 2 identical sleeves. Attach the sleeves to the body before closing the side seams to make handling easier.
Step 1: Front and Back Panels (Make 2)
- Make a slip knot and chain your desired body width; the sample used 55 chains for a relaxed, generous fit, and wrapping the chain across your body is the best way to judge the right length for you [55 ch]
- Hold down the last chain, then chain 2 extra chains
- Work a double crochet into the stitch you held down
- Continue working 1 double crochet into every chain back to the start of the foundation, keeping your stitch count consistent throughout
- Turn the work
- Place a single crochet into the first stitch
- Insert the hook into the second horizontal bar of that same stitch and work a second single crochet; this counts as your first double crochet and creates a neat, straight edge without a visible turning chain gap
- Work double crochets across the remaining stitches in the row
- Turn and repeat this row, beginning each one with the two single crochets into the first stitch and its second bar, then double crochets to the end
- Continue until you reach your desired panel length; the sample used 34 rows for a long oversized fit
- Fasten off, weave in ends, and make a second identical panel
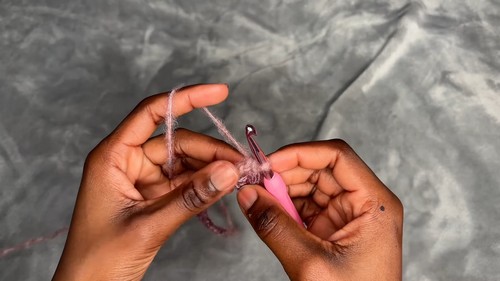
Step 2: Sleeves (Make 2)
- Make a slip knot and chain your desired sleeve width; the sample chained 40, which gives a comfortable wrist opening that is not too tight [40 ch]
- Chain 2 extra chains, then work a double crochet into the foundation chain
- Work double crochets all the way back across the chain
- Turn the work
- Place a single crochet into the first stitch, then insert the hook into the second bar of that same stitch and work a second single crochet to create the neat edge
- Work double crochets across the remaining stitches
- Repeat this row pattern until the sleeve reaches your desired length
- Fasten off and make a second identical sleeve
Never read a crochet pattern before? No problem! The video tutorial below is perfect for beginners, or give the written pattern below a try!
Step 3: Joining the Shoulders and Neckline
- Lay the front and back panels flat on top of each other with right sides facing
- Decide how wide you want the neckline to be; the sample counted 7 double crochets inward from each outer edge and placed stitch markers at those points
- Join yarn on the wrong side at the outer edge of one shoulder
- Chain 1 and work single crochets through both layers from the outer edge inward to the stitch marker
- At the marker, chain 1 and cut the yarn
- Repeat the same shoulder seam on the opposite side, leaving the center open as the neck opening
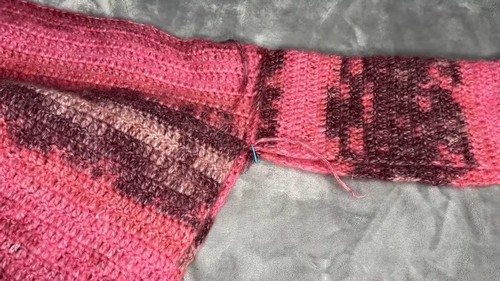
Step 4: Attaching the Sleeves
- Fold each sleeve in half to find its center point and mark it with a stitch marker
- Align that center marker with the shoulder seam on the body and pin it in place
- Pin the two bottom ends of the sleeve to the front and back body panels using stitch markers
- With right sides of the sleeve and body facing up, join yarn at one end of the sleeve opening
- Work single crochets through both the sleeve edge and the body panel edge all the way across to the opposite marker, picking up loops from both layers
- Chain 1 and fasten off
- Repeat the same process for the second sleeve
- Attach both sleeves before closing the side seams
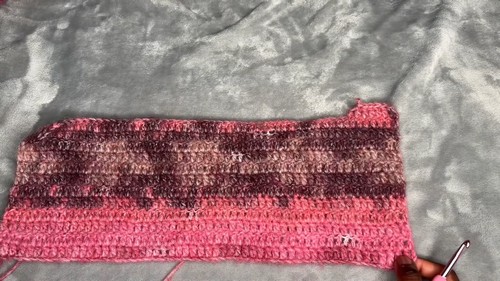
Step 5: Seaming the Body and Sleeves
- Turn the entire sweater inside out so you are working on the wrong side
- Match the armpit pivot point on each side and secure it with a stitch marker, then pin the bottom hem and sleeve cuff ends
- Join yarn at the bottom hem or at the wrist cuff
- Work approximately 2 single crochets into each double crochet row end along the side of the body to keep the seam flat and even
- Single crochet up the side of the body, pivot around the armpit, and continue down the length of the sleeve to the cuff in one continuous pass
- Chain 1, cut the yarn, and pull through to secure
- Repeat the side and sleeve seam on the other side of the sweater
- Turn the sweater right side out, weave in any remaining ends, and block if you want a softer, more flowing drape
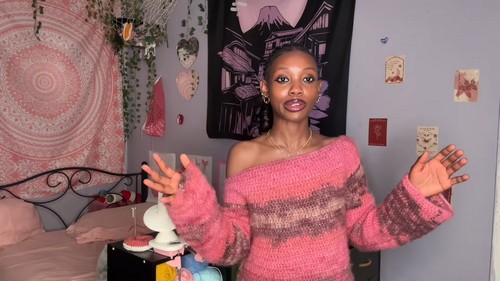
Tips and Troubleshooting
- Attach both sleeves before closing any side seams. Working on open flat panels is significantly easier than maneuvering a partially assembled tube, and the sleeve placement is easier to adjust before the sides are committed.
- The second bar technique at the start of every row is worth practicing on a small swatch before starting the panels. It takes one or two rows to feel natural, but it produces a straight vertical edge that makes the final side seam almost invisible once sewn.
- Block the finished sweater even if blocking feels optional. Mohair type yarns transform noticeably with moisture and gentle shaping, and the halo that makes this fiber worth using only opens up fully after blocking.
Yarn Substitution
Mohair type yarn is central to the visual appeal of this sweater. The soft halo that blooms around each stitch is what gives the finished piece its relaxed, expensive looking quality, and substituting a smooth yarn produces a result that reads more like a basic double crochet rectangle than a considered garment. If you cannot source a true mohair or mohair blend, look for a brushed acrylic or a kid mohair and silk blend. Both deliver a similar halo with less fiber management during working. Avoid any yarn described as rustic or textured. A smooth base fiber is what lets the brushed surface sit evenly across the fabric without clumping.
FAQ
- Do I need to know how to read a stitch count to make this sweater? No. The construction is based on width and length measurements rather than precise stitch counts. You chain to the width you want, work to the length you want, and adjust the sleeve size the same way. Wrapping your chain across your body before starting is a more reliable fit check than following a number.
- How do I know when my panels are long enough? Hold the panel up against your body or lay it flat and measure against yourself. For a waist length fit, work fewer rows. For the oversized look shown in the sample, the creator worked 34 rows, but row height will vary with your personal tension, so measure rather than count.
- What does the second bar technique actually do? It replaces the traditional chain 2 or chain 3 turning chain at the start of a row. Instead of chaining up, you work two single crochets into the first stitch and its second horizontal bar, which creates a neat vertical edge that matches the height of a double crochet without leaving a visible gap or a wobbly chain loop along the side.
- My side seams look uneven. What went wrong? The most common cause is working only one single crochet per row end instead of roughly two. Double crochet rows are taller than single crochets, so a one to one ratio pulls the seam in and distorts the edge. Adjust by adding a second stitch into every row end, and the seam will lie flat.