Winter weight yarn and a dense pebbled stitch give this free raglan crochet sweater real body without bulk. You work the pullover top down in one piece, grow the yoke with raglan increases, split off the sleeves, then rib the cuffs, hem and turtleneck.
Sage green has a way of making a plain pullover look considered, and this one leans into that with a mock neck collar that stands up on its own. The construction works from the top down in one piece, so the yoke grows outward as you go and the sleeves come off the same fabric rather than being sewn on later. Anyone who has worked through raglan shaping on a lighter garment will recognize the rhythm here, just scaled up for winter weight yarn.
Raglan Crochet Sweater Pullover
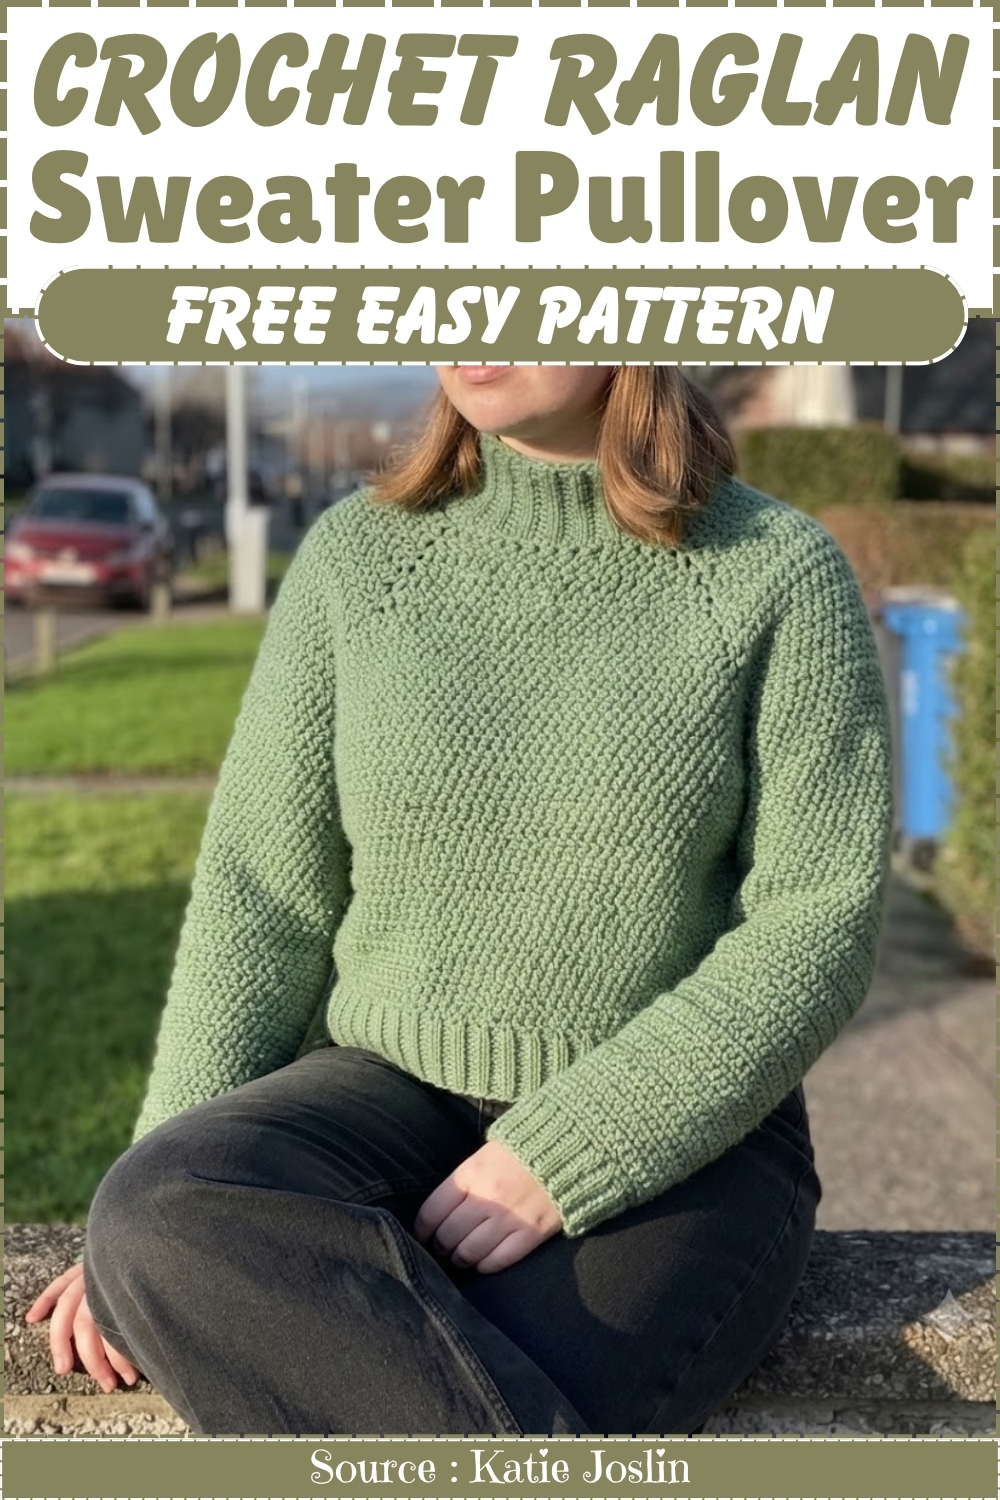
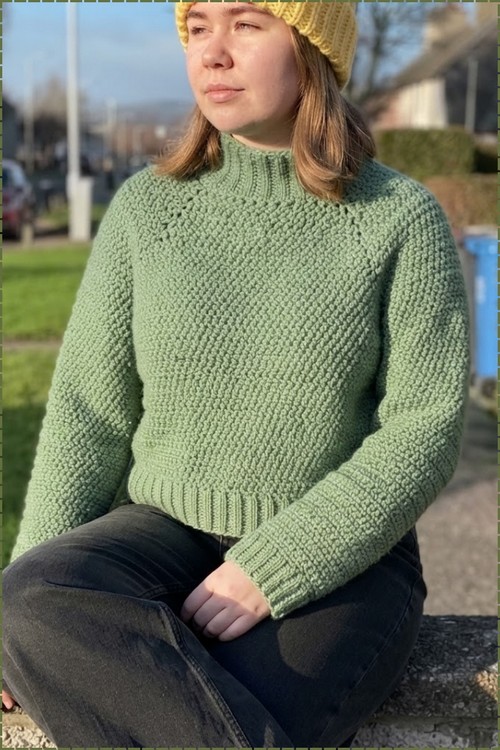
The body texture is what carries this piece. It is a dense pebbled fabric with no open spaces, which gives the sweater real substance without needing a bulky gauge. Ribbed cuffs, hem, and collar frame all that texture and pull the silhouette in at the edges, so the shape stays clean even in a heavier weight yarn.
Why I love this one: the try-it-on-as-you-go approach takes all the guesswork out of fit. You’re not hoping it works — you’re watching it work, round by round.
Materials & Tools
- Fluffy chunky yarn — the original uses Hobie Fluffy Day XL in a sage green/eucalyptus tone, but any fluffy or bouclé-style yarn that works on an 8 mm hook will produce the same cozy effect
- 8 mm crochet hook (or go slightly smaller if your tension runs loose — tighter stitches hold their shape better in fluffy yarn)
- 4 stitch markers
- Tapestry needle
- Scissors
Abbreviations used in this pattern: ch = chain · hdc = half double crochet · sc = single crochet · sl st = slip stitch · BLO = back loops only · st(s) = stitch(es) · sp = space · rep = repeat

Master This Stitch First
Difficulty & Time
Easy-intermediate. Every round is hdc. The only new skills required are the four-point raglan increase (one stitch, chain 1, one stitch in the same space) and the optional sleeve decrease. The ribbed cuffs and neckline are worked as attached side-to-side strips — a slightly unfamiliar technique but straightforward once you’ve done the first inch. In a fluffy chunky yarn on an 8 mm hook, this is a realistic one-weekend project.
The Pattern
Step 1: The Neckline Chain
- Start with a slip knot.
- Ch 40 — or any even number large enough to fit comfortably over your head.
- Sl st into the first ch to join into a loop.
Step 2: Foundation Round and Increase Markers
- Ch 2 and turn your work.
- Work 1 hdc into each st around the collar.
- Sl st into the first st to close the round, ch 2, and turn.
- Place 4 stitch markers evenly spaced around the work. (If you chained 40, place one marker every 10 stitches.)
- These 4 markers are your raglan increase points — move them up every round as you pass them.
Don’t let crochet patterns intimidate you! If you’re a beginner, the video tutorial below makes it super easy to follow along!
https://www.youtube.com/watch?v=kH0sw0QvGLQ
Step 3: Yoke — Increasing at the 4 Raglan Points
- Work hdc in the round until you reach the first stitch marker.
- At the marker, work the raglan increase: 1 hdc, ch 1, 1 hdc — all into the same sp. Move the marker into the ch-1 sp just made.
- Continue hdc to the next marker and repeat the increase.
- Work this increase at all 4 markers on every round.
- Periodically try the yoke on over your head to check depth. Continue repeating rounds and increasing at all 4 points until the yoke reaches your armpits comfortably.

Step 4: Dividing for Body and Sleeves
- At the start of a new round, work hdc to the first raglan increase point.
- Ch 10 across to the next increase point — this chain bridges the first armhole gap. Attach with a hdc into the next increase point.
- Continue hdc across the back to the third increase point.
- Repeat the ch-10 bridge for the second armhole and attach at the fourth increase point.
- The sleeve sections are now separated from the body.
Step 5: Body
- Continue working hdc in the round around the main body opening. On the first round, work directly into the underarm chain stitches as you pass them.
- Work until the body reaches your desired length.
- Fasten off with a sl st, ch 1, and pull the yarn through to secure.
Step 6: Sleeves (Make Two)
- Attach yarn at the underarm with a sl st.
- Ch 1, then work hdc around the armhole opening.
- Sl st to close the round, ch 2, and turn.
Optional sleeve decreases:
- To taper the sleeve and prevent puffiness, work decreases — combining 2 stitches into 1 — throughout the sleeve. (The pattern decreases 8 times every 2 rows for the first 8 rows.)
- Continue working hdc rounds until the sleeve reaches your desired length. (The pattern uses 36 rows total.)
- Fasten off. Repeat for the second sleeve.

Step 7: Ribbed Cuffs, Hem, and Neckline (Optional)
Cuffs and bottom hem:
- Ch 11 (10 stitches for rib length, plus 1 turning chain).
- Sc down the chain. Sl st into the edge of the sleeve or hem, sl st 1 more stitch across the edge, ch 1, and turn.
- Work sc in the BLO up the chain (keeping both loops free at the top and bottom edges for a clean finish).
- Repeat this strip all the way around the cuff or hem.
- Sl st the first and last rows of the ribbing together to close the band.
Neckline ribbing:
- Follow the same side-to-side ribbing method for the neckline.
- Ch 15 (14 stitches of rib length plus 1 turning chain) for a collar deep enough to fold over as a turtleneck or wear standing up.
Tips & Troubleshooting
- Fluffy yarn has a way of hiding your stitches — especially in the first few rounds of the yoke when you’re still getting your eye in. If you’re losing track of where your stitches are, try holding the piece up to the light or gently spreading the fabric with your fingers before inserting the hook. Counting out loud through the first increase round also helps anchor the rhythm.
- The try-it-on step at the yoke stage is not optional in disguise — it genuinely determines the fit. If the yoke reaches your underarm but the shoulder section feels tight or the back rides up, add another round or two before dividing. The extra 10 minutes saves hours of frustration later.
- If the sleeve decreases feel awkward in fluffy yarn (it’s hard to see where two stitches end and one begins), space your decreases at the underarm section where they’ll be hidden and less critical to count exactly. The taper still reads well even if the counts aren’t perfectly even.
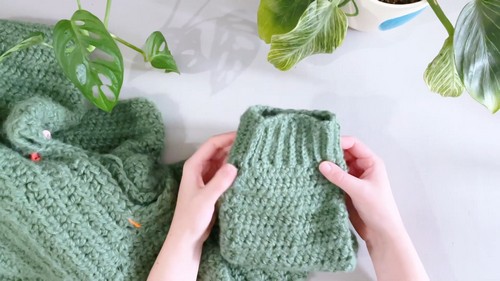
- The side-to-side ribbing for the cuffs is worked perpendicular to the sleeve edge — you’re building the band lengthwise and attaching it to the edge with sl sts as you go. It can feel disorienting at first because you’re not working into the sleeve stitches directly. One or two attachment anchors and the rhythm clicks.
Yarn Substitution
Fluffy or bouclé-style yarn is genuinely central to the look and speed of this jumper — it softens the hdc texture and makes the fabric feel substantial even at a loose gauge. If you substitute a smooth chunky yarn, the finished piece will look clean and more structured but will lose the cozy cloudlike quality. A wool or alpaca-blend chunky gives warmth with a softer drape; a standard acrylic chunky is more affordable and easier to care for. Whatever you choose, go no lighter than chunky at an 8 mm hook or the hdc fabric will be too open and the garment will stretch out of shape when worn.
Customization Ideas
- Adjust the neckline by changing the starting chain. A smaller chain gives a tighter neck; a larger one gives more slouch at the collar.
- Skip the turtleneck and work a shorter neckline ribbing (ch 7 or 8) for a simple crew neck finish.
- Lengthen the body by adding rounds below the armhole divide — the construction doesn’t change, just the count.
- Make it cropped by stopping the body at hip length or above.
- Skip the sleeve decreases entirely for a wider, more relaxed sleeve silhouette.
FAQ
1. How do I know if my starting chain is the right length? It needs to fit over your head and sit at your preferred neckline. Before joining into a ring, loop it around your neck and check the fit — it should slip over easily with a little extra ease. If you need to go up or down, adjust in increments of 2 to keep the marker spacing even.
2. Can I make this in a smooth yarn instead of fluffy? Yes, but the look changes significantly. Smooth yarn shows every stitch and row in the hdc, which looks tidy and structured. The sweater will fit and work the same way — it just won’t have the same cozy, textured feel. See the yarn substitution section above for guidance.
3. My yoke looks uneven — one side has more stitches than the other. What happened? This usually means a stitch marker moved or was placed off-count at the start. Recount the stitches between each of your 4 markers and redistribute them evenly if needed — even two or three stitches of difference at this stage can affect how the raglan lines sit on the shoulder. Fix it now before you’ve added more rows.
4. Do the ribbed cuffs have to be added or can I just leave raw sleeve edges? The ribbing is optional. A simple row of sc around the cuff edge makes a clean, flat finish without any ribbing at all. If you do want the ribbing, the side-to-side strip method in Step 7 is the technique — it works well with fluffy yarn because you’re working sc in a separate strip rather than trying to pick up stitches directly in the fluffy fabric.