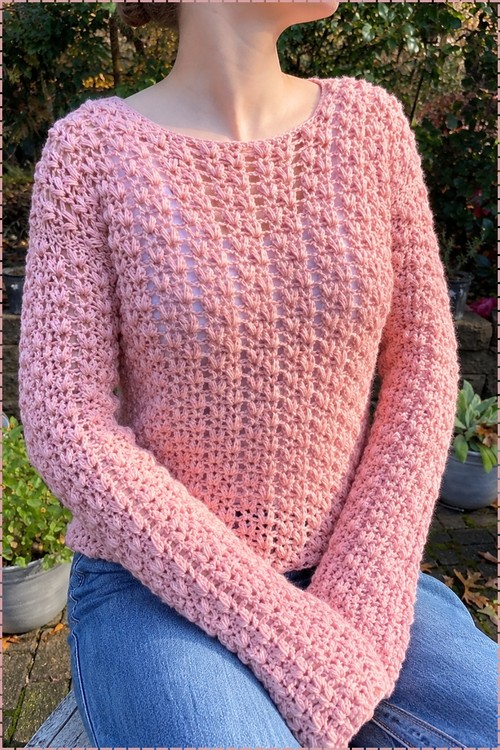
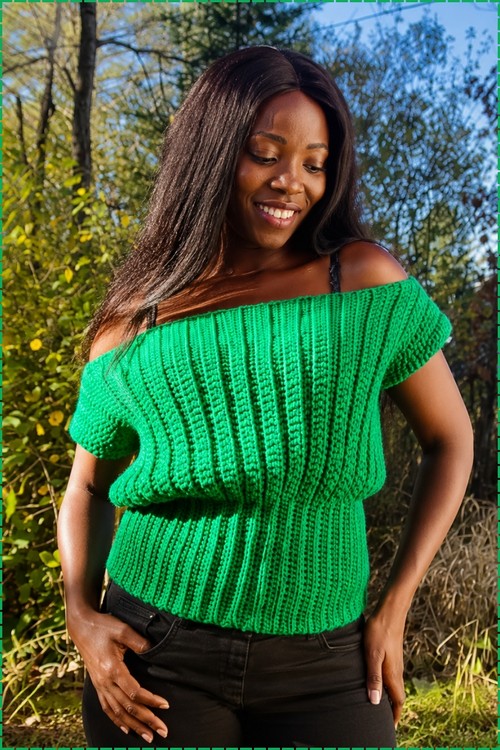
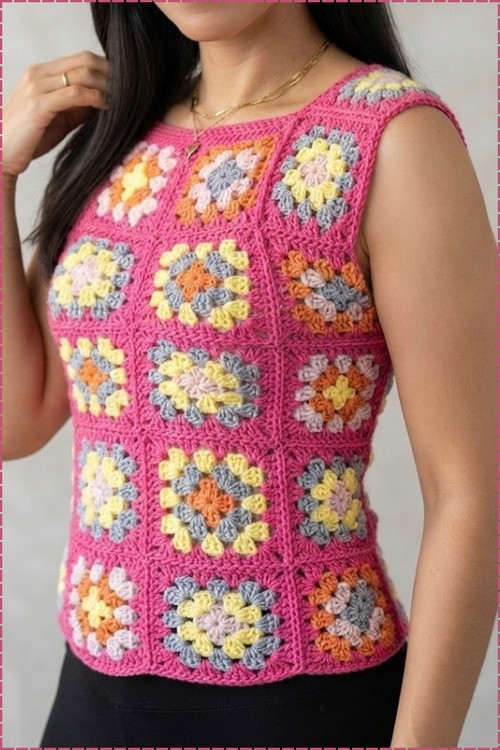
Crochet a granny square short sleeve sweater from cotton DK scraps, joining each square as you go through a hot pink outer round. The free granny square top pattern skips raglan shaping entirely, so leaving one square out at each front shoulder forms the scoop neckline.
Hot pink is doing all the work here. It’s the joining colour on every seam and every round of the border, and that one repeated choice is what keeps the yellow, orange, grey and pink squares from looking like whatever was left in the bin. The squares sit in a straight grid from hem to shoulder with no shaping rows between them, so once you’ve made your stack of squares the rest is just joining in order. The flat join is the same one used on the granny square top with sleeves, minus the sleeve caps, so the shoulder finish here is a step simpler.
Crochet Granny Square Short Sleeve Sweater

Each square uses a different multicolour centre with the same pink outer round, which is what keeps the grid readable at a distance even when the inner colours vary widely. The scoop neckline comes from leaving one square out at each front shoulder rather than working a shaped edge, so the neckline depth is fixed by the square count rather than any decrease math. Joining is done as you go with slip stitches through the outer round of each square, visible in image 6.
Why I love this one: the squares are genuinely portable — you can make them anywhere, in any order, and the blouse comes together at the seaming stage.
Materials & Tools
- 100% cotton yarn, sport or DK weight (the original uses Revés Derecho brand at 3 mm — any cotton at that weight works)
- Main color (fuchsia or your chosen main): approximately 50 g for size S
- Contrast colors combined: approximately 180 g total, around 35–45 g per color
- 3.0 mm crochet hook
- Scissors
- Yarn needle
- Tape measure
Square dimensions: Each finished square measures approximately 9 cm × 9 cm.
Abbreviations used in this pattern: ch = chain · dc = double crochet · sc = single crochet · sl st = slip stitch · st(s) = stitch(es) · sp = space · rep = repeat
Practice the Stitch First
Sizing
Size S (as written):
- Width: 4 squares across = 36 cm per panel
- Length: 5 squares tall = 45 cm per panel
- Total squares needed: 42 (20 front + 20 back + 2 shoulder squares)
To size up: Add squares horizontally — 5 across gives approximately 42 cm (Medium), 5+ for Large. The length stays at 5 squares unless you want a longer blouse.
The Pattern
Step A: Making the Granny Squares (Make 42)
Each square uses 4 rounds and approximately 5 g of yarn. Use a different color for each round, or keep rounds consistent — either way works. Leave a tail of about 20–30 cm on the final round of your last square in each batch to use for seaming.
Foundation ring:
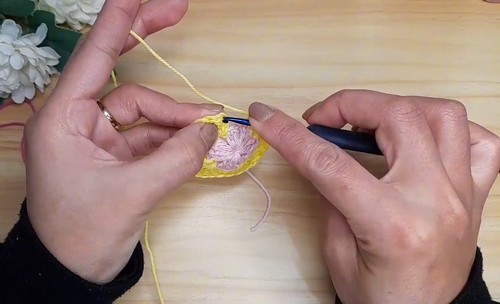
- Make a slip knot in your first color. Ch 4 and join with a sl st into the first chain to form a center circle.
Round 1:
- Ch 3 (counts as your first dc).
- Work 2 more dc into the center ring — 3 dc total in the group.
- Ch 2 (forms the corner space).
- Work [3 dc, ch 2] three more times into the ring — 4 clusters total with 4 corner ch-2 spaces.
- Join with a sl st to the 3rd ch of the starting ch-3.
- Fasten off, leaving a short tail to weave in.
If you’re a beginner and crochet patterns feel confusing, start with the video tutorial below, it’s the easiest way to learn as you go!
Round 2:
- Attach your next color in any corner sp.
- Ch 3 (counts as first dc), work 2 dc, ch 2, and 3 dc all in the same corner sp — first corner made.
- In each remaining corner sp: work (3 dc, ch 2, 3 dc).
- Join with a sl st to the 3rd ch. Fasten off.

Round 3:
- Attach your third color in any corner sp.
- Ch 3, work 2 dc, ch 2, 3 dc in the corner sp.
- In the side sp between corners: work 3 dc.
- Continue around: (3 dc, ch 2, 3 dc) in each corner sp and 3 dc in each side sp.
- Join with a sl st. Fasten off.
Round 4 (Main color — fuchsia or your chosen main):
- Attach main color in any corner sp.
- Work (3 dc, ch 2, 3 dc) in the corner sp.
- Work 3 dc into each side sp along the edges. (Note: the number of side spaces increases with each round — Round 4 has 2 side sps per edge.)
- Join with a sl st to the 3rd ch.
- On the last square of each seaming batch, leave a long yarn tail (20–30 cm) for sewing.
Step B: Assembly
Layout:
- Arrange 40 of your squares into two identical panels — front and back — each measuring 4 squares wide by 5 squares tall.
- Reserve 2 squares for the shoulders.

Seaming the panels:
- Using a yarn needle and the long tails on each square, sew the squares together with a flat invisible stitch — grab only the back loops of each stitch on adjacent square edges.
- Sew squares into horizontal rows first, then join the rows vertically to build each panel.
Shoulder squares:
- Position 1 extra square on each shoulder, folded halfway down to bridge the front and back panels. This creates the neckline opening in the center.
Joining front and back:
- Sew the front and back panels together at both shoulder seams and both side seams.
- Leave a 20 cm opening unsewn on each side for the armholes.
Step C: Finishing Borders
Armholes:
- Attach yarn at the bottom underarm seam. Ch 1 and work 1 sc into every stitch and sp all the way around the armhole opening.
- Sl st to join. Fasten off and weave in ends.
- Repeat for the second armhole.

Neckline:
- Attach yarn at the center back of the neckline. Ch 1 and work sc evenly around the entire collar opening.
- Sl st to join. Fasten off.
Bottom hem:
- Attach yarn at the bottom back hem and work a clean round of sc along the entire bottom border of the blouse.
- Sl st to join. Fasten off and weave in all remaining ends.
Tips & Troubleshooting
- Blocking your squares before assembly makes a significant difference. Cotton squares curl at the edges until they’re wet and pinned flat — even a quick spray and 10 minutes under a damp cloth is enough to make the squares lie flat and seam evenly. Doing this one batch at a time (while you’re making other squares) keeps the process from feeling overwhelming.
- The flat invisible stitch seam grabs only the back loops of the outermost row of each adjacent square. If you work into both loops or into the body of a stitch, the seam will be visible and raised on the right side. Practice on two small squares before starting the main panels if this is your first time with this seaming method.
- Use your main color (Round 4) for all the seaming tails — this way every seam thread matches the border of the square, and any slight gaps between squares blend into the main color rather than showing a contrast thread.
FAQ
1. Can I use yarn colors I already have instead of buying new ones? Yes — this pattern is designed as a scrap project. Each square uses roughly 5 g, so even very small leftover amounts work. The only requirement is that all your yarns are the same weight (sport or DK) and you use the same hook throughout, so the squares come out the same size.
2. What if my squares are coming out smaller or larger than 9 cm? Tension varies between makers. If your squares are consistently smaller, go up one hook size; if larger, go down. The important thing is that all 42 squares are the same size — check your first square against a ruler and adjust before making all 42.
3. How do I know the armhole opening is in the right place? The 20 cm opening at the top of each side seam is your armhole. Before seaming, hold the joined panels up against your body and mark where you want the armhole to begin — this is more reliable than measuring from the top of the panel, since shoulder square placement affects where the seam sits.
4. Can I make this longer without changing the construction? Yes — add an extra row of squares to each panel (5 squares tall becomes 6, and so on). Each additional square row adds approximately 9 cm to the length. The seaming and border process stays the same regardless of length.