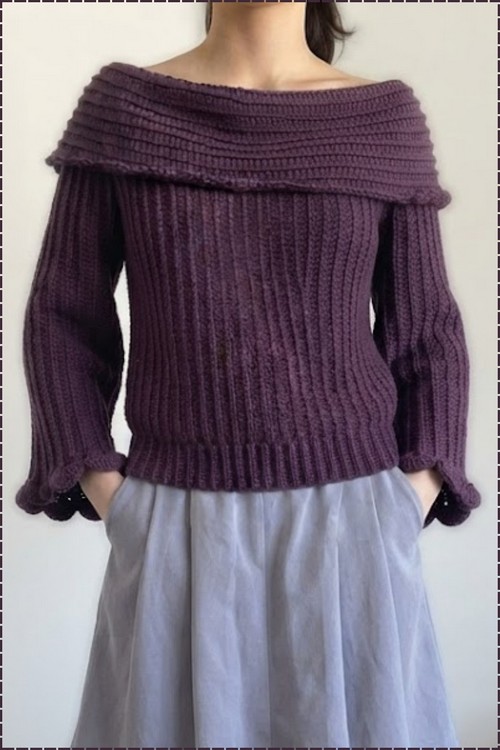
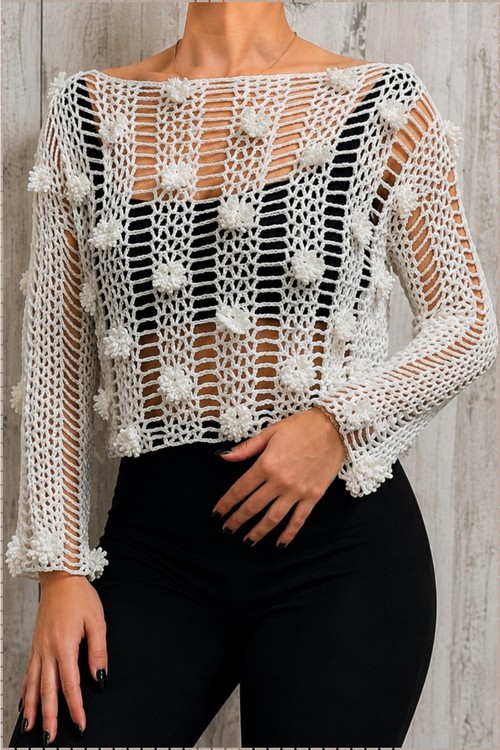
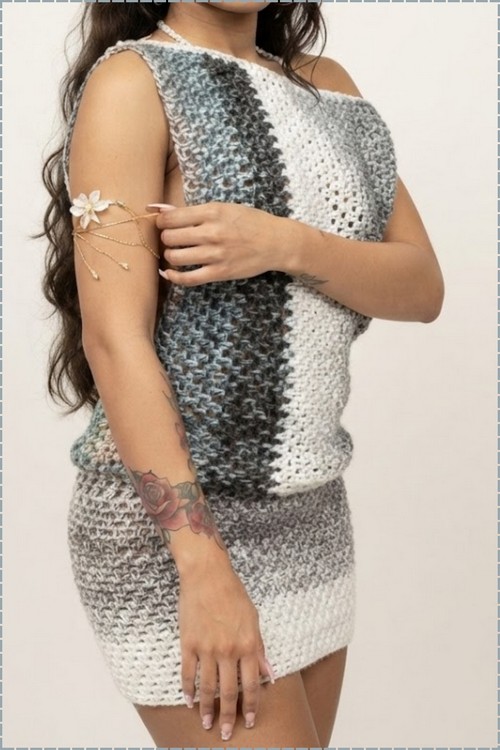
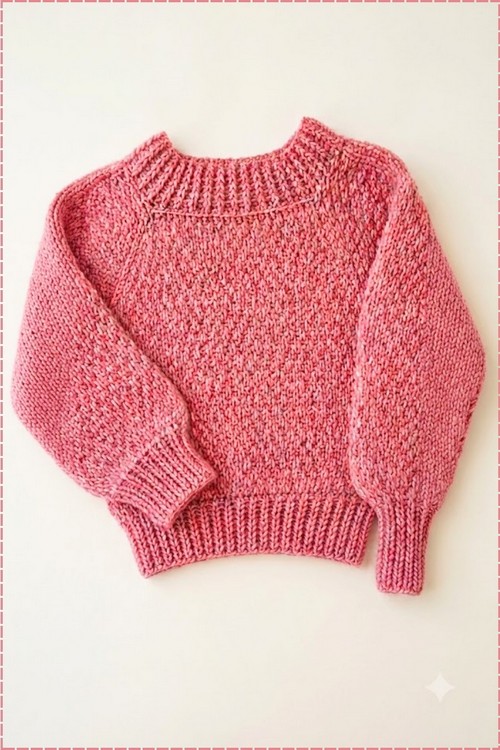
Teens who live in high waisted jeans get plenty of wear from a chunky crop sweater covered in a pebbled, heathered texture from collar to hem. Pleated midi skirts and white sneakers pair with the free crochet cropped sweater, and its measured fit suits adults and kids alike.
Dusty rose, a neckline ribbed in a neat round band and sleeves that balloon out before closing into tight cuffs. Everything about this chunky crop sweater is soft, helped by a brushed yarn that blurs the stitches into a knit look. It sits shorter than the usual cropped sweater because the deep ribbed hem eats into the body length.
Chunky Crop Sweater Crochet
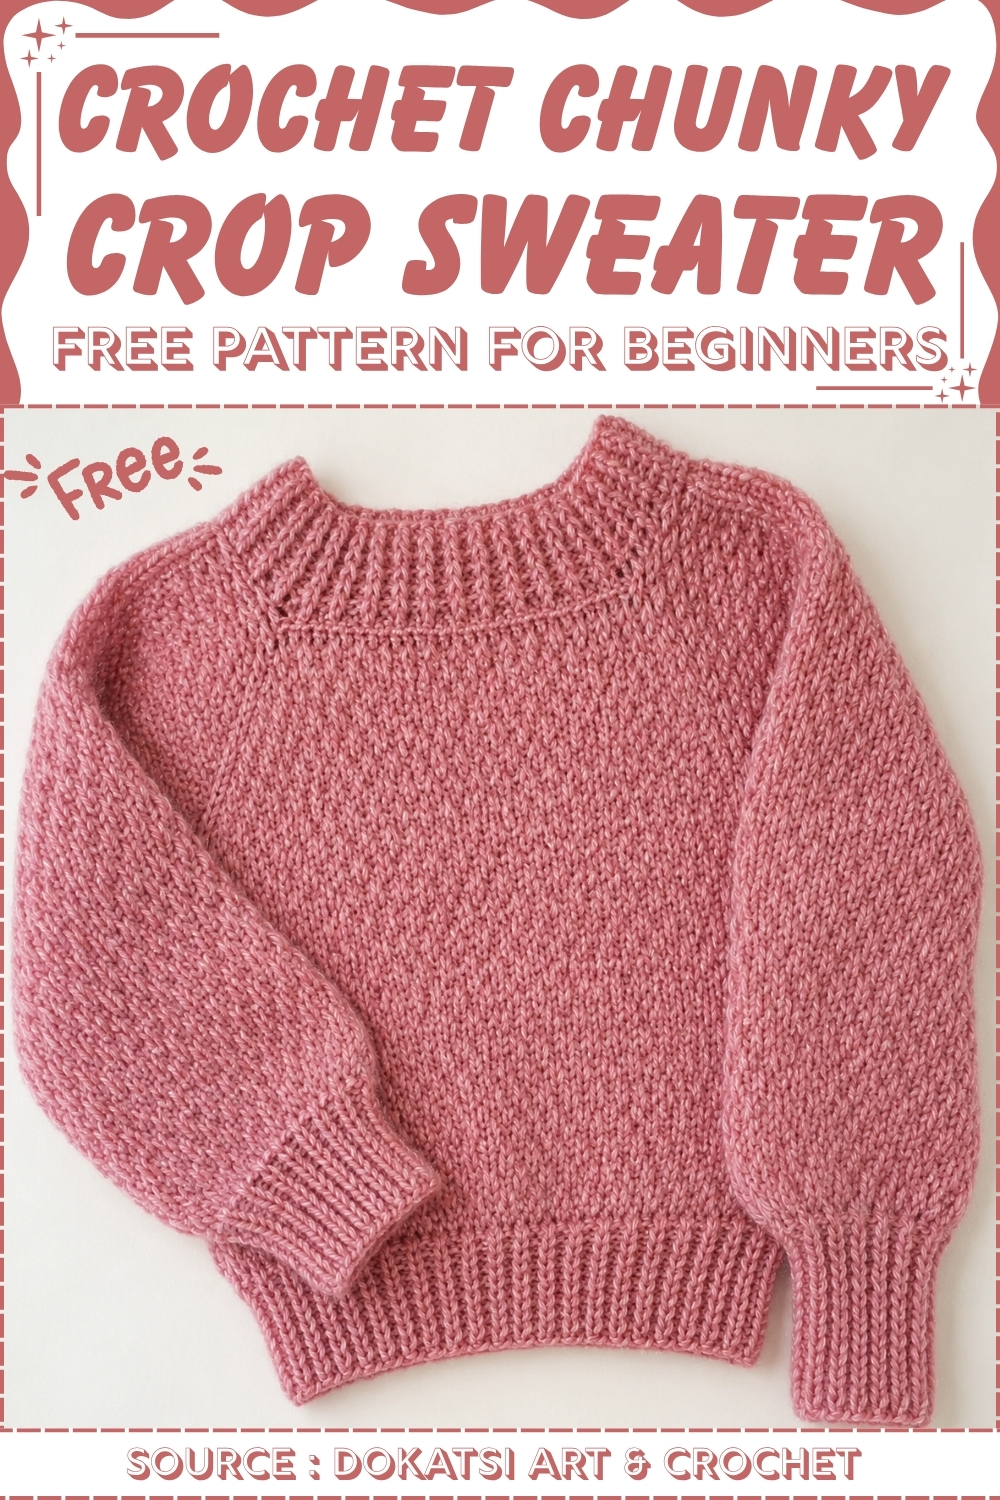
Ribbing frames every edge and the middle stays plain. Neckline, hem and cuffs are all worked in a vertical rib that pulls the shape in, while the body and sleeves run in an unbroken repeat with the raglan lines carrying the shaping from shoulder to underarm. Because the increases happen along those four diagonals, the whole thing works top down in one piece with no seaming at the end.
Materials and Tools
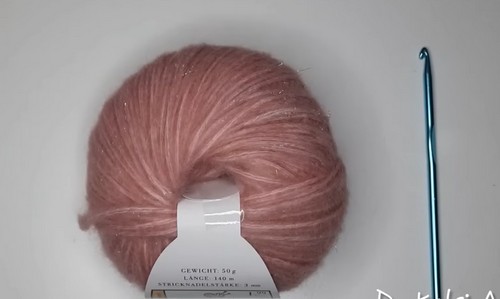
- Textured yarn of your choice. The original uses a yarn with visible texture and a bit of sparkle, labelled by the manufacturer for a 3 mm hook.
- 5 mm crochet hook. This is deliberately larger than the yarn label suggests, which opens the fabric up and gives the sweater its drape.
- Measuring tape.
- Stitch markers.
- Yarn needle for weaving in ends.
Stitch First, Then Start
Difficulty and Time
This sits in intermediate territory, mostly because of the front post work and the amount of measuring involved rather than any difficult stitch. You need single crochet, double crochet, front post double crochet, back post double crochet, and slip stitch. The alpine repeat is only four rows long and becomes automatic quickly. Most of the time goes into the four panels and the ribbed edges, which are worked in rounds after assembly. Plan on several sessions rather than a single weekend, and treat the gauge swatch as part of the project rather than an optional extra.
Gauge, Sizing, and Technique Notes
- Make a swatch before you chain anything. This pattern does not hand you a stitch count, it hands you a method: measure shoulder to shoulder, then use your swatch to work out how many chains cover that width at your tension. In the original, a 52 cm shoulder measurement came out at 60 foundation chains. Your number will differ, and that is the point. Write it down before you start, because both body panels use the same count and you will want to reproduce it exactly for the second panel without recalculating.
- The alpine stitch is simpler than it looks. Every other row is plain single crochet, which resets the fabric and gives the post stitches something firm to sit on. On the pattern rows you alternate a regular double crochet with a front post double crochet worked around the post from two rows below. Two things keep it neat. First, pull up a little extra height on each post stitch so it does not sit shorter than its neighbours and pucker the row. Second, always skip the stitch sitting directly behind the post you just worked, or your count will creep upward without you noticing.
- Offsetting is where most people slip. On the next pattern row, the front post stitches must land over the plain double crochets from the previous pattern row, not over the posts. If you stack them instead of offsetting them, you get vertical columns rather than the woven diamond texture. Check the fabric every few rows by holding it at arm’s length. Marking the first stitch of each pattern row helps too, especially once the panel gets long enough that the rows start to blur together and you are working while distracted.
The Pattern
Gauge and Starting Chain
- Make a gauge swatch in the alpine pattern before beginning so you can calculate your own foundation chain.
- Measure your shoulder width from shoulder to shoulder.
- Use your swatch to convert that measurement into a chain count. In the original, a 52 cm shoulder width translated to 60 foundation chains with that specific yarn and tension.

Front and Back Panels
- The sweater is built from four main panels, a front panel, a back panel, and two sleeve tops. The front and back panels are identical.
- Make your starting chain according to your shoulder measurement, for example 60 chains.
- Mark your last chain, then add 1 extra chain to turn.
- Row 1: Work single crochet all the way across the chain. [60 single crochets if you began with 60 chains]
- Row 2: Chain 2 and turn, then work a double crochet into every single crochet across.
- Row 3: Chain 1 and turn, then work a row of single crochet across.
- Row 4: Chain 2 and turn, then work the alpine sequence as follows.
- In the first space, make a regular double crochet.
- In the next stitch, make a front post double crochet around the post of the double crochet from Row 2 directly below, pulling up a little height so the stitch sits even with the row.
- Skip the stitch sitting directly behind that post, and in the next stitch make a regular double crochet.
- Continue alternating a regular double crochet with a front post double crochet all the way across the row.
- Row 5: Chain 1 and turn, then work a row of single crochet across.
- Row 6: Chain 2 and turn, then work the alpine sequence offset from the previous pattern row, so the front post double crochets fall over the regular double crochets of the last pattern row and the regular double crochets fall over the posts.
- Repeat Rows 3 through 6 in sequence until the panel reaches your desired length, measured from just below the collarbone to slightly above the waist. The original panel measures 28 cm at this point.
Just starting out with crochet? The video tutorial below is a great place to begin, or challenge yourself with the written pattern below!
Shaping the Shoulders
- Fold the finished panel in half and locate the centre.
- Count 15 stitches inward from each outer edge and place a stitch marker at each point to mark the two shoulder tabs. [15 stitches per tab]
- Continue working the alpine stitch pattern on the 15 stitch shoulder sections only, on both sides, leaving the centre neckline stitches unworked and open.
- Work each tab for about 8 cm, roughly 8 rows, until it reaches the midpoint of your shoulder. Fasten off.
- Repeat the entire process from the foundation chain onward to make a second identical panel, one for the front and one for the back.

Sleeve Panels
- Measure your bicep and add extra width for ease. The original measures a 26 cm bicep and adds 16 cm.
- Make a foundation chain of 50 stitches. [50 chains]
- Work the same combination of single crochet rows, double crochet rows, and alpine pattern rows used on the body panels.
- Continue until the sleeve panel measures about 30 cm, from the shoulder to just below the elbow.
- Make two identical sleeve panels.
Assembling the Pieces
- Place the front and back panels together with the wrong sides facing out.
- Join the shoulder tabs together at the top using slip stitches.
- Open the joined front and back panels out flat at the shoulders.
- Fold a sleeve panel in half to find its centre, then pin or mark that centre point directly against the shoulder seam.
- Attach the sleeve to the armhole edge using slip stitches.
- Repeat with the second sleeve on the opposite side.
- Fold the sweater together along the shoulders so it forms an L shape, with the sides and underarms still open.
- Join the sides of the body and the inner sleeve seams together using slip stitches.
Neckline Ribbing
- Attach your yarn at the centre shoulder seam and chain 3.
- Work a base round around the neckline opening, transitioning from chain spaces into stitches as the edge changes.
- Work a decrease every 5 stitches along the curved edges of the neckline so the collar draws in and lies flat.
- Slip stitch to join the round.
- Chain 3, then work alternating front post double crochets and back post double crochets around the collar.
- Continue this ribbing for about 6 rounds, or until the collar reaches your preferred height.
- Slip stitch to finish.

Lower Hem Ribbing
- Attach your yarn at the bottom hem seam and chain 3.
- Work a base round of double crochets and front post double crochets around the hem.
- Space decreases strategically through this round to draw the bottom hem inward for a snug fit.
- Join with a slip stitch.
- Chain 3, then work alternating front post double crochets and back post double crochets around the hem.
- Continue for several rounds until the hem ribbing reaches the length you want.
Sleeve Cuffs
- Attach your yarn at the underarm seam of one sleeve and chain 3.
- Work a base round of alternating front post double crochets around the wrist opening, skipping every alternate stitch by skipping one stitch and working into the next, so the sleeve tapers naturally toward the wrist.
- Join with a slip stitch.
- Chain 3, then continue with alternating front post double crochets and back post double crochets.
- Work about 14 rounds of cuff ribbing, or until the sleeve reaches your preferred wrist length.
- Repeat on the second sleeve.
- Fasten off and weave in all remaining yarn tails.
Yarn Substitution
The hook choice here matters more than the fibre. Going up to 5 mm on a yarn labelled for 3 mm is what makes this fabric drape instead of sitting stiff, and any substitute needs to survive the same treatment. Smooth mercerised cotton will not, since the open fabric turns holey and heavy. A yarn with body and a bit of loft holds the alpine texture best. If you swap to a thicker yarn, remember that your foundation chain count comes from your own swatch anyway, so the sizing adjusts itself as long as you swatch honestly.
Customization Ideas
Length is the easiest change. Work more repeats of Rows 3 through 6 before the shoulder shaping if you want the body to sit at or below the waist rather than cropped, and add the same number to both panels. The ribbed edges are equally flexible. A taller collar reads as a soft turtleneck, while stopping at two or three rounds gives a neat crew neck. Lengthen the sleeve panel past 30 cm for a full sleeve, or shorten it and cut the cuff rounds back for a three quarter sleeve that shows off the cuff ribbing.
Frequently Asked Questions
- Do I really need to swatch, or can I just chain 60? You need to swatch. The number 60 belongs to one specific yarn, hook, and tension combination paired with a 52 cm shoulder measurement. Chaining 60 with a different yarn or a looser hand gives you a panel that is too wide or too narrow with no easy way to fix it later. The swatch takes twenty minutes and decides whether the sweater fits.
- Why does the alpine texture look like straight columns instead of a woven grid? The pattern rows are not offset. On each new pattern row, the front post stitches need to sit over the plain double crochets from the last pattern row. If you place them over the previous posts instead, the texture stacks into vertical ribs. Pull back to the last single crochet row and restart the alpine row with the placement shifted by one stitch.
- Can I work the body in the round instead of as two panels? Not without redesigning it. The shoulder tabs, the open centre neckline, and the way the sleeves attach to a flat armhole edge all depend on the panel construction. If you prefer seamless garments, this is not the pattern to adapt. The slip stitch seams here are also part of the structure, giving the shoulders enough firmness to carry the weight of the fabric.