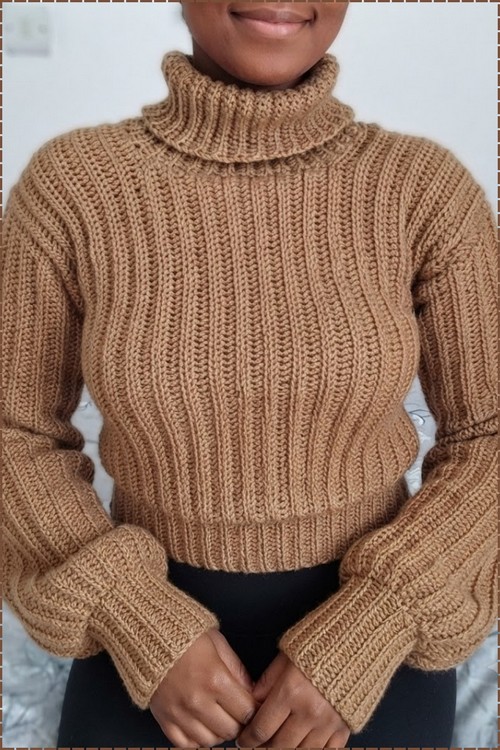
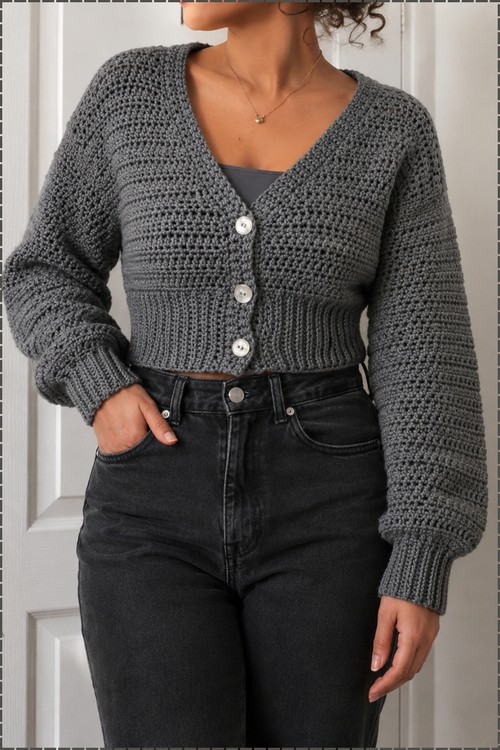
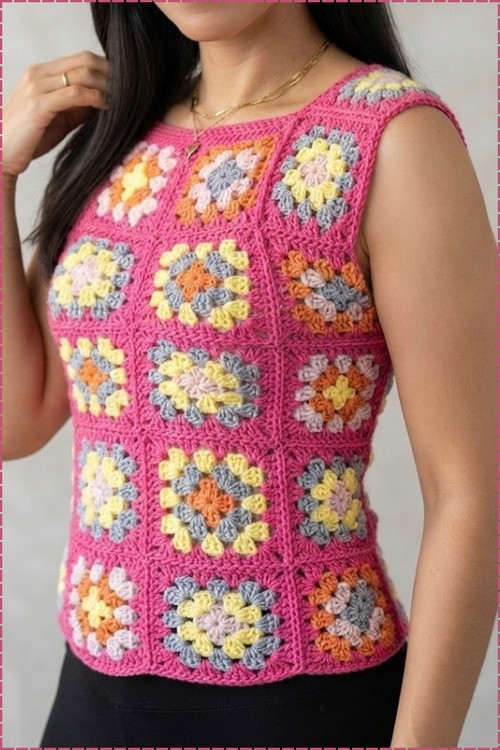
Stripes of cream, pink and purple run unbroken from body to cuff in this easy crochet batwing sweater, since one flat yoke panel becomes both the torso and the flared bell sleeves. You work only the narrow crew neck band in the round.
One rectangle does the whole job. It forms the front and back of the body and keeps going outward to open up the sleeves, so there’s no sleeve cap to shape and nothing to set in. Cream, pink and purple stripes run horizontally across the entire surface, which means the colour sequence carries straight from body to sleeve without breaking at the join. Count your rows per stripe carefully, though. Any drift shows up the moment the panel folds and the two halves sit side by side. Rectangle construction like this clicks fast, so if you’ve built a weavy top or anything similar you’ll be past the guesswork within a few rows.
Crochet Dolman Sleeve Sweater

The sleeves flare outward from the join point down to the cuff, giving the finished piece the wide bell shape visible in the worn photos. A narrow crew neck band sits at the top of the yoke rectangle and is the only section worked in the round. The stripe sequence uses three tones that are close enough in value that the sweater reads as one coherent colorway rather than a bold stripe pattern.
Materials
- Weight 3 acrylic yarn in 2–3 colors
- 5.5 mm crochet hook (the pattern goes up from the standard 4–4.5 mm recommendation for better drape)
- 4 stitch markers
- Scissors
Abbreviations: ch = chain · Ex-DC = extended double crochet · hdc = half double crochet · sl st = slip stitch · st(s) = stitch(es) · sp = space
Perfect the Stitch Before Starting
The Pattern
Step 1: Foundation Chain and Sizing
- Make a slip knot and chain enough stitches to form a neckline that slides comfortably over your head. (The pattern uses 80 chains as an example.)
Stitch distribution — divide your total chain into 4 sections:
- Front and back combined: approximately 60% of total stitches (about 30% each)
- Each sleeve: approximately 20% of total stitches
(Example with 76–80 chains: approximately 16 chains per sleeve and 24 chains each for the front and back. Round to the nearest whole number that fits your count.)
- Place a stitch marker at each of the 4 section dividers — these mark your raglan increase points.
- Bring the two ends of the foundation chain together and join with a sl st to form a ring.
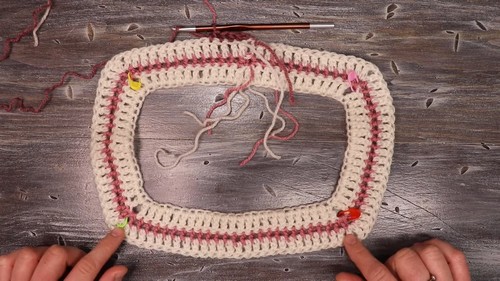
Step 2: Yoke — Alternating Rounds
The yoke alternates between two stitch types, one per round, in two colors.
Round 1 — Extended Double Crochet (Color 1):
- Ch 3.
- Work 1 Ex-DC into each st until you reach the first stitch marker.
- Increase at the marker: Work [1 Ex-DC, ch 1, 1 Ex-DC] all into the marked st. Move the stitch marker up into the ch-1 sp just made.
- Continue Ex-DC to the next marker and repeat the increase.
- Work increases at all 4 markers.
- Join the round with a sl st. Fasten off or switch to Color 2.
If you’re a beginner and crochet patterns feel confusing, start with the video tutorial below, it’s the easiest way to learn as you go!
Round 2 — Half Double Crochet (Color 2):
- Turn your work. Ch 2 (counts as a st).
- Work hdc into each st until you reach the increase sp.
- Increase at the marker: Work [1 hdc, ch 1, 1 hdc] into the ch-1 sp.
- Continue hdc to the next marker and repeat the increase.
- Work increases at all 4 markers.
- Join with a sl st. Fasten off or switch to Color 1.
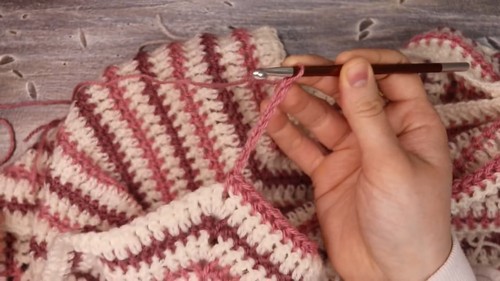 Continuing the yoke:
- Repeat the alternating Ex-DC and hdc rounds, working [st, ch 1, st] increases at all 4 markers on every round.
- Continue until the yoke reaches your underarm — the total depth should sit comfortably at armpit level when held against your body. (The pattern works 21 rounds total for the yoke.)
Step 3: Separating Sleeves from Body
- Fold the sweater in half to clearly see the front, back, and sleeve sections.
- Join yarn, turn, and work hdc across until you reach the first sleeve section.
- Underarm bridge: Ch 8 (or more to fit your underarm measurement), skip the entire sleeve section, hdc into the ch-1 sp at the far corner, and continue hdc across the front panel.
- Repeat at the second underarm: ch 8, skip the second sleeve, join at the back corner, and finish the round.
- On the following Ex-DC round, work 1 Ex-DC into each underarm chain stitch as you pass it.
- Continue the alternating body rounds downward until the sweater reaches your desired length. Fasten off.

Step 4: Sleeves (Make Two)
- Attach yarn at the underarm, positioning the join along the bottom of the armhole so it sits hidden.
- Ch 2, then work hdc evenly all the way around the armhole opening — picking up stitches from the yoke rows, the corner spaces, and the underarm chains.
- Join with a sl st.
- Switch colors and continue working in rounds, alternating Ex-DC and hdc rounds as established, until the sleeve reaches your preferred length.
- Fasten off. Repeat for the second sleeve.

Notes
- The 60/40 front-back-to-sleeve stitch split is what gives this sweater its dolman shape — the sleeve sections start wide from the yoke rather than tapering. If you want a slightly narrower sleeve, shift a few stitches from each sleeve section to the front and back before you join the ring.
- The underarm chain length affects how much room you have across the chest. Eight chains is the pattern’s starting point — try the yoke on before bridging, and add more chains if your body needs the extra ease.
- Fastening off and rejoining for each color change is how the two-color alternating texture is achieved. Carrying the unused color inside the stitches creates visible bumps in a weight-3 yarn at this hook size — cleaner to cut and rejoin.

FAQ
1. What is an extended double crochet? It’s a dc with one extra step at the beginning: yarn over, insert hook, pull up a loop, yarn over and pull through just the first loop on the hook (extending the stitch), then yarn over and pull through 2 loops twice as usual. The result is a taller, slightly more open stitch than a standard dc.
2. How do I know my stitch distribution is right before joining? Lay the foundation chain flat and count the sections between your 4 markers. The two sleeve sections should look noticeably narrower than the front and back sections — roughly half the width of each body panel. If they look equal, redistribute the markers.
3. Can I skip the color changes and work the whole sweater in one color? Yes. Work every round in the same color, alternating Ex-DC and hdc rounds as the pattern describes. The two-stitch alternation still creates a subtle textural stripe even without the color change.