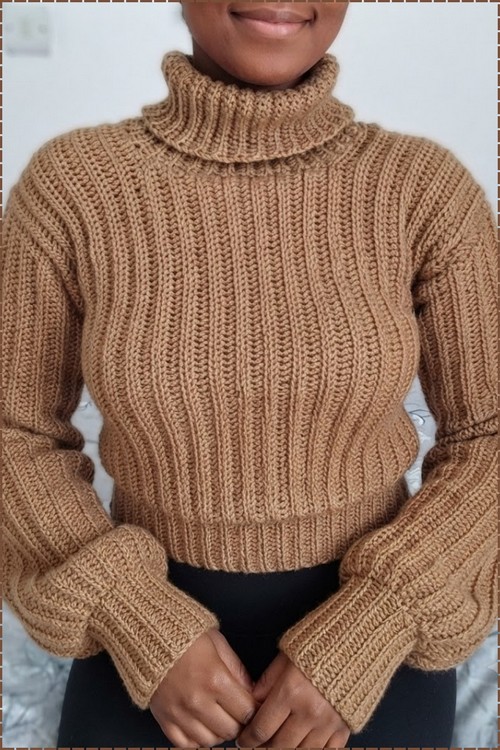
Winter layering gets easier with a turtleneck that folds over at the throat, and this free crochet long sleeve sweater pattern shapes one from unbroken front and back post columns. Camel brown yarn and stretchy ribbing make the pullover a cozy winter crochet sweater for women.
Camel brown plus full ribbing is why this one gets mistaken for shop-bought knitwear. Post stitch columns run unbroken from the hem all the way up into the turtleneck, no stitch change anywhere in between, and that consistency is doing the heavy lifting. The turtleneck is deep enough to fold over on itself and sit close at the throat, which is the detail that takes it past a plain pullover. Expect it to eat yarn. Ribbing this dense pulls in hard, so buy more than the pattern says if you’re between sizes. The raglan pullover keeps ribbing to the edges only if you want something lighter to work.
Crochet Long Sleeve Sweater
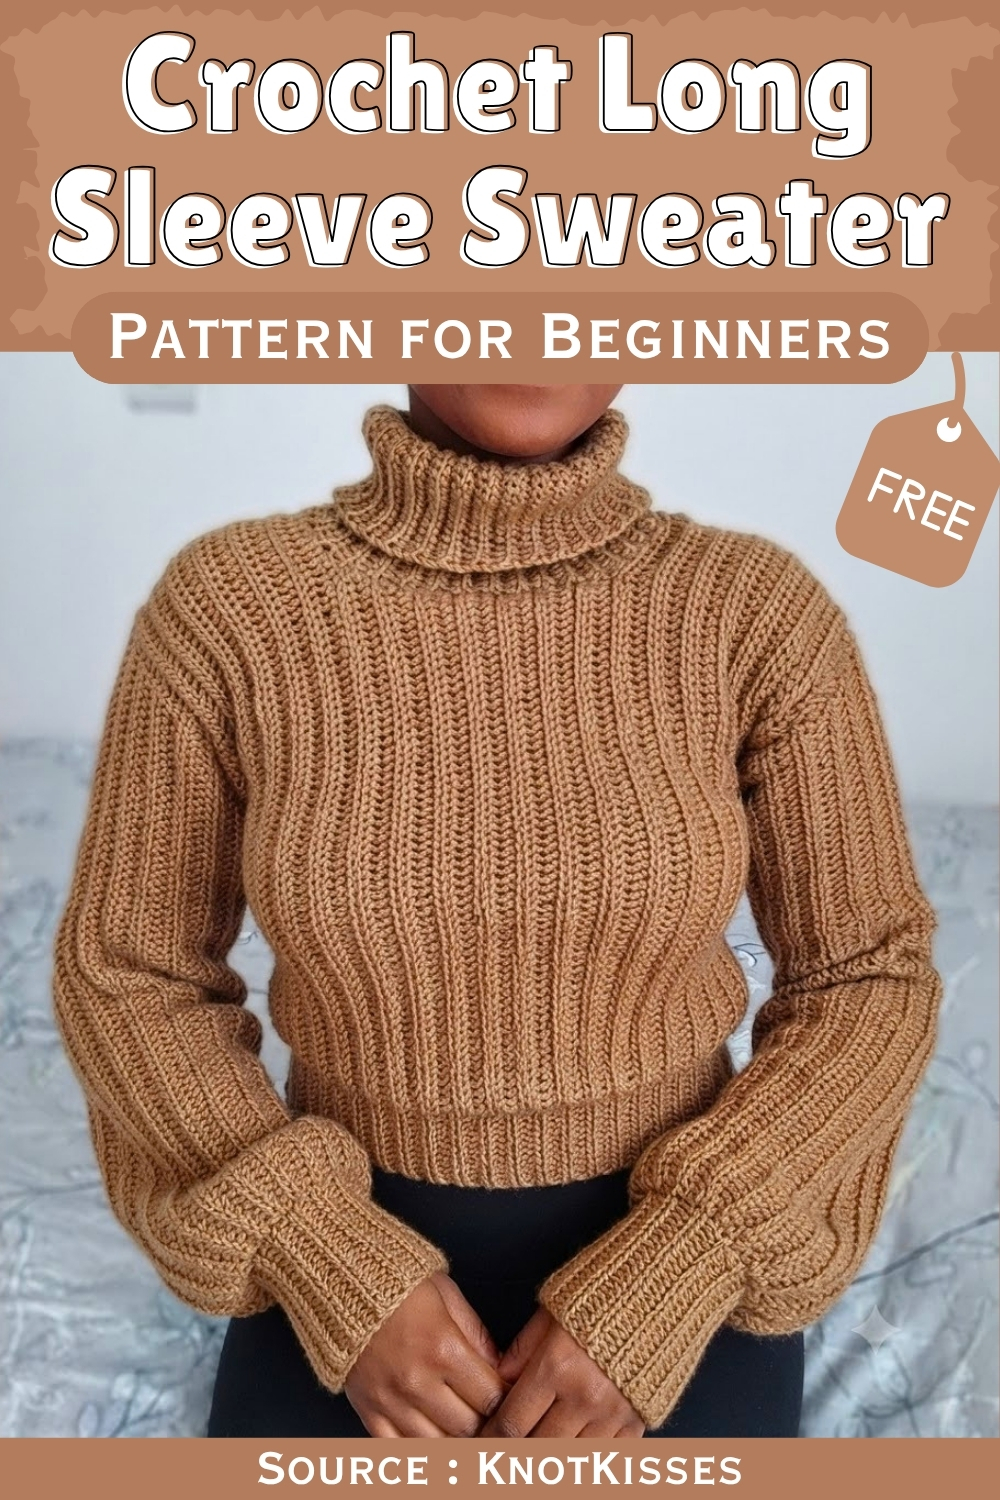
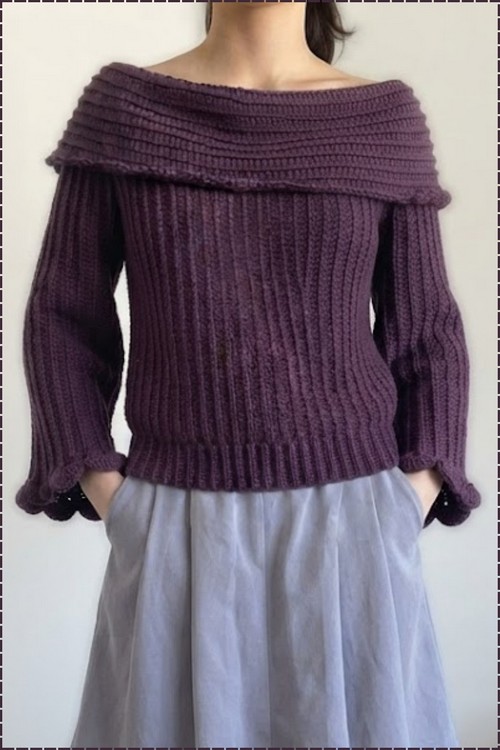
The body and sleeves are all worked in the same front and back post repeat, which means the fabric has real stretch and recovery rather than just a ribbed appearance. That elasticity matters for the turtleneck specifically, since a rigid fabric would not fold and drape the way the collar does in images 1 and 2. The seams are joined after each panel is completed rather than worked in the round, which keeps the stitch count manageable across a full length body.
Materials
- Medium weight yarn
- 3.75 mm crochet hook
- Tapestry needle
- Measuring tape
- Scissors
- Stitch markers
Abbreviations: ch = chain · hdc = half double crochet · sc = single crochet · sl st = slip stitch · BLHDC = back loop half double crochet · BLSC = back loop single crochet · st(s) = stitch(es)
Know the Stitch First
The Pattern
Front Panel
The front panel is worked vertically across its width in three connected segments.
First segment:
- Make a slip knot and work foundationless hdc until the strip reaches your desired sweater length — from the top of your shoulder to where you want the hem to sit (excluding the waistband). Place a stitch marker in the first stitch.
- Row 2 onwards: Ch 2 (turning chain only — does not count as a stitch), turn. Work BLHDC across every stitch to the end.
- Repeat until you have a total of 14 rows (approximately 5.5 inches).
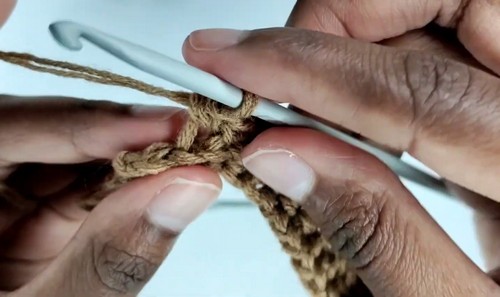
Second segment (armhole cutout):
- Continue working until approximately 10 stitches (2 inches) remain at the end of the row. Place a stitch marker at that point. Ch 2, turn.
- Work BLHDC across the active stitches only, leaving those last 10 stitches unworked.
- Repeat this shortened row for 14 more rows (approximately 5.5 inches) — this forms the shoulder strap.
Third segment:
- Mirror the first segment. On the row that bridges the gap, work across the active stitches and then add 10 foundationless hdc at the end of the row to span the armhole cutout.
- Work rows to match the row count of the first segment.
- Cut yarn and fasten off.
Just starting out with crochet? The video tutorial below is a great place to begin, or challenge yourself with the written pattern below!
Back Panel
Make a second piece identical to the front panel in every step and measurement.
Sleeves (Make Two)
- Make a slip knot and work 88 foundationless hdc. (Note: the 2.5-inch cuff will be attached separately later — account for this when assessing sleeve length.)
- Rows: Ch 2, turn. Work BLHDC rows until the piece, when wrapped, comfortably fits around the largest part of your arm.
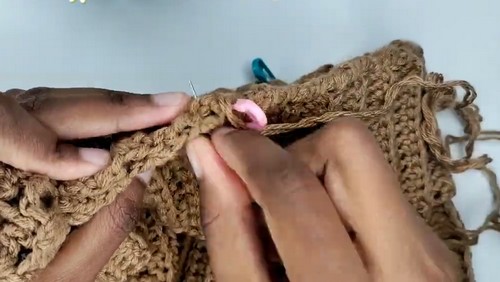
- Seaming: Fold the sleeve in half lengthwise with right sides facing. Join the long edges together using sl sts through the back loops. Leave a long tail for sewing, then fasten off.
Cuffs (Make Two)
- Make a slip knot and work 12 foundationless sc (approximately 2.5 inches wide).
- Rows: Ch 1, turn. Work BLSC rows until the strip fits comfortably around your wrist.
- Seaming: Fold in half with right sides facing and join the short edges with sl sts through the back loops. Fasten off, leaving a long tail for sewing.
Waistband (Make One)
- Make a slip knot and work 13 foundationless sc.
- Rows: Ch 1, turn. Work BLSC rows until the band fits snugly and comfortably around your waist.
- Seaming: Fold in half with right sides facing and join with sl sts through the back loops. Fasten off, leaving a long tail for sewing.
Turtleneck (Make One)
- Make a slip knot and work 32 foundationless sc.
- Rows: Ch 1, turn. Work BLSC rows until the piece fits comfortably around your neck.
- Seaming: Fold in half with right sides facing and join with sl sts through the back loops. Fasten off.
Assembly
Body panels:
- Place the front and back panels right sides together.
- Whip stitch the shoulder seams and side seams together with a yarn needle, leaving approximately a 6-inch opening unstitched at the upper sides for the armholes.
Cuffs to sleeves:
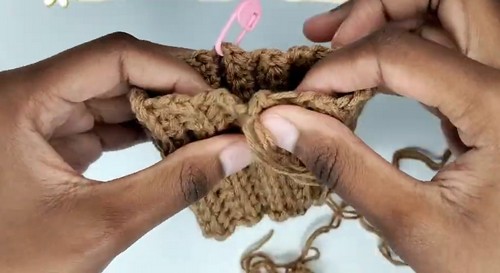
- Divide both the cuff opening and the sleeve opening into 4 equal quarters using stitch markers. Align and clip the markers together.
- Whip stitch the cuff to the sleeve, gently stretching the sleeve between markers as you sew so the fabric gathers evenly without pleating.
Sleeves to body:
- Turn the sweater body inside out. Keep the sleeve right side out.
- Insert the sleeve into the armhole with right sides together, aligning the underarm seam of the sleeve with the side seam of the body.
- Whip stitch around the armhole opening. Turn the sweater right side out.

Waistband:
- Mark the quarters of both the waistband and the bottom hem.
- Align the markers, pin, and whip stitch the waistband evenly onto the bottom of the sweater body.
Turtleneck:
- Mark the quarters of both the turtleneck and the neckline opening.
- Position the turtleneck so its wrong side faces outward against the right side of the sweater neckline. (When you fold the collar down to wear it, the right side will face out correctly.)
- Whip stitch the turtleneck securely around the neckline opening.