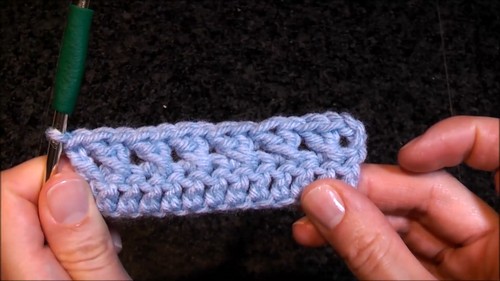
Front post and back post double crochet is the technique behind nearly every piece of structured ribbing you see in crochet garments — the stretchy cuffs on sweater sleeves, the fitted hem on a beanie, the waistband that actually holds its shape. If you’ve been finishing your hats with flat edges or skipping waistbands entirely because you didn’t know how to get that elastic, knit-like look, this is the stitch that changes that.
Front Post and Back Post Double Crochet
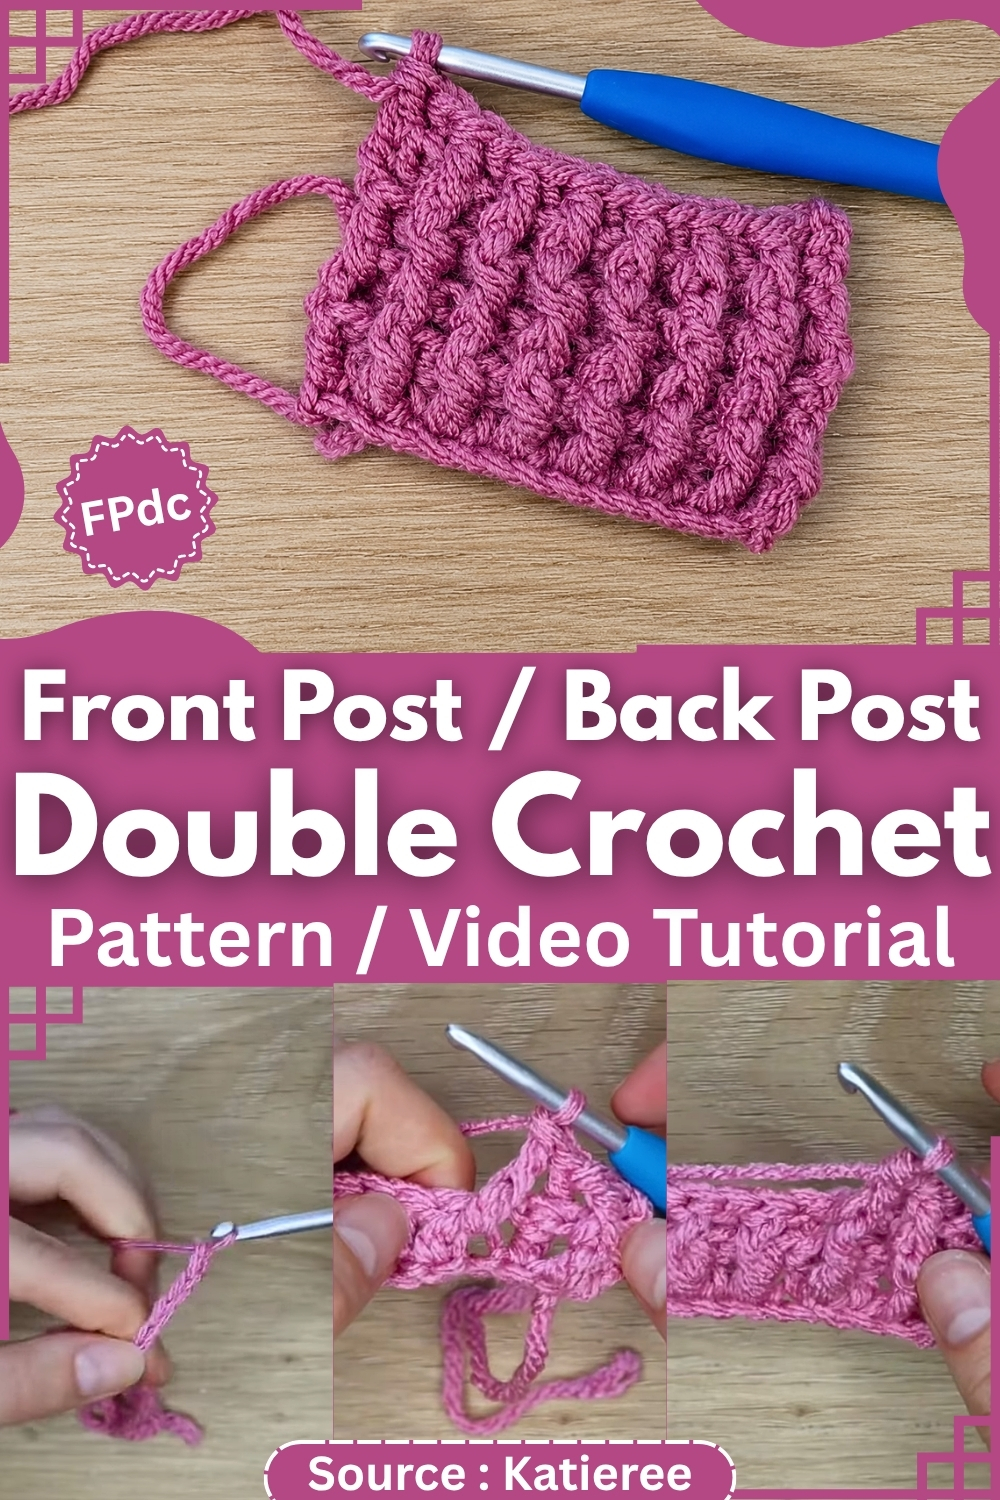
It works for all skill levels beyond absolute beginner, requires no special tools, and the logic behind it is more straightforward than it first appears. Once you understand what post stitches are doing structurally, the alternating pattern starts to feel intuitive fast.
Materials and Tools
- Any yarn weight
- Crochet hook appropriate for your yarn
- Scissors
- Yarn needle for weaving in ends
No specialty equipment needed. This technique scales to any yarn weight — the ribbed texture simply becomes more pronounced in heavier yarns and finer in lighter ones.
Abbreviations
ch — chain dc — double crochet FPDC — Front Post Double Crochet BPDC — Back Post Double Crochet st — stitch YO — yarn over
What Post Stitches Are Actually Doing
- Standard crochet stitches are worked into the top loops of the previous row. Post stitches work differently — instead of the top loops, your hook goes around the vertical body of the stitch below, which is called the post.
- Working around the front of the post pushes that stitch forward toward you, creating a raised ridge on the side facing you. Working around the back pushes the stitch away, creating a recessed groove. When you alternate these two movements across a row, the raised and recessed columns create the ribbed texture. The fabric becomes stretchy because the stitches are wrapping around each other rather than sitting flat in a line.
- Keep your tension relaxed as you work around the posts. A tight hook grip compresses the stitch and dulls the ribbing effect — the posts need a little room to push in the right direction.
The Pattern
Foundation Setup
Create a slip knot and chain your desired number of stitches.
Row 1 — Foundation Row
- Skip the first 3 chains. These count as your first double crochet.
- Work 1 dc into each remaining chain across the row.

This row forms the base that all ribbing will be worked around. It doesn’t look like ribbing yet — that begins in Row 2.
- Don’t let crochet patterns intimidate you! If you’re a beginner, the video tutorial below makes it super easy to follow along!
Row 2 — Introducing the Ribbing
- Chain 3 and turn. The ch 3 counts as your first dc.
Front Post Double Crochet (FPDC)
- Yarn over.
- Insert your hook from the front of the work, bring it behind the next stitch post, then bring it back to the front on the other side of the post.
- Yarn over and pull through.
- Complete the double crochet normally.
Back Post Double Crochet (BPDC)
- Yarn over.
- Insert your hook from the back of the work and bring it around the post so the stitch post sits on top of the hook.
- Yarn over and pull through.
- Complete the double crochet normally.
Continuing Across the Row
- Alternate one FPDC and one BPDC across the row.
- Continue this sequence until you reach the final stitch.
- Work around the turning chain at the end of the row.

The turning chain acts as a stitch and must be worked into. Skipping it causes you to lose a stitch, and missing it repeatedly will cause your piece to narrow on the edges. Working into it consistently keeps your sides straight and your stitch count stable.
Row 3 and Beyond — Maintaining the Ribbing
- Chain 3 and turn.
- Before you begin, examine the row in front of you. Identify which posts are raised toward you and which sit farther back.
- Work FPDC into every raised post.
- Work BPDC into every recessed post.
- Match the stitch to what the fabric is showing you.
- Repeat for as many rows as needed.

Reading Your Fabric
Raised posts tell you to make a FPDC. Recessed posts tell you to make a BPDC. The fabric itself is the guide — you don’t need to count from the beginning of the row if you learn to read the texture. This is one of the most useful habits to build when working ribbing, because it eliminates the most common source of pattern drift.
If a row starts to look uneven or the columns aren’t lining up, the likely cause is either working into the top loops by mistake instead of around the post, or swapping front and back post placement without realizing it. Both are easy to correct once you can identify them by looking at the fabric.
Customization Ideas
- Ribbing width: Work just a few rows for a narrow cuff or hem; add more for a wide waistband or collar.
- Yarn weight: Bulky yarn makes wide, bold ribs great for cold-weather accessories; fingering weight creates delicate ribbing for lightweight garments.
- Stitch ratio: Standard ribbing alternates one FPDC and one BPDC, but you can try two of each for chunkier, more pronounced columns.
- In the round: This technique translates directly to working in the round — ideal for seamless hats, cuffs, and cowls.

FAQ
1. Why does my ribbing look flat instead of raised? The most likely cause is working into the top loops of the stitches instead of around the posts. Double-check that your hook is going around the vertical body of the stitch below, not into the V at the top. The physical motion feels different — you’ll notice your hook has to travel around the stitch rather than just drop into it.
2. My edges keep getting narrower. What’s happening? You’re probably skipping the turning chain at the end of each row. The ch 3 at the start counts as a stitch, and the turning chain from the previous row needs to be worked into at the end. Every time you miss it, you lose one stitch. Count your stitches at the end of a few rows until you’ve locked in the habit.
3. How do I know whether to make a FPDC or BPDC on any given stitch? Look at the post in front of you. If it’s raised and coming toward you, work a FPDC. If it’s sitting back and away from you, work a BPDC. The fabric tells you exactly what to do — you’re just matching what’s already there. Trusting this visual read is faster and more reliable than counting from the row start.