Summer evenings call for a crochet bell sleeve crop sweater sized from your own bust measurement, with two flat panels seamed at the shoulders. Each sleeve grows straight from the armhole, then flares as the mesh gaps widen toward the wrist.
Yellow yarn and open mesh bell sleeves make this crop sweater one of the more striking warm weather layering pieces in the collection, and the contrast between the dense body and the airy sleeves is what gives it its shape. The bell flare happens naturally as the mesh repeat widens toward the wrist, so there is no separate shaping to calculate. If you enjoy open sleeve constructions, the balloon sleeve sweater uses a different volume approach worth comparing.
Crochet Bell Sleeve Crop sweater
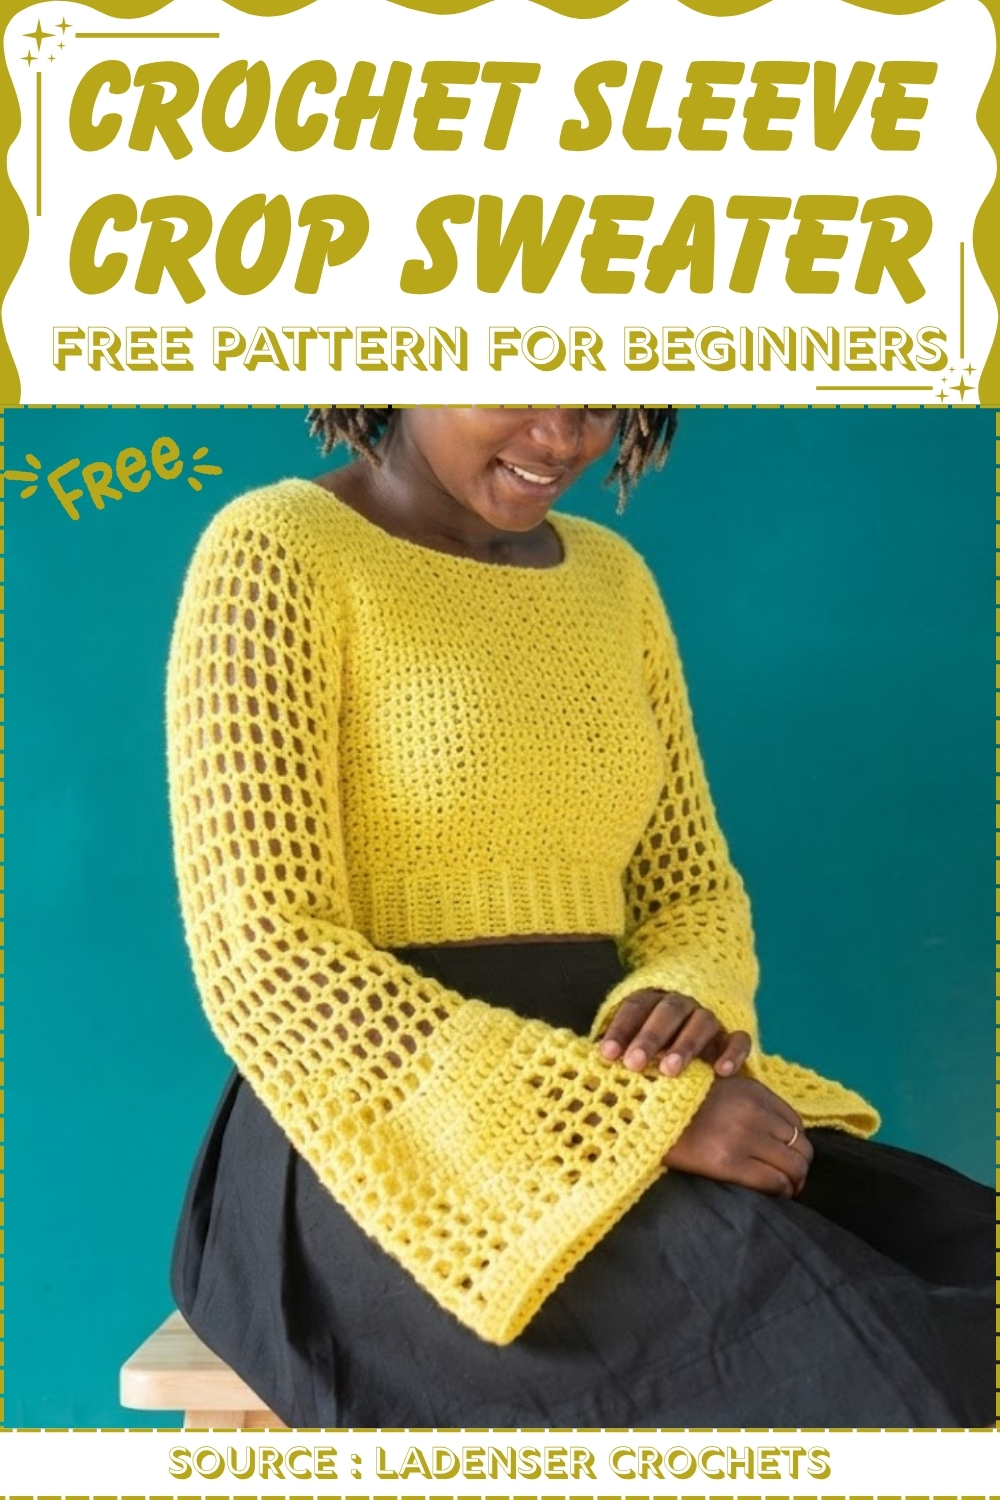
Bright cotton yarn in a single bold color works best here because the mesh openings let the fabric breathe while the solid body keeps the silhouette clean and cropped. The ribbed waistband is worked last and pulls everything in just enough to define the hem without adding bulk.
Materials
- Medium-weight yarn (any color)
- 4.5 mm crochet hook
- 2.5 mm crochet hook (for optional ribbing only)
- Stitch markers, measuring tape, scissors, yarn needle
Abbreviations: ch = chain · sc = single crochet · dc = double crochet · sl st = slip stitch · sp = space · BLO = back loops only
The Pattern
Step 1: Back Panel
- Measure your bust and divide by two — this is your target panel width when slightly stretched.
- Begin with a slip knot and chain an odd number of stitches to match your desired top length. (Example: chain 51 gives about 14 inches unstretched.)
Row 1:
- Block off the last chain, ch 1 extra, and work 1 sc into the first held chain.
- Ch 1, skip the next chain, sc into the following chain.
- Repeat [ch 1, skip 1, sc] to the end of the row, finishing with a sc in the last st.

Row 2 onwards:
- Ch 1, turn.
- Sc into the very first st, ch 1, skip the ch-sp, sc directly into the previous row’s sc.
- Repeat across, ending with a sc in the last st.
- Continue repeating Row 2 until the panel reaches half your bust measurement when slightly stretched. (The pattern uses 50 rows total.)
- Ch 1, cut yarn, leave a tail for sewing.
If you’re new to reading crochet patterns, don’t worry, just follow along with the video tutorial below and use the written pattern as a reference!
Step 2: Front Panel
The front panel includes a neckline cutout in the center.
Base rows:
- Chain the same starting number as the back panel and work the same stitch pattern.
- To find your number of base rows: take your total back rows, subtract 20, and divide by 2. (Example: 50 rows − 20 = 30 ÷ 2 = 15 base rows.)
Neckline cutout:
- At the end of the final base row, ch 1, turn. Work across the row and stop 10 stitches short of the end. Place a stitch marker at the stopping point.
First shoulder strap:
- Ch 1, turn. Work back and forth over this section only for 20 more rows. Fasten off.
Second shoulder strap:
- Reattach yarn to the other side of the neckline gap.
- Ch 10 to bridge the gap, then work rows matching the height of the first strap until the front panel matches the back panel’s total row count. Fasten off.

Step 3: Seaming the Body
Shoulder seams:
- Lay front and back panels right sides together.
- Sew the top shoulders together across the first set of base rows on each side.
Side seams and armholes:
- Lay the joined panels flat. From each shoulder seam down, count and mark 25 stitches on each side — leave this section open for the armhole.
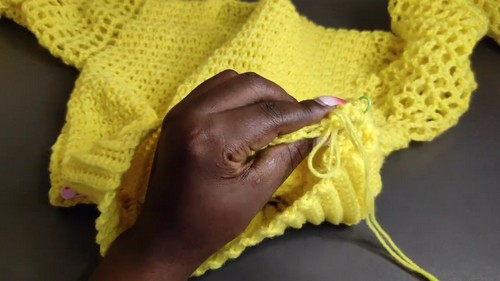
- Sew the sides closed from the bottom hem up to the markers on each side.
- Turn the top right side out.
Step 4: Bell Sleeves (Make Two)
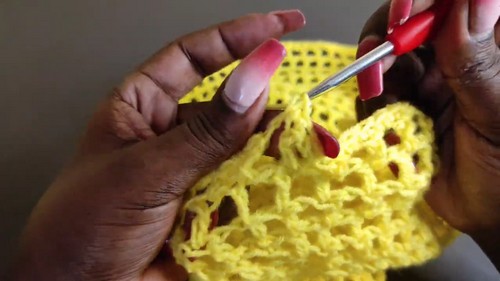
Foundation round:
- Reattach yarn at the underarm corner of the armhole.
- Sl st, then ch 4 (counts as 1 dc + ch 1).
- Skip the next st, dc into the following st.
- Repeat [ch 1, skip 1, dc] all the way around the armhole opening.
- Join with a sl st into the 3rd ch of the beginning ch-4.
Sleeve body — Rows 2–20:
- Ch 4, turn.
- Work a dc on top of each previous dc, separated by a ch-1 sp.
- Join at the end of each round.
- Repeat for 20 rows total — no increases, building a straight tube.
Flare and increase rounds — Row 21 onwards:
- Begin increasing to open the bell shape. Work a set number of normal gaps (dc + ch 1), then place an increase by working an extra dc into the same stitch.
- Alternate increase rounds with plain non-increase rounds throughout.
- The increase intervals expand by 1 gap each time: 5 gaps before each increase on the first increase round, 6 gaps on the next increase round, then 7, 8, and so on.
- Continue until you reach your desired sleeve length. (The pattern uses 36 rows total.)
Cuff:
- On the final row, work 1 sc into every st and ch-sp around.
- Fasten off.
Repeat for the second sleeve.
Step 5: Bottom Ribbing (Optional)
- Switch to the 2.5 mm hook.
- Ch 12, block off the last chain, ch 1 extra, and work a row of sc back down the chain — 12 sc total.
- Ch 1, turn. Working in BLO only, sc across.
- Repeat the BLO sc row until the ribbing band, when slightly stretched, matches your waist measurement. (The pattern uses 90 rows.)
- Sl st the two short ends of the band together to form a loop.
- Pin the ribbing evenly around the bottom opening of the top and sew it in place.

A Few Notes
- The sc mesh used for the body is forgiving — because you’re sizing to your own measurements from the start, the chain count and row count flex to fit rather than locking you into a fixed size. The key number to track is your half-bust width; check the panel against a tape measure after every 10 rows or so rather than waiting until the end.
- For the bell sleeves, the increase interval growing by one gap each alternate round is what keeps the flare smooth and gradual. If you lose track of where you are in the sequence, count the dc columns from the join before placing the next increase.
- The optional ribbing is worth adding if you want the top to sit closer to the body rather than hang loose — 90 rows sounds like a lot but BLO single crochet moves quickly on a smaller hook.
FAQ
- 1. How do I know if my starting chain is long enough? Chain your target number and lay it against a tape measure unstretched. The stitched panel will stretch slightly when worn, so aim for a chain that measures a little shorter than your desired top length before you begin.
- 2. Can I skip the neckline cutout and make a simple crew neck instead? Yes — just work the front panel exactly like the back, with no stopping or strap shaping. Finish both panels to the same row count and seam as usual.
- 3. What if I want longer sleeves or a deeper bell? Add plain rows to the sleeve body before starting the increase sequence, or continue the increase sequence further before fastening off. The structure stays the same regardless of how long you take it.