
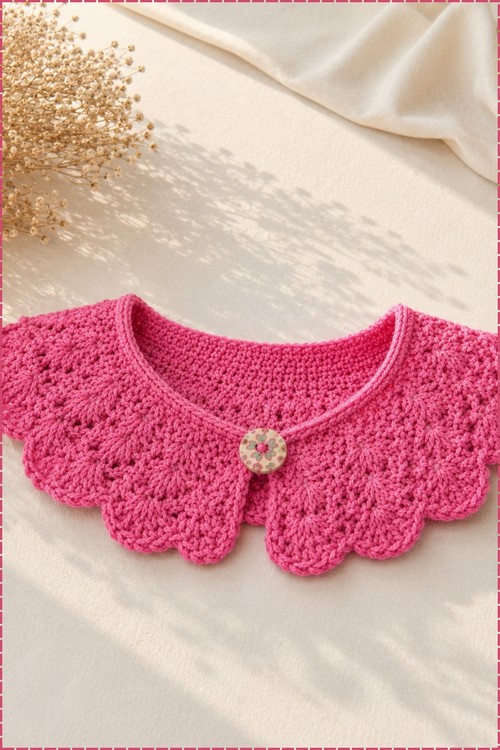
Fine cotton or a silk blend becomes a removable crochet collar for any sweater in five short rows, with fan stitches building the Peter Pan shape and a chain loop buttonhole closing it at the front. Beginners can size it to any neckline by working chains in multiples of 4.
A detachable collar is one of the fastest ways to change the feel of a plain top or sweater without making a whole new garment. This Peter Pan shape sits flat and wide across the collarbone, the shell scallop edge gives it a vintage finish, and the single button closure at the front means it slips on and off in seconds. For a collar built directly into a sweater rather than worn separately, the baby sweater with collar from the previous post shows how the same shell edge works as an integrated neckline detail.
Crochet A Collar For A Sweater
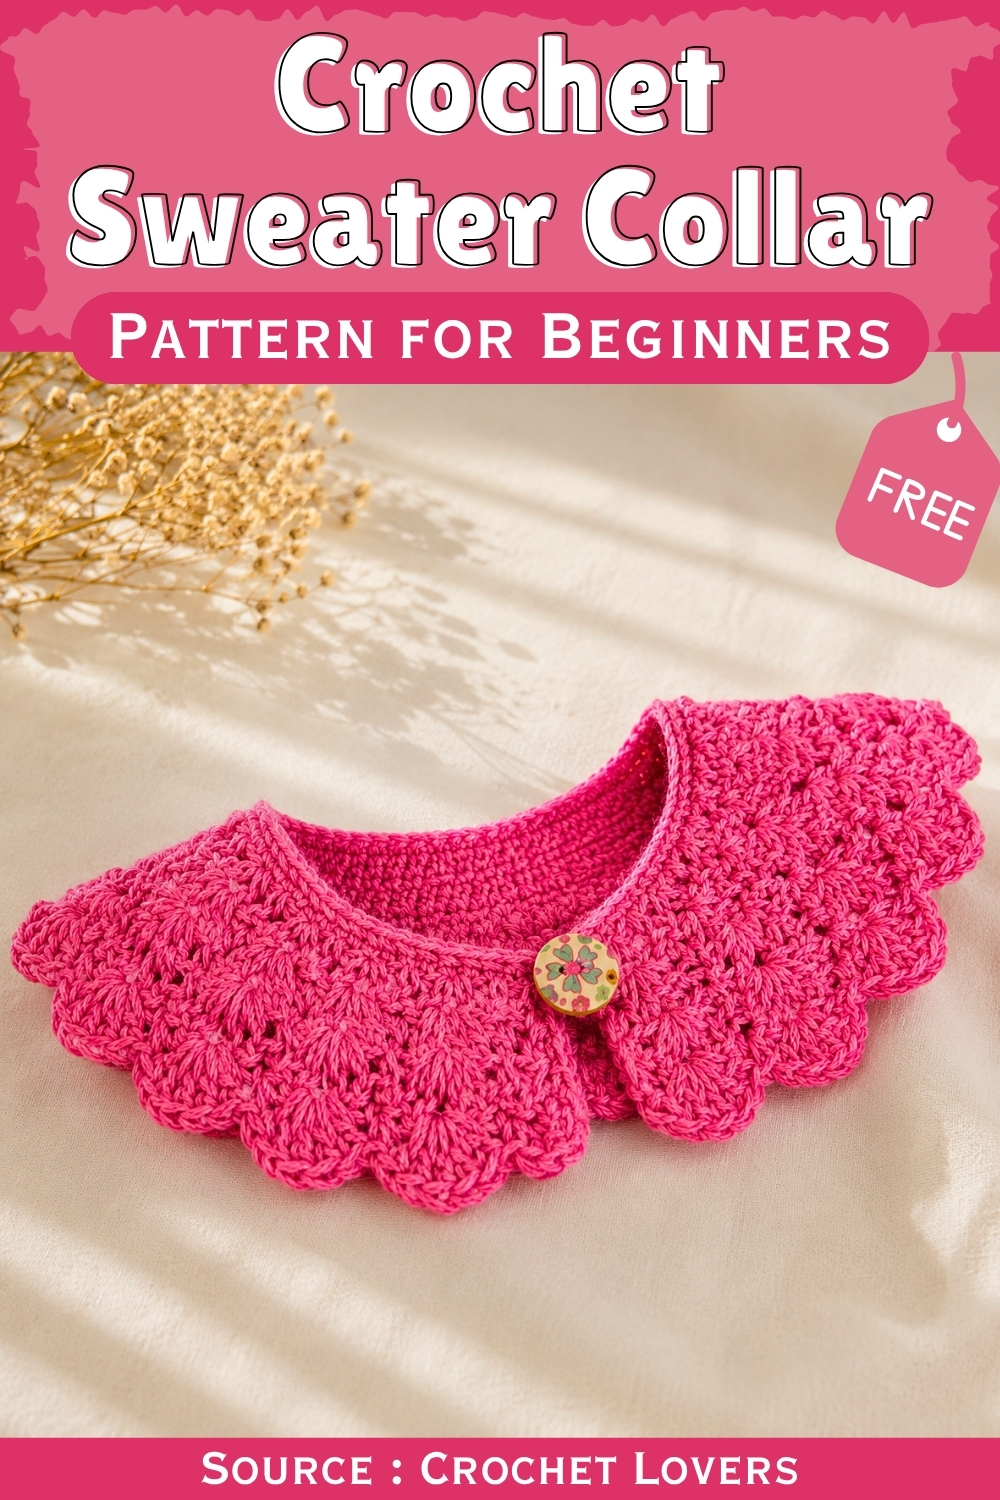
The construction starts with a narrow neckband worked in rows to set the circumference, then the collar body fans outward from that band in increasing shell repeats. Keeping the tension consistent across the neckband rows is the part that matters most since any twist or curl there will carry through the whole piece.
Crochet Sweater Collar
This Peter Pan collar is exactly that. It works up in five rows, uses a fan stitch that is satisfying the moment you understand it, and the result is the kind of delicate finishing detail that transforms a plain sweater or blouse into something you actually want to wear. Made in a single afternoon, given as a gift, or kept for yourself — it earns its place every time.
Why I love this one:
- The fan stitch rows grow the collar organically and visually — you can see the shape forming almost immediately, which makes it genuinely enjoyable to work.
Materials and Tools
- Yarn: Thinner yarn in acrylic, silk, or cotton. Fine cotton gives a crisp, structured collar. Silk or a silk blend drapes beautifully for a softer, more elegant result. Acrylic in a fine weight works well for everyday wear and washes easily.
- Hook: 3 mm or 4 mm depending on your yarn weight and preferred drape
- Notions: A button for the closure, a measuring tape, and a yarn needle for weaving in ends
Important Stitch to Learn
The Pattern
Step 1 — Foundation Chain and Buttonhole
- Measure the collar perimeter you are working to — test the chain length around the neck directly or over the neckline of the sweater or blouse it will sit on.
- Work chains in multiples of 4 until you reach the correct length.
- Once you have reached the right multiple of 4, add 6 extra chains to form the buttonhole loop.
- Bring your button up to the hook and test the loop size against it before continuing. Add or remove a chain or two at this stage if your button is larger or smaller than average.
- Work 1 single crochet into the very first chain made (the 6th chain from your hook) to close the buttonhole loop.
- Work 1 single crochet into each remaining chain across to the far end to complete the foundation row. You will have the buttonhole at one end followed by a row of single crochets equal to your multiple of 4 plus 1.
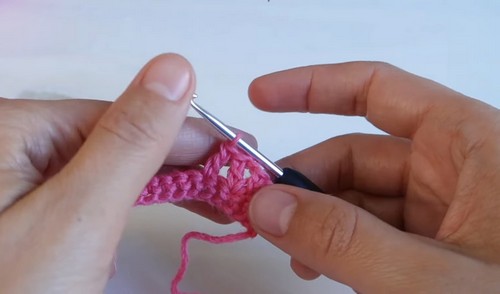
Step 2 — Row 2: V-Stitches
- Chain 2 and turn. These 2 chains count as your first stitch.
- Skip the next stitch.
- In the following stitch, work 1 double crochet, chain 1, and 1 double crochet — this is your V-stitch.
- Skip the next stitch, then work 1 regular double crochet into the next stitch.
- Repeat this sequence — skip 1, V-stitch, skip 1, 1 double crochet — all the way across the row.
- Finish the row with 1 double crochet in the last available stitch, leaving the buttonhole end free.
Reading crochet patterns can be tricky when you’re just starting out, feel free to follow the video tutorial below instead!
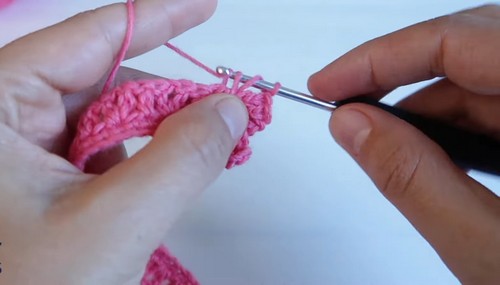
Step 3 — Row 3: Fan Stitches and Half Double Crochets
- Chain 1 and turn.
- Work into the holes created by the V-stitches from the previous row. Into each V-stitch hole, make a fan stitch: 2 double crochets, chain 1, and 2 double crochets.
- Into the space above each standalone double crochet from the previous row, work 1 half double crochet.
- Alternate across the row — fan stitch in each V-stitch hole, half double crochet above each double crochet.
- Finish the row by working 1 single crochet into the second chain from the row below.
Note: For a baby or small child’s collar, the collar is the right width and thickness at this point. You can stop here, finish, and attach the button.
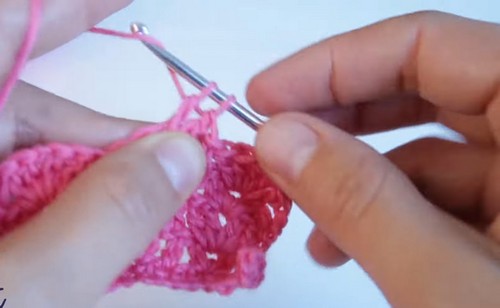
Step 4 — Row 4: Growing the Collar for Larger Sizes
- Chain 1 and turn.
- Work a new fan stitch (2 double crochets, chain 1, 2 double crochets) directly into the centre hole of each fan stitch from the previous row.
- Work 1 half double crochet directly into the top loop of each half double crochet from the previous row.
- Continue this sequence across. Finish the row by working 1 single crochet into the first chain of the previous row.
Step 5 — Row 5: Final Scalloped Edge
- Chain 1 and turn.
- Into the centre hole of each fan stitch from the previous row, work 5 double crochets in a row with no chain space in the middle. This is the full scallop that forms the finished outer edge.
- Into each half double crochet from the previous row, work 1 single crochet.
- After the final fan stitch, work 1 slip stitch into the first chain from the previous row to close the edge.
- Cut yarn and pull through to secure.
Step 6 — Finishing
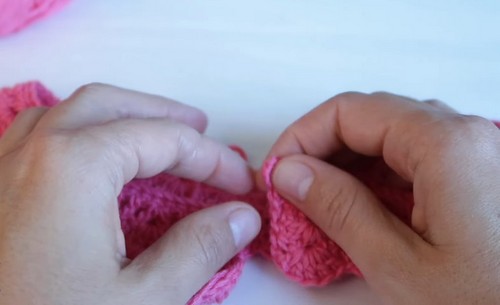
- Attach your button on the opposite end from the buttonhole, using the starting yarn tail or a short new length of yarn. Sew it securely with a few passes and knot tightly on the wrong side.
- Weave in all loose ends using a yarn needle, hiding them neatly within the stitches.
Tips
- Foundation chain tension: Keep your foundation chain slightly looser than your working tension. A tight foundation chain will make the collar pull inward and sit uncomfortably. If you naturally chain tightly, go up half a hook size for the chain only, then switch back.
- Buttonhole sizing: Test the buttonhole against your actual button before working the foundation row. It takes seconds and saves unpicking later. The 6-chain loop is a guide, not a fixed rule — adjust freely.
- Staying centred in fan stitches: Each fan stitch in rows 4 and 5 should sit directly above the fan from the row below. The centre chain-1 hole is your anchor point — work into it every time and your fans will stack neatly.
Customisation Ideas
- Collar for a baby: The pattern includes a natural stopping point after row 3. At that width, the collar is perfectly proportioned for a small child or baby without any further adjustment needed.
- Colour contrast: A collar worked in a contrasting colour — cream on a navy sweater, or blush on a grey knit — makes the detail read clearly and gives a strong vintage feel.
- Multiple buttons: For a wider collar worked over more rows, two small buttons spaced evenly along the neckband look intentional and elegant instead of a single closure.
- Yarn weight variation: Finer thread gives a more delicate, heirloom finish. A slightly heavier fine-weight yarn gives a sturdier collar with more body — good for a collar you plan to wear daily rather than for special occasions.
FAQ
1. How do I know how many chains to start with? Measure the neckline of the sweater or blouse the collar will sit on using a measuring tape, then chain in multiples of 4 until you reach that length. Test the chain by laying it along the neckline before working row 1. The multiple-of-4 requirement is for the V-stitch and fan stitch pattern to divide evenly — so the number you land on needs to be a clean multiple, not just approximately the right length.
2. Can I make this collar directly attached to a sweater instead of detachable? Yes. Once the collar is complete, you can seam the foundation row edge directly to the sweater neckline using a whipstitch or mattress stitch and matching yarn. A detachable collar is more versatile since it can move between garments, but a sewn-in version gives a very clean, built-in look.
3. The fan stitches in row 5 look uneven. What should I check? The most common cause is the row 5 fan being worked into the wrong hole. The 5 double crochets (without a chain in the middle) need to go into the centre chain-1 space of the fan stitch below — not between fans, and not into the outer double crochets. If the fans from previous rows have shifted because they landed between fans rather than inside them, that is the issue to trace back and correct.
4. Is this collar suitable for a beginner? It is best suited to a maker who is comfortable with double crochets and turning rows. The V-stitch and fan stitch are both straightforward techniques, but this pattern does require you to read your fabric as you work — knowing where to place each stitch based on what the previous row looks like. A maker who has completed a few small projects with double crochets will have an easy time with this.


One Comment