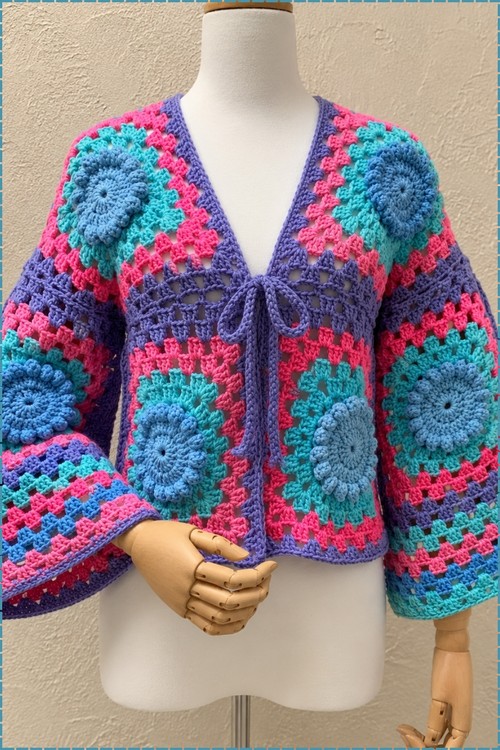
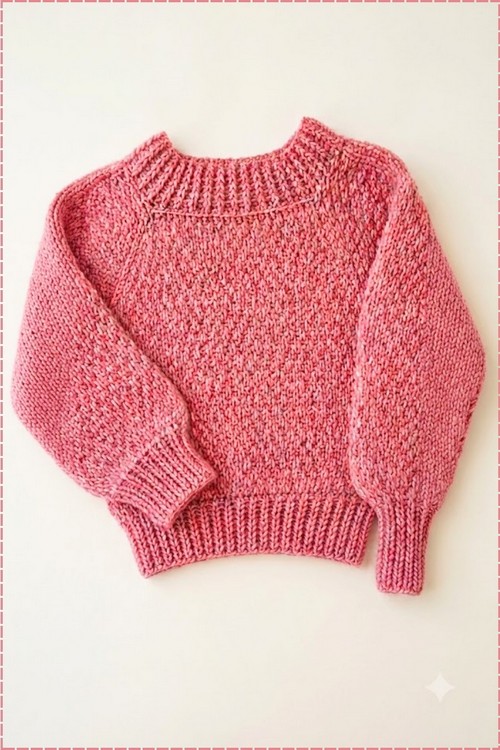
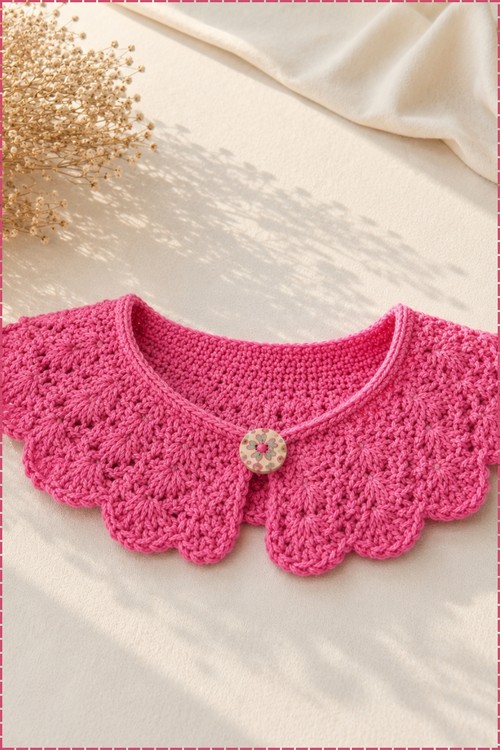
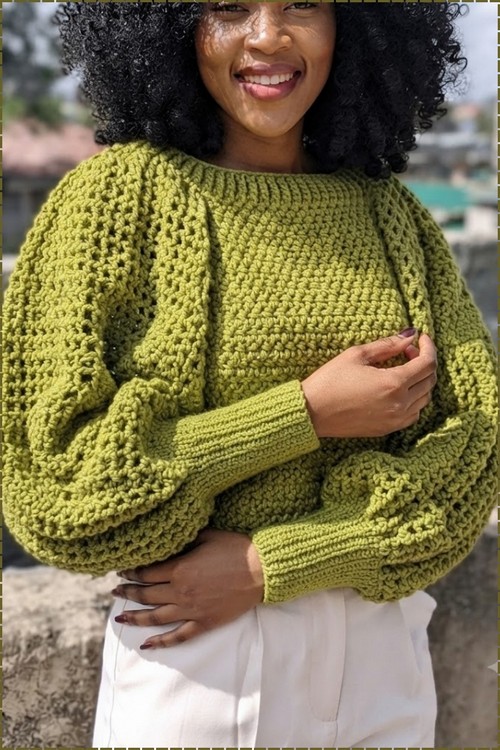
Puffed bishop sleeves gather into snug ribbed cuffs on this olive crochet sweater, keeping all the volume at your forearms. Two strands of thin acrylic on a 5 mm hook and panels worked top down from the neckline chain cover sizes small through XL.
Bishop sleeves give a crochet sweater a sculptural quality that plain set-in sleeves never quite achieve, and this olive green version pulls that shape off beautifully with an open V stitch body that keeps the volume from feeling heavy. The gathered ribbed cuff is what creates the dramatic puff, so the construction is more straightforward than the finished silhouette suggests. If you enjoy oversized sleeve shapes, the baggy sweater is another relaxed option worth adding to your queue.
Bishop Sleeve Sweater Crochet

Olive yarn in a worsted or DK weight works well here because it drapes without pulling the sleeve shape out of proportion. The ribbed cuffs and neckline are worked separately and give the sweater a clean finish that contrasts nicely with the open lace body.
Materials & Tools
- Thin acrylic yarn held double throughout (approximately 8 balls total)
- 5.0 mm crochet hook
- Measuring tape
- Stitch markers
- Tapestry needle
Sizing — neckline chain guides:
- Small to Medium: approximately 8-inch neckline
- Large to Extra-Large: approximately 9 inches for Large, 10 inches for Extra-Large
Abbreviations used in this pattern: ch = chain · sc = single crochet · dc = double crochet · sl st = slip stitch · FPdc = front post double crochet · BPdc = back post double crochet · BLO = back loops only · st(s) = stitch(es) · sp = space · rep = repeat

Helpful Crochet Technique
The Pattern
Step 1: Body Panels (Make Two — Front and Back)
Both panels are identical and worked from the neckline downward.
Foundation chain:
- Make a slip knot and chain an even number of stitches, chaining in excess. (The pattern chains 45.) Extra chains can be unraveled once you’ve established your width.
Row 1 — Bean Stitch Foundation:
- In the 3rd ch from the hook, make an incomplete sc.
- Yarn over, insert your hook into the same st, and pull through. (You will have 4 loops on the hook.)
- Yarn over and pull through all 4 loops to close the bean stitch.
- Ch 1, skip the next st, and repeat the bean stitch in the following st.
- Repeat across the row. End with a completed bean stitch and unravel any extra starting chains.
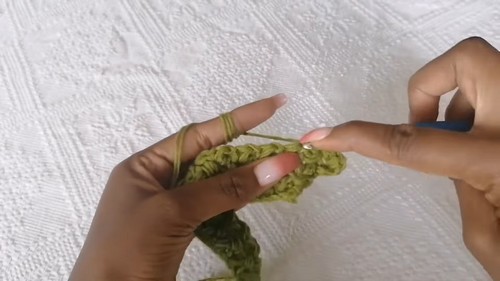
Row 2 — Straight Row:
- Ch 1, turn.
- Work a bean stitch inside the sc top sp of each previous bean stitch.
- Ch 1 between each bean stitch. Repeat across. (Tip: the bean stitch always goes into the single crochet top of the stitch below, not the chain space — check this on every row until the rhythm is natural.)
Reading crochet patterns can be tricky when you’re just starting out, feel free to follow the video tutorial below instead!
Row 3 — Increase Row:
- Place 2 bean stitches with a ch 1 between them into the very first st — this is your increase at the beginning.
- Work 1 bean stitch into each sp across.
- Place 2 bean stitches with a ch 1 between them into the very last st — increase at the end.
- Ch 1, turn.
Row 4 onwards — Alternating pattern:
- Work a normal row (no increases), then an increase row (both ends), alternating throughout. (Keep your increase rows consistent — increasing at the beginning and end of every other row is what gives the panel its shape.)
- Once the panel reaches your desired width, continue in straight rows only (no increases) until the panel reaches your full desired length.
Make a second identical panel.
Step 2: Joining the Body Panels
- Lay both panels together with wrong sides facing out.
- Join the side seams using a sl st seam: insert your hook on one side, sl st, move to the matching row on the opposite side, sl st, and alternate up both sides until each seam is closed.
Step 3: Neckline and Shoulder Straps
Strap base:
- Attach yarn at the back center of the neckline.
- Ch 1, then work 2 dc into each ch-1 sp all the way around the neckline.

Armhole straps:
- When you reach the shoulder section, ch 28 (or a custom length that fits your armhole comfortably), skip across, and continue working 2 dc into the chain spaces on the other side.
- Repeat for the second strap and sl st to close at the back. (Pin or try the strap against your shoulder before chaining — the length directly affects how the sleeve will hang.)
Neckline ribbing:
- Row 1: Ch 2. Work alternating FPdc and BPdc around the neckline ribbing area. Work regular dc along the strap chain sections.
- Row 2: Ch 2, continue alternating FPdc and BPdc to maintain ribbing alignment.
- Fasten off.
Step 4: Puff Sleeves (Make Two)
Cuff — wrist ribbing:
- Ch 26.
- Row 1: Sc in the 2nd ch from the hook and in each st across.
- Row 2: Ch 1, turn. Sc in the first st through both loops, then sc in the BLO across, sc in the final st through both loops.
- Repeat Row 2 until the cuff wraps snugly around your wrist.
Sleeve body:
Base ruffle row:
- Ch 1, turn.
- Work 2 sc into the side of each cuff row all the way along the cuff edge to create the initial gather. (This is what starts the puff — the extra stitches here give the sleeve body its volume from the wrist up.)
Mesh rows 1 and 2:
- Ch 4 (counts as 1 dc + ch-1 sp).
- Skip a st, [dc in the next st, ch 1] repeat across.
Mesh expansion row:
- Ch 5 (counts as 1 dc + ch-2 sp).
- [Dc in the next dc, ch 2] repeat across to expand the sleeve circumference.
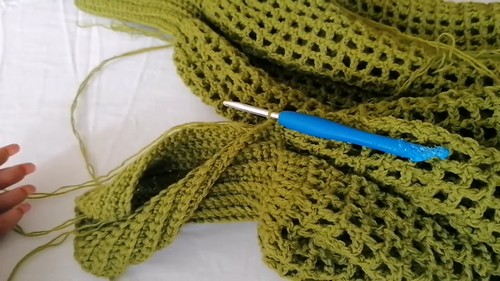
Straight mesh rows:
- Work the expanded mesh (ch 5, dc in top of dc, ch 2) across each row.
- Continue until the sleeve opening reaches your desired width — the pattern targets approximately 33 inches / 60 chain-2 spaces for high puff volume.
- Continue straight mesh rows until the sleeve reaches your desired arm length.
Step 5: Attaching the Sleeves and Finishing
- Turn the main body inside out.
- Align the midpoint of each sleeve with the midpoint of the shoulder strap. Use stitch markers to distribute the gathered stitches evenly before seaming. (Taking time to pin and balance here prevents the puff from bunching at the seam line.)
- Seam each sleeve to the body armhole from the wrong side using sc or sl sts into the dc rows.
- Fold each sleeve in half lengthwise with wrong sides out and seam the under-sleeve opening closed using alternating sl sts and ch 1s.
Optional waist ribbing:
- Attach yarn at the bottom hem.
- Work 2 dc per ch sp around the entire base.
- Finish with a few rows of alternating FPdc and BPdc ribbing.
- Turn the finished top right side out.
- Weave in all loose ends.
Technique Notes
- The bean stitch is a small 2-loop cluster. The key is keeping your chain-1 spaces even between stitches — too tight and the fabric bunches, too loose and it gaps. Work a test swatch of 4–5 bean stitches in Row 2 before committing to the full panel width.
- Holding yarn double changes how the yarn behaves — it will feel stiffer than a single strand and moves differently on the hook. Unwind both balls a bit before starting each session so they feed together without tangling.
- The mesh sleeve expansion row is the point where sleeve circumference grows fast. Measure against your arm opening on the body after each expansion row and stop adding width once you’ve matched your target. Every extra expansion row adds significantly to the circumference.
- Seaming the under-sleeve with alternating sl sts and ch 1s creates a flatter seam than a continuous sl st join — it’s worth the slight extra time on a visible seam like this one.
FAQ
1. Can I use a single strand of yarn instead of holding two strands together? Yes, but choose a yarn that works at medium weight on a 5 mm hook on its own. The doubled thin acrylic in the original creates a fabric that’s both light and structured — a single strand of DK or light worsted can replicate that. Swatch first to check drape.
2. How do I know when my body panel is wide enough before switching to straight rows? Hold the panel against your body or a garment that fits you well. The panel should cover half your bust comfortably. Once it does, stop the increase rows and continue straight. The two panels together equal the full garment width.
3. My sleeve opening is much wider than my armhole — how do I manage the attachment? That’s intentional — the sleeve is gathered down to fit the armhole, which is what creates the bishop/puff shape. The stitch marker pinning in Step 5 is essential here. Divide both pieces into equal quarters, match the markers, and ease the sleeve fabric evenly between each set of markers as you seam.