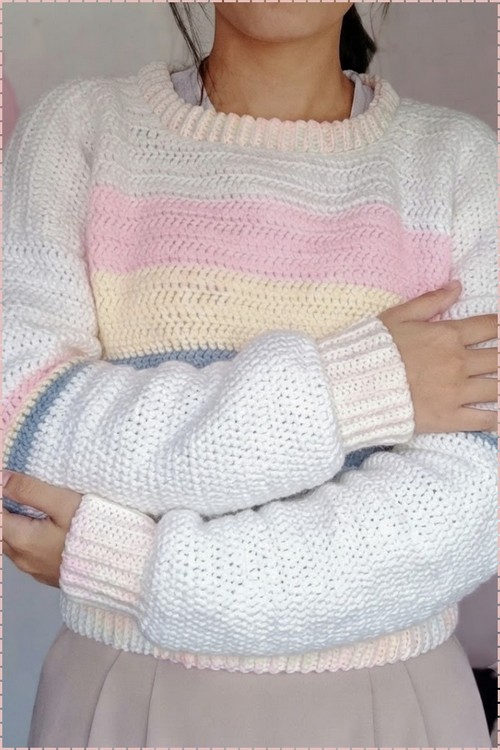
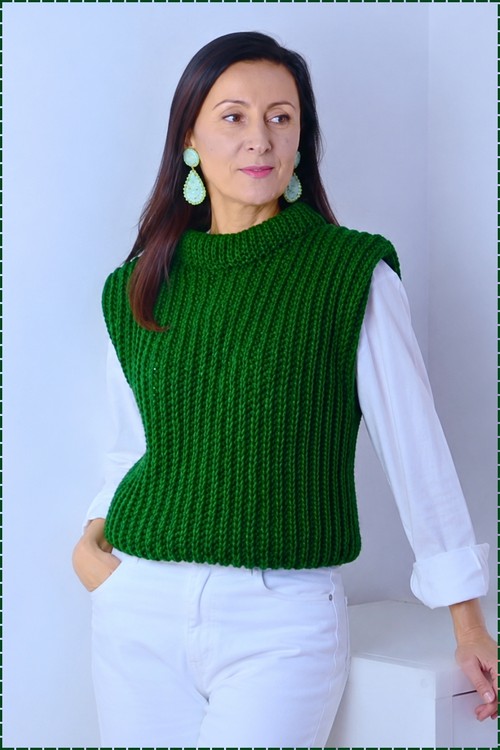
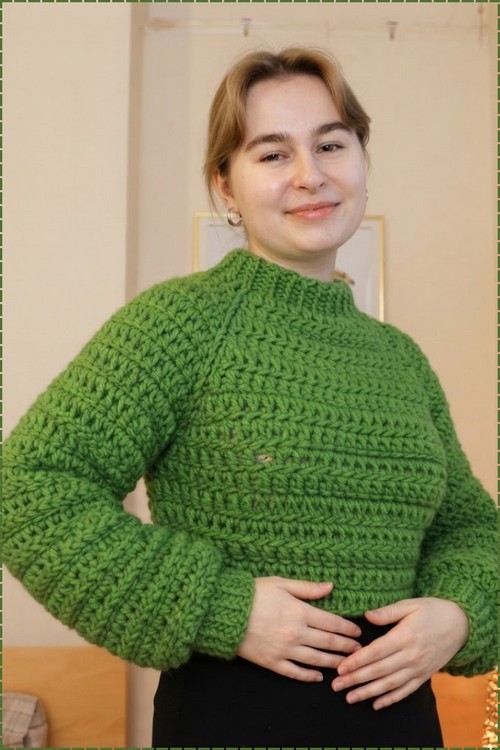
Chunky green yarn and a top down yoke let you try the raglan crochet sweater on as it grows, then stop at a cropped hem or keep working rounds for full length. Fewer increase rows shrink the same easy raglan pattern into a kids sweater.
Raglan shaping is one of the most satisfying constructions to work in crochet because the sweater comes together from the top down with almost no seaming at the end. This chunky green version keeps the stitch pattern simple so all the attention stays on the fit, and if you enjoy top down builds the baggy sweater uses the same approach in a more relaxed silhouette.
Raglan Crochet Sweater
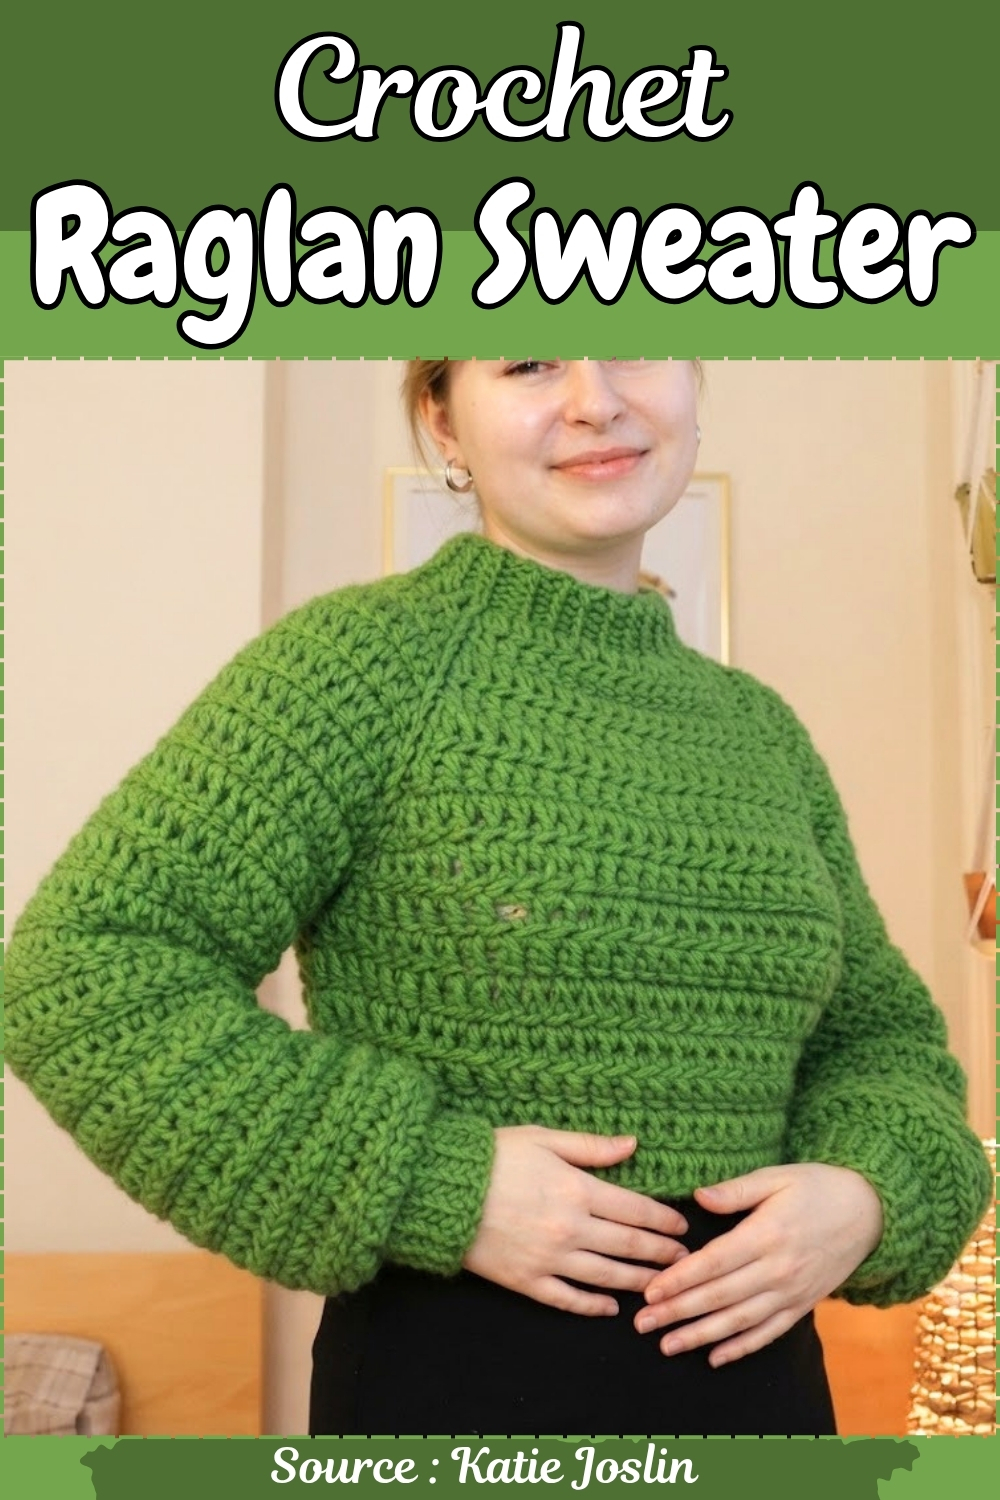
Bulky yarn and a large hook make this one of the faster sweater projects in the collection, and the high neckline adds just enough structure to keep it looking polished rather than oversized. Working top down also means you can try the sweater on as you go and adjust the body length before casting off.
Why I love this one: starting at the neckline and watching the yoke bloom outward with every increase row is genuinely one of the most satisfying things you can do with a crochet hook.
Materials & Tools
- Thick, chunky yarn (the pattern uses just under 2 balls for a cropped version — choose a yarn with good drape and stitch definition)
- Crochet hook appropriate for your chunky yarn (check the yarn label for the recommended size)
- 4 stitch markers (hair grips, safety pins, or standard markers all work)
Abbreviations used in this pattern: ch = chain · dc = double crochet · sc = single crochet · sl st = slip stitch · BLO = back loops only · st(s) = stitch(es) · sp = space · rep = repeat
Key Stitch to Learn
Difficulty & Time
Easy-intermediate. If you can work dc in the round and keep track of stitch markers, this pattern is within reach. The raglan construction is logical — four markers, an increase at each one, repeated for several rows — and the chunky yarn means you’ll see the jumper taking shape very quickly. A cropped version in chunky yarn is a realistic one-sitting project.
The Pattern
1. The Neckline Chain and Joining
- Make a slip knot.
- Chain enough stitches so the loop fits comfortably around your head and neck, with a little extra ease for a chunkier fit.
- Sl st the stitch on your hook to the very first stitch in the chain to form a circle.
2. Foundation Round
- Ch 2 (this brings you up to dc height with chunky yarn).
- Work 1 dc all the way around the neckline loop.
- Sl st the last st to the first st of the round to close it.
- Ch 2 and turn your work.

3. Setting Up the Raglan Increase Markers
- Place 4 stitch markers evenly around the round to divide it into four sections — the two larger sections become the front and back of the body, and the two smaller sections become the sleeves.
- (The pattern uses approximately 9 stitches for each sleeve section and approximately 14 stitches each for the front and back.)
If you’re a beginner and crochet patterns feel confusing, start with the video tutorial below, it’s the easiest way to learn as you go!
4. Working the Increase Rows
- Dc normally until you reach the first stitch marker.
- At the marker, work the raglan increase: 1 dc, ch 1, 1 dc — all into the same st or sp.
- Continue dc-ing to the next marker and repeat the increase.
- Work increases at all 4 markers across every row.
- In subsequent rows, work your increases directly into the ch-1 sp created in the previous row.
- Continue for approximately 7 rows, adjusting up or down depending on your size, tension, and yarn thickness.
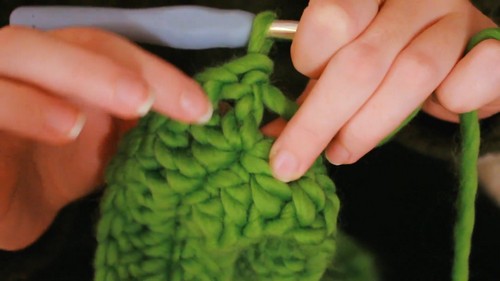
5. Creating the Armholes
- Work dc to your first sleeve marker.
- Chain a sufficient number of stitches across to the second sleeve marker on the other side of that sleeve section — this chain bridges the armhole gap. (The pattern uses about 15 chains for chunky yarn.)
- Attach the chain to the increase point on the other side.
- Continue dc-ing across the back, then repeat the chain bridge for the second armhole on the other side.
- The sleeve stitches are now separated from the body — continue working the body in the round.
6. Building the Sleeves
- Return to the armhole opening and attach yarn.
- Work dc in the round around the armhole to build the sleeve downward to your desired length.
- If the sleeve feels too baggy, work a decrease row: 2 dc, skip a gap, repeat — keeping the decreases tucked under the arm where they’re least visible.
- Repeat for the second sleeve.
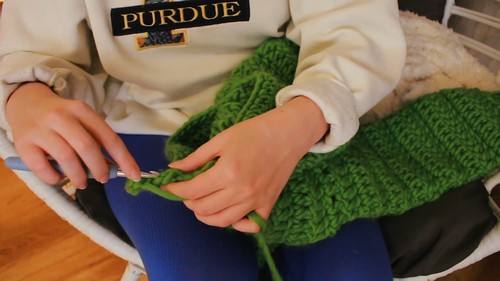
7. Neckline and Body Finishing
Optional neckline ribbing:
- Attach yarn at the neckline.
- Chain your desired ribbing depth.
- Work sc in the BLO of the chain. Sl st into the base, ch 1, turn, and repeat around the collar until the ribbing band encircles the neckline.
Body finish:
- Continue dc-ing down the body to your desired length.
- Taper or decrease slightly at the hem if you’d like a more fitted finish, or leave it straight and unribbed for a clean cropped look.
Tips & Troubleshooting
- Keep an eye on your stitch markers throughout the increase rows — in chunky yarn with open dc fabric, it’s easy for a marker to shift or slip. Move each marker up as you pass it so it’s always sitting in the current row’s increase point.
- The armhole bridge chain length affects how much room you have to move in the finished jumper. Before you join the chain, try the yoke on (or hold it against yourself) and check that the underarm feels comfortable. It’s much easier to pull back a few chains than to alter the seam later.
- If your neckline slips off the shoulder once finished, add one extra round of sc around the neck opening before the ribbing — this tightens the opening slightly without changing the ribbing construction.
Yarn Substitution
Chunky yarn is what makes this pattern work as a fast, satisfying make — the large stitches mean you can see the raglan shaping develop in real time, and the weight gives the finished jumper structure and warmth. A wool or wool-blend chunky gives the best drape and stitch definition; 100% acrylic chunky works if you want something machine washable. Avoid anything with too much halo (like mohair blends) at this weight — it obscures the raglan increase lines that make the construction so visually satisfying.
Customization Ideas
- Longer body: Simply work more dc rows before finishing the hem. The construction doesn’t change, just the length.
- Longer sleeves: Work more rounds on each sleeve before fastening off. The optional decrease row can be added after the first or second sleeve round.
- Ribbed hem: Add a back-loop sc ribbing band to the bottom hem using the same method as the collar ribbing.
- Color change: Switch yarn color at any round join for a simple colorblock effect — the yoke in one color and the body and sleeves in another looks intentional and modern.
FAQ
1. How do I know if my starting chain is the right length? It needs to fit over your head and sit comfortably at your neckline. Chain generously, try it on before joining, and add or remove chains as needed. It’s easier to adjust before you join into a circle than after.
2. What if my raglan yoke isn’t big enough after 7 increase rows? Keep going. The 7-row guideline is for chunky yarn at a standard tension — if your yarn is slightly thinner or your tension is tighter, you may need 8, 9, or even 10 rows before the yoke is ready to divide for the armholes. The right time to divide is when the yoke sits flat across your shoulders and chest when you hold it up.
3. Can I make this full-length instead of cropped? Yes — just continue working dc rounds on the body after the armhole division until you reach your desired length. Nothing about the construction changes; you’re simply adding more rounds at the end.
4. The sleeves look baggy at the underarm — how do I fix it? Work the decrease row described in Step 6: 2 dc, skip a gap, repeat around. Place your decreases in the underarm section where they’ll sit against your body and be less visible. You can work 2–3 decrease rounds in a row if the sleeve is very wide, alternating with plain rounds between them.