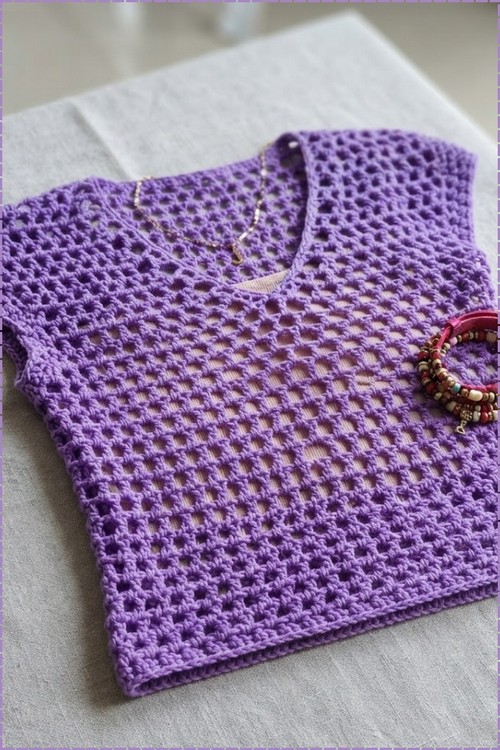
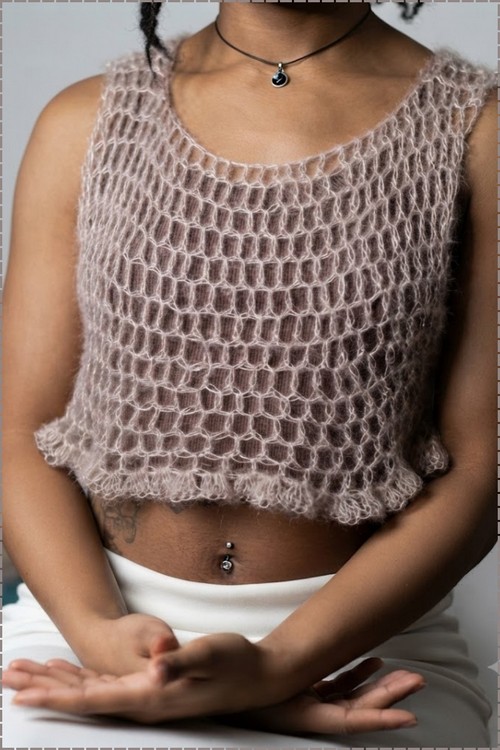
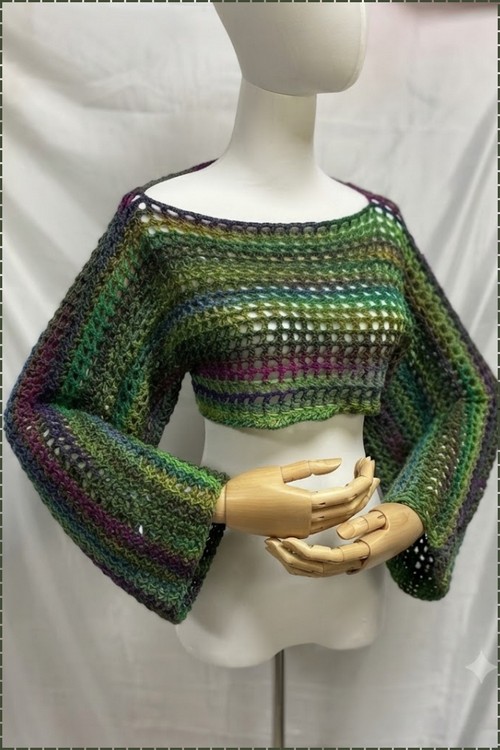
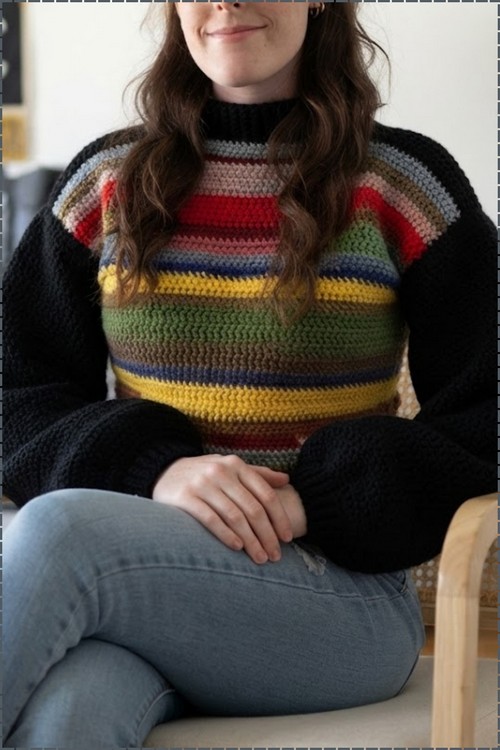
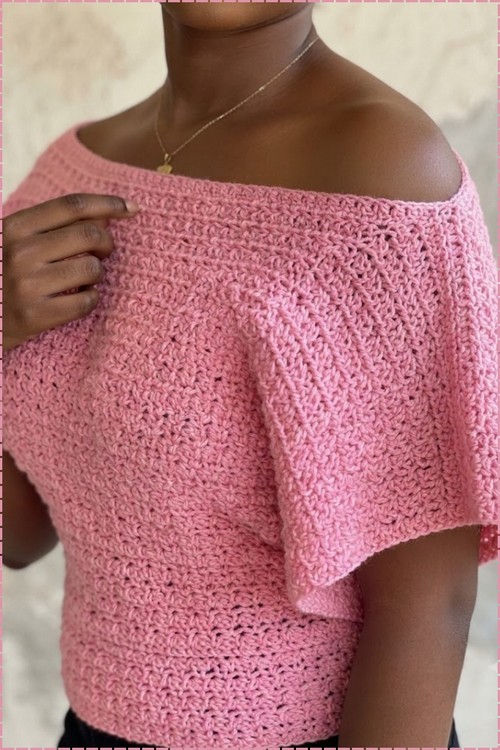
Black high waisted trousers meet the hem of a loose crochet y2k sweater, leaving one bare shoulder free to show off a dainty gold necklace. Rooftop bars and seaside brunches suit the lightweight crochet crop top, which brings a throwback look to warm evenings out.
Pink, off-shoulder and effortlessly cropped, this Y2k sweater top from Knitbi.c is the kind of make that photographs as well as it wears. The batwing sleeve shape and wide neckline give it a relaxed throwback silhouette that sits naturally alongside the off shoulder sweater if you enjoy that style of neckline.
Crochet Y2k Sweater
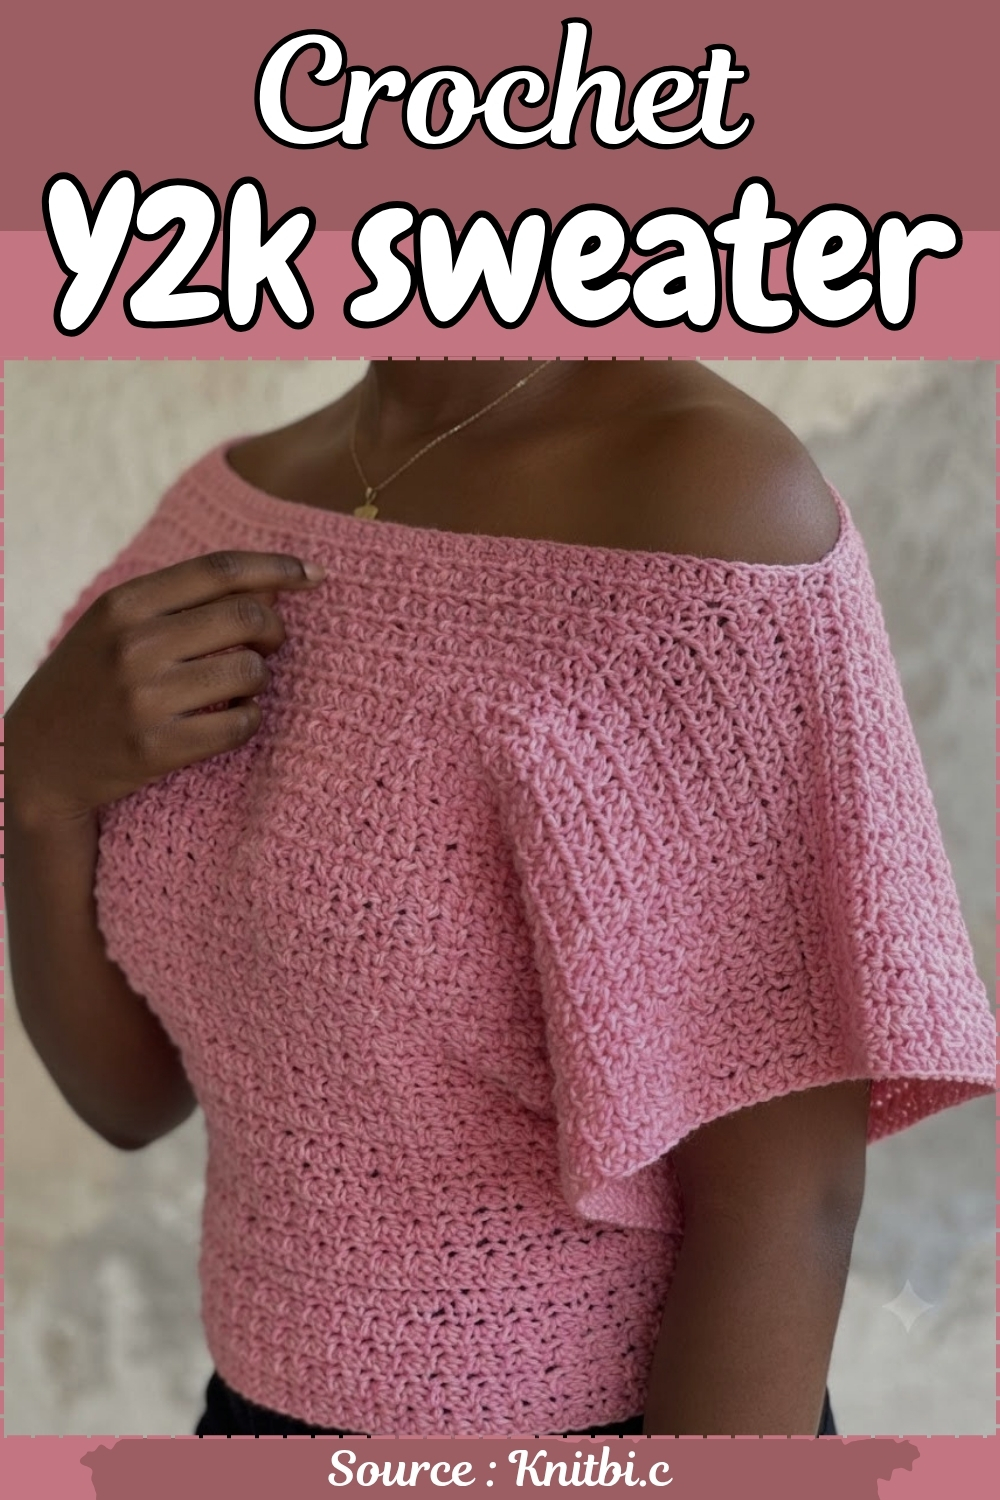
The body panels are worked flat and seamed at the shoulders, keeping the construction minimal and beginner friendly despite the polished finished look. That wide open neckline can be worn straight across or slipped off one shoulder depending on how you style it.
Materials and Tools
- Regular yarn, approximately 40g per panel section. Buy enough to cover your full garment based on the sizing math below.
- 4 mm crochet hook.
- Stitch markers for dividing the waist section.
- Yarn needle for seaming the shoulders and weaving in ends.
- A pair of scissors.
- Measuring tape, which you will use constantly in this pattern. Keep it on the table beside you.
Become Familiar with This Stitch
Difficulty and Time
- Skill level: Beginner. The only stitch used is half double crochet, worked alternately through the back loop and the front loop. If you have completed even one small crochet project before, you have the skills for this.
- Time to make: Most beginners finish this top over a relaxed weekend or across a few weekday evenings. The ribbing rows are repetitive in the best possible way, and the rhythm settles in quickly.
Measurements and Sizing Math
This pattern is sized against your own body, not a fixed chart. Before you begin, take three measurements with a soft measuring tape:
- Bust: Measure around the fullest part of your chest. Divide this number in half for your front and back panel width.
- Sleeve width: Decide how much of your sleeve you want the top to cover. Divide that number in half as well.
- Total panel width: Add your half bust measurement to your full sleeve width. This combined number is what your foundation chain needs to stretch to.
- Half-length: Measure from your shoulder down to where you want the top to end at the underbust. Subtract 2 inches for stretch. This is how far you will work the upper ribbing section.
- Waist extension: Decide how far below the underbust you want the top to reach. This determines the length of the lower waist section.
For a size medium reference: a 38-inch bust divided in half gives 19 inches per panel; 7 inches of sleeve width added gives 26 inches total chain width; the upper section works to 12 inches and the waist extension adds 6 inches for an 18-inch total length.
Beginner Technique Notes
What is BLO and FLO, and why does it matter?
Every crochet stitch has two loops sitting at the top, one at the back and one at the front. Normally you insert your hook under both loops. In this pattern, you deliberately alternate: one stitch goes through the back loop only (BLO), the next through the front loop only (FLO). This is easier than it sounds. Looking at your stitch from above, the back loop is the strand sitting further away from you and the front loop is the one closest to you. Alternating these two creates a stretchy, ribbed texture that looks and feels like knitted ribbing but is entirely achievable with a beginner’s hook.
How does the alternating pattern stay consistent across rows?
Each new row mirrors the one before it. If the last stitch you worked in the previous row was a BLO stitch, begin the new row with a FLO stitch. If it ended with FLO, start with BLO. Checking the last stitch of the completed row before you turn is a small habit that prevents the entire texture from going lopsided. Think of it as a question and answer: whatever the previous row ended with, the new row starts with the opposite.
Why do I stretch my work after each row?
Stretching the piece horizontally after each row does two important things. It shows you the actual width of your fabric under real-world tension, since ribbed crochet compresses naturally and needs to be stretched to read at its true size. It also helps you catch any drift in your stitch count early, before a miscount compounds across multiple rows. Take the piece between both hands, pull gently outward, and lay it flat before continuing. This single habit prevents most of the sizing problems that beginners run into with garment-making.
What should my turning chain be?
The first row uses a ch 1 turning chain. From row 3 onward, you can use either a ch 1 or a ch 2 depending on how your edge stitches are sitting. A ch 2 gives a slightly taller turn and can prevent the edges from drawing in, while a ch 1 keeps the edge flat. Try both on your piece and use whichever leaves the edge looking even and consistent. Consistency matters more than which option you choose.
The Pattern
Step 1: Foundation Chain
- Make a slip knot and place it on your 4 mm hook.
- Chain until the chain stretches to your total panel width measurement when held taut. For a size medium this is approximately 110 chains, plus 1 turning chain, for 111 chains total.
- Stretch the chain between your hands to confirm it reaches your target measurement before continuing.
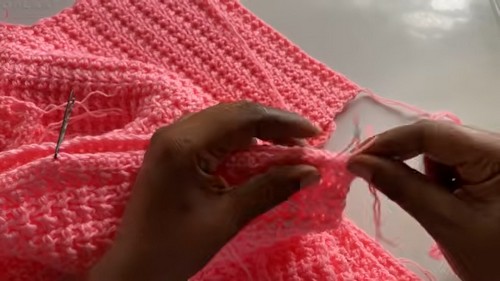
Step 2: Row 1 (Base Row)
- Skip the first chain from the hook.
- Work 1 hdc in the next chain and in every chain across to the end of the row.
- Take the finished row in both hands, straighten it, and stretch it horizontally to check the width.
Never read a crochet pattern before? No problem! The video tutorial below is perfect for beginners, or give the written pattern below a try!
Step 3: Row 2 Onwards (Ribbed Upper Section)
- Ch 1 and turn your work.
- Work 1 hdc in the BLO of the first stitch.
- Work 1 hdc in the FLO of the next stitch.
- Continue alternating BLO hdc and FLO hdc across the entire row.
- At the end of the row, ch 2 (or ch 1 depending on your preference) and turn.
- Check which loop type the previous row ended on, then begin the new row with the opposite loop to keep the ribbing aligned.
- Stretch your work horizontally after each completed row.
- Continue working back and forth, alternating BLO and FLO hdc across each row, until the panel reaches your half-length measurement (approximately 12 inches or 28 rows for a medium). Fasten off.
Step 4: Waist and Lower Section
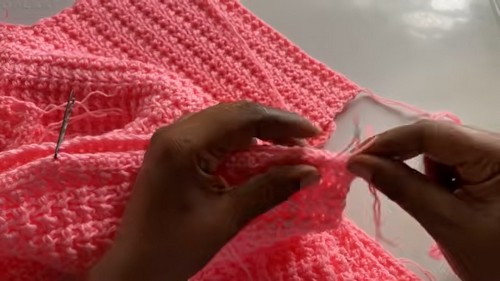
- Use stitch markers to divide your panel into the waist section. Make sure you have an equal number of stitches on each side of the marked zone.
- Attach your yarn at the designated section point using a slip knot and secure it.
- Continue working the same alternating BLO and FLO hdc pattern across the waist section only.
- Ch 1 and turn at the end of each row.
- Work until the waist extension reaches your desired length, approximately 15 rows. Fasten off.
Step 5: Back Panel
- Repeat Steps 1 through 4 in full to create an identical second panel.
- You now have a complete front panel and a complete back panel.
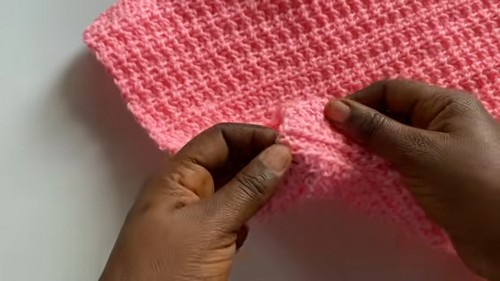
Step 6: Joining the Shoulders and Neckline
- Lay your front and back panels together with the right sides facing each other.
- Measure and mark your neckline opening across the center, and place stitch markers at the shoulder positions on each side to identify the shoulder seam areas, leaving equal stitch counts on both outer shoulders.
- Thread your yarn needle.
- Align the stitches of the front and back panel at one shoulder. Secure the yarn with a double knot and sew the shoulder seam closed using a whipstitch or your preferred joining method.
- Weave in any loose ends securely before moving to the second shoulder.
- Repeat the seaming process on the other shoulder.
Step 7: Finishing
- Turn the finished top right side out.
- Optional: Work a round of sc around the neckline and arm openings for a cleaner, more polished edge.
Tips and Troubleshooting
- If your ribbing is losing its stretchy feel, check your tension. Ribbed crochet worked in BLO and FLO should pull in slightly when relaxed and open up when stretched. If the fabric feels stiff and barely stretches, your tension is too tight. Try loosening your grip on the yarn or move up half a hook size. The stretch is what makes this top comfortable to wear, so getting it right matters more here than in a decorative project.
- If your row count is climbing but your length is not matching your measurement, stretch as you measure. Ribbed crochet naturally compresses vertically. A panel that measures only 10 inches laid flat may stretch to 13 inches when worn. Always measure your panel under gentle horizontal tension rather than completely flat. This is how the pattern is designed to be worn, so it is how it should be measured.
- If the shoulder seam looks loose or gappy, your whipstitch may be too far from the edge. Work each seam stitch close to the edge of both panels so the join stays tight when the top is worn. If you prefer a less visible seam, a sl st join worked with your hook is a neat alternative to the whipstitch and creates a flatter finish on the inside.
- If you lose track of your BLO and FLO sequence, look at the fabric itself. The completed ribbing has visible vertical ridges running up the panel. The ridges should look even and parallel. If a ridge suddenly shifts or doubles up, you have repeated the same loop type twice in a row. Count back two rows from where the irregularity appears and you will find where the sequence broke down.
Yarn Substitution
- Any smooth yarn that is comfortable against skin will work here. The original pattern uses a standard weight regular yarn with a 4 mm hook, and that pairing is a reliable starting point. An acrylic yarn is the most forgiving for a first garment because it stretches predictably, holds its shape after washing, and comes in every color imaginable. A cotton yarn produces a crisper, heavier top with less stretch, which can feel more structured but may not have the same ease for pulling on and off. A cotton acrylic blend splits the difference nicely.
- Whatever fiber you choose, test the stretch before you commit to a full panel. Work a small swatch in the BLO and FLO pattern, measure it flat, then stretch it gently and measure again. The difference between those two numbers tells you how much the yarn will ease when worn. A yarn with very little stretch will fit more like a fitted tank; a yarn with good stretch will hug the body the way the ribbed texture intends.
Customization Ideas
- The length is the easiest thing to adjust. The waist extension section in Step 4 can be worked to any number of rows you choose: fewer rows for a true crop that hits at the underbust, more rows for something that lands at the natural waist or just below the navel. Because the measurement math already calibrates this to your body, changing the length is a straightforward decision rather than a recalculation.
- Color is the second obvious place to personalize. The original is shown in a single color, but the ribbed texture reads beautifully in self-striping yarn, which produces automatic color blocks as you work without any color changes to manage. A contrast color for the optional neckline and armhole edging is another small detail that elevates the finished piece and takes fewer than twenty extra minutes to add.
FAQ
- Do I need to know how to measure gauge before I start this pattern? Not in the traditional sense. This pattern is sized by measuring your actual work against your body measurements rather than matching a standard gauge swatch. What matters is that your foundation chain stretches to your target width and your rows build to your target length. If you measure your panel regularly as you go and check it with gentle stretch, you are doing the equivalent of gauge checking in real time, and no separate swatch is required.
- I have never done BLO or FLO before. Can I really learn it as I go? Yes. Both are simply a matter of inserting your hook into a different part of the stitch than usual. Work one practice row on a small chain before you begin the actual panel. By the time you have worked across ten stitches, the motion will feel natural. The alternating pattern adds a small layer of attention, but the stitch itself is no harder than regular half double crochet.
- My foundation chain is curling and it is hard to work into. What should I do? A curling foundation chain usually means the chain was worked tightly. Try loosening your tension slightly on the chain, or go up one hook size just for the foundation chain and switch back to your 4 mm hook for Row 1. The chain only needs to be worked into once, so an extra half size on the hook for that one step makes it noticeably easier without affecting the rest of the fabric.
- I have been working for several rows and my panel width looks narrower than my chain. Is that normal? Yes, and it is exactly why the pattern asks you to stretch your work after every row. Ribbed crochet pulls in horizontally as it builds height. When you stretch the panel, it returns to close to its original chain width. The key is to measure under stretch rather than flat. If your stretched width is still narrower than your target, you may have lost a stitch somewhere in the count. Check by counting the stitches in your current row and comparing to your first row count.
- Can I make this top longer into a full sweater? The body construction is designed for a crop, but you can extend the lower section in Step 4 to any length you like. The same stitch pattern continues down without any change in technique. Keep in mind that a longer garment will require more yarn than the pattern’s base estimate, so buy extra before you start if you plan to extend past the navel.