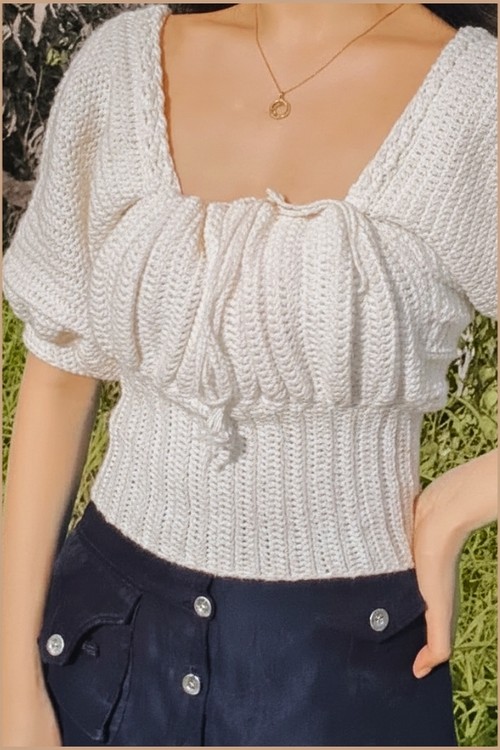
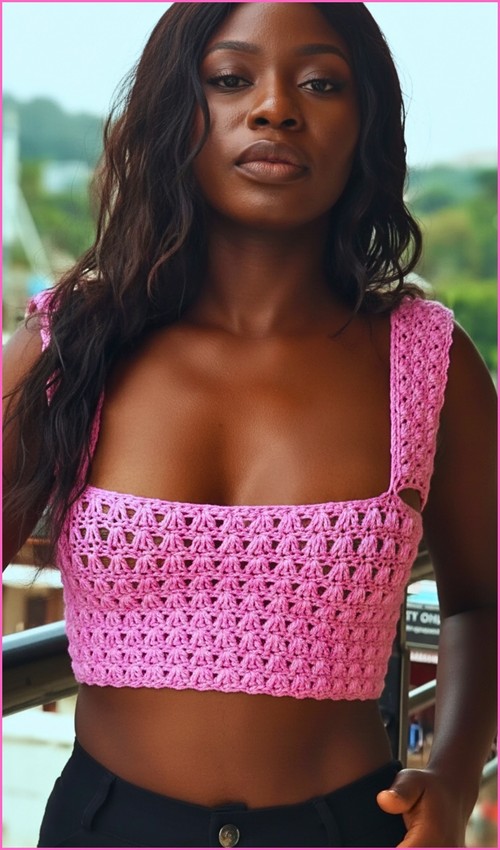
Four squares and you’ve got a top this crop keeps granny-square dressing at its most classic, with bold navy borders framing pops of lime and aqua. It’s the kind of project that makes joining motifs feel like play: each square is a five-minute win, and four of them across the front is all it takes. A scalloped edge and simple straps finish it clean. If you love the four-square formula, this boxy granny square tank builds a top the very same way.
Crochet Crop Top Made Of Granny Square

The joy of a make like this is how modular it is — crochet a pile of squares in whatever colors you’re feeling, lay them out until the arrangement clicks, then join and edge. No shaping, no gauge stress, just squares. The scalloped border and straps go on last to pull it all together. For a patchier, scrappier spin on joined squares, this granny square button-front crop mixes the motifs up. Smooth cotton in three or four contrasting shades makes the geometry pop.
Materials
- Medium weight yarn size 4
- 4.5 mm crochet hook
- Scissors
- Tapestry needle
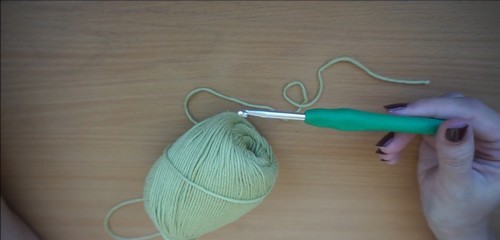
Main Granny Squares Make 8
These squares form the main structure of the top. Keeping the corners clean and consistent is important because they determine how neatly the pieces join later.
Round 1
- Start with a magic ring
- Chain 3 as the first double crochet
- Work 2 double crochets into the ring
- Chain 2
- Work 3 double crochets into the ring
- Repeat chain 2 and 3 double crochets two more times
- Chain 2 and slip stitch to the top of the starting chain
Why this works:
The chain 2 spaces create clear corners, while the sets of 3 double crochets form the sides. This classic structure keeps the square balanced and easy to grow evenly.
Round 2
- Join a new color in any corner space
- Chain 3, work 2 double crochets, chain 2, and 3 double crochets in the same corner
- In each remaining corner space, work 3 double crochets, chain 2, and 3 double crochets
- Do not add chains between side groups
- If you’re still learning how to read crochet patterns, no stress! Follow the video tutorial below and use the written pattern below as you get more comfortable!
Stitch clarity:
Not chaining between side groups keeps the square more solid and prevents gaps, which helps the top feel supportive once worn.
Continuing Rounds
- Work 3 double crochets into each side space
- Work 3 double crochets, chain 2, and 3 double crochets in each corner
- Repeat until the square reaches your desired size
For a medium size, work 7 rounds per square
Sizing note:
Adding or removing rounds is the main way to adjust overall width and coverage. All squares must be the same size for clean assembly.
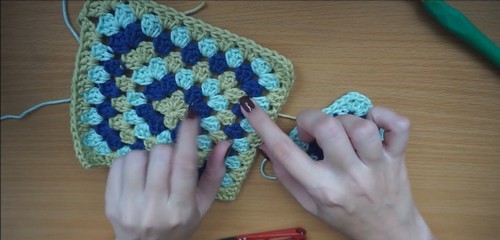
Side Triangles Make 4
The triangles shape the sides of the top and allow the fabric to angle inward naturally.
Round 1
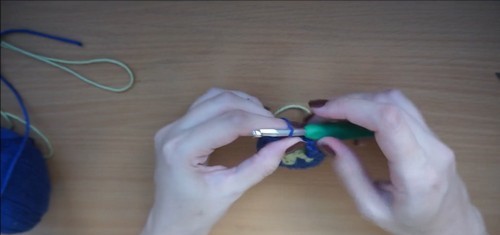
- Start with a magic ring
- Chain 3 and work 2 double crochets into the ring
- Chain 2 and work 3 double crochets into the ring
- Repeat until you have four groups of 3 double crochets
Round 2
- Join yarn in a corner space
- Chain 3 and work 2 double crochets, chain 2, and 3 double crochets into the next three spaces
- Work 1 double crochet into the last corner
Continuing Rounds
- Continue working back and forth
- Maintain the triangle shape by following the square stitch pattern
- Stop when the triangle has the same number of rows as the granny squares
Shaping explanation:
- The triangle grows by repeating the square logic but without closing the round.
- Matching the row count ensures the triangle edges line up perfectly with the squares during joining.
Assembly
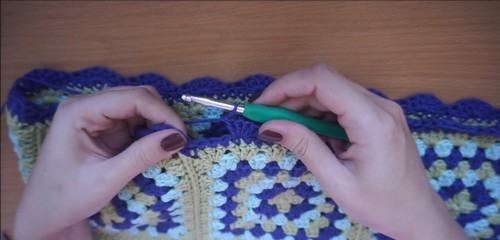
- Lay all squares and triangles flat according to the desired layout
- Join pieces using slip stitch
- Insert the hook through the loop closest to you on the first piece
- Insert the hook through both loops on the second piece
- Join pieces in straight rows first
- Fold the fabric and close the center and sides to form the top

Assembly tips:
- Slip stitching creates a clean, flexible seam that does not add bulk.
- Keeping all pieces flat while joining helps prevent twisting and uneven tension.
Top Border and Straps
Top Border Round 1
- Work single crochet evenly around the entire top opening
Top Border Round 2
- Work half double crochet around
- At each peak corner, work 3 half double crochets into one stitch to keep the point defined
Why the increases matter:
Without extra stitches at the peaks, the border would pull inward and flatten the triangle shape.
Straps
- Join yarn at the top corner peak
- Chain 30 or adjust to preferred strap length
- Slip stitch to the opposite back corner peak
- Work half double crochet back across the chain to thicken the strap
Fit guidance:
Adjust the chain length before attaching to fine-tune how the top sits on your shoulders.
Bottom Border Scalloped Edge
Round 1
- Work single crochet evenly around the bottom edge
Round 2
- Skip 2 stitches
- Work 5 double crochets into the next stitch
- Skip 2 stitches
- Work 1 single crochet into the next stitch
- Repeat around the entire bottom edge
Edge clarity:
The single crochet row stabilizes the edge, while the scallops add movement without stretching the hem.
Finishing
- Weave in all yarn ends securely using a tapestry needle
Final notes:
- Block lightly if needed to help the shapes relax and align.
- Once finished, the top should feel structured through the body with soft drape along the edges.