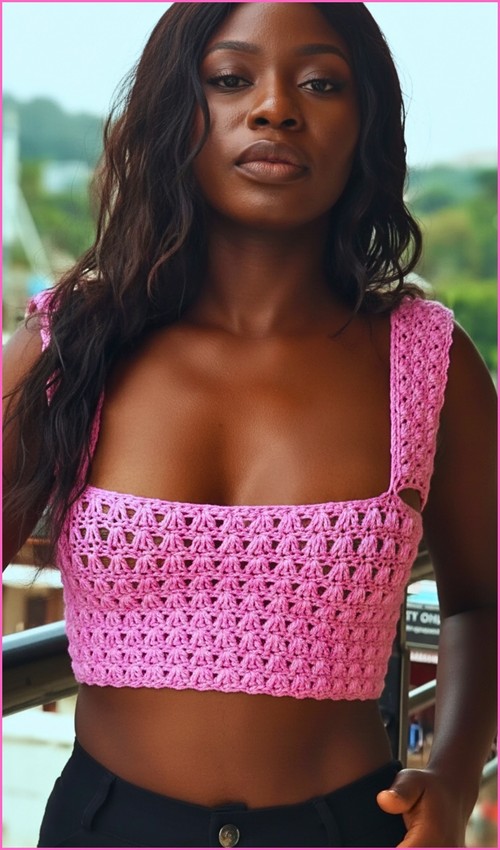
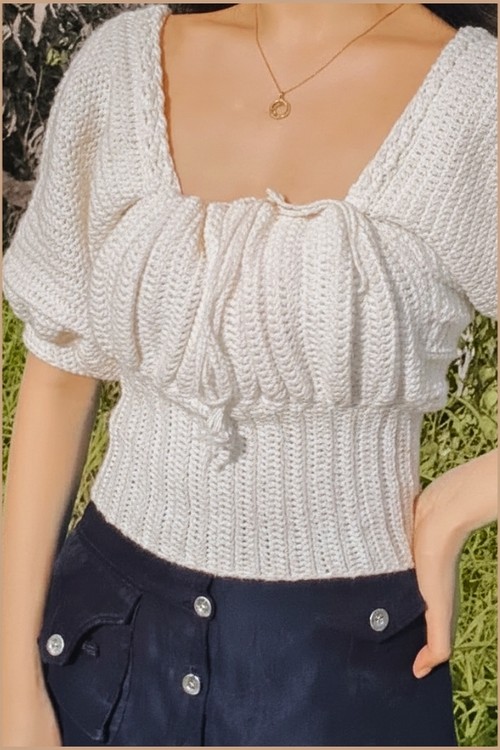
A sweetheart neckline, center cutout, and front tie make this pink crop top one of those pieces that looks more complex than it actually is. For a different take on the tied-front silhouette, the front tie long-sleeve top shows how far the same detail can stretch across seasons.
Tie-Front Crochet Top

The cups are worked flat in rows, so the construction stays manageable even for newer crocheters. If you enjoy bralette-style builds, the cut-out halter top is a natural next project, similar shaping, different neckline.
Materials & Tools
Before you dive in, gather these essentials to ensure your top is comfortable, breathable, and durable:
Yarn: Medium weight (Weight 4 / Worsted or Light Worsted) cotton or acrylic yarn. Pro-Tip: 100% Cotton is highly recommended for summer tops as it breathes well and holds its shape when wet.
Hooks: 3.0 mm or 3.5 mm crochet hook (or size needed to obtain a tight, gap-free gauge for the cups).
Notions: Scissors, yarn needle, and at least 4 stitch markers.
Your Pattern Stitch List
Sizing & Measurements
This pattern is made-to-measure, meaning you can custom-fit it to your exact body shape.
Cup Height: Measure from the bottom of your breast up to the nipple line. This dictates your initial chain length.
Cup Width: Repeat rows until the cup comfortably covers from the center of your chest to the outer side of your breast.
Band Length: Chain enough stitches to comfortably wrap around your back, connecting the outer edges of both cups.
The Pattern
Part 1: The Bra Cups (Make 2)

Pro-Tip: Finding the Peak
Always place a stitch marker into the second (middle) stitch of your 3-single crochet increase. This ensures you never lose track of your center peak on the next row!
Foundation: Start with a slip knot and chain a length equal to your measured cup height (bottom of breast to nipple).
Row 1: Single crochet into the second chain from your hook and into each chain across. When you reach the very last chain (the top peak), work three single crochets into that same stitch. Do not turn yet; rotate your piece and continue to single crochet down the opposite side of your foundation chain. Turn your work.
Row 2: Chain 1 (does not count as a stitch). Single crochet in each stitch across until you reach the center stitch of the 3-stitch increase from the previous row. Work three single crochets into that center stitch. Single crochet in each remaining stitch down the other side. Turn.
Rows 3+: Repeat Row 2, increasing only at the center peak, until the cup reaches your desired width.
- If you’re a beginner and crochet patterns feel confusing, start with the video tutorial below, it’s the easiest way to learn as you go!
The Peekaboo Gap: To create the trendy peekaboo gap at the bottom of the cup, leave a small section of the inner bottom edge unworked, or chain a small bridge (e.g., chain 4, skip 4 stitches) and resume your stitches.

Edging: Finish the cup by working a final round of single crochets evenly around all the raw edges for a clean, professional look. Fasten off.
Part 2: Connecting the Cups & Building the Body

Technique Explainer: The Chain Bridge
A chain bridge creates a small, flexible space between your cups. If you prefer a cleavage-hugging fit, use a slip stitch join instead. If you want a more relaxed look or room for a statement bow, opt for a 3–5 chain bridge.
Step 1: Place both completed cups side-by-side with the right sides facing up.
Step 2: Join the cups together at the center bottom edge using either a single slip stitch or a short chain bridge.
Step 3: Attach your yarn to the outer bottom edge of one cup. Chain a long length of stitches—enough to wrap comfortably across your back—and join the end of that chain to the outer bottom edge of the second cup with a slip stitch. You have now created a complete loop for the under-bust band.
Step 4: Work rounds of double crochet (or half double crochet) around the entire bottom edge, working across the chains and the bottom of the cups.
Step 5: Continue repeating these rounds until your bodice reaches your preferred length, whether you want a trendy cropped look or a full-length camisole. Fasten off.

Part 3: Straps & Finishing Touches
Neck Ties: Attach your yarn to the top peak of one cup. Chain a long length (approx. 60–80 chains) to create a secure neck tie. Single crochet back down along the chain to add strength and thickness so it doesn’t dig into your neck. Repeat this process for the second cup.
Back Ties: If your body band needs extra adjustability or if you chose not to make a full loop in Part 2, attach yarn to the ends of the back band and chain long ties.
Finishing: Cut yarn and weave in all loose ends securely using your yarn needle.