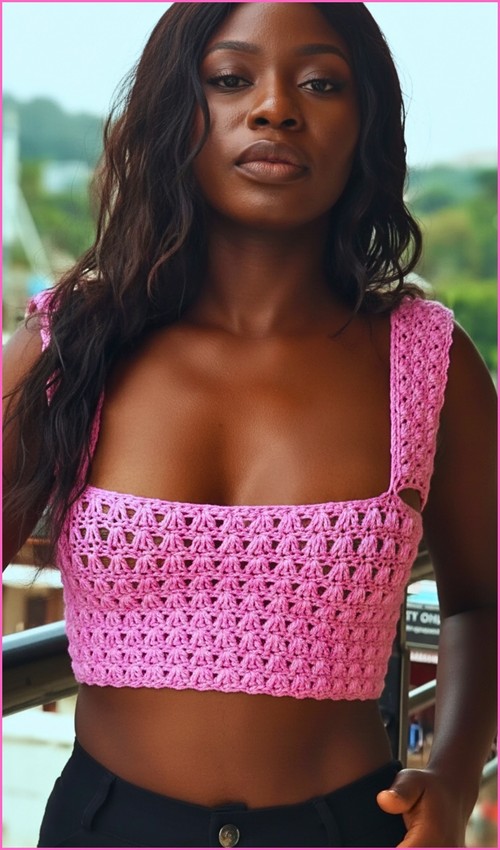
A single diagonal strap and a clean ribbed body make this white one-shoulder top one of the more polished-looking beginner makes minimal detail, strong silhouette. For a long-sleeve version of the asymmetrical style, the one-shoulder long-sleeve top builds on the same concept with more coverage.
Crochet One-Shoulder Crop Top

The panels work up straight and are seamed at an angle to create the shoulder diagonal no complex shaping mid-row. If you like the clean one-shoulder look and want to try a tube-style construction instead, the asymmetrical tube top is a natural next step.
Pattern Overview & Techniques
Before we pick up the hook, let’s review the foundational techniques that make this top so comfortable and stretchy.
Pro-Tips for Success
Keep Your Tension Loose: Slip stitches naturally tend to tighten up. Keep your tension relaxed, especially during the chain stitches and the turn, to ensure your hook glides easily into the loops on the next row.
The Clean-Edge Technique: Working the final stitch of an increase row through both loops creates a sturdy, professional edge that makes seaming much easier later on.
Technique Explainer: Slip Stitch Back Loop Only (ss BLO)
Instead of inserting your hook under both top loops of a stitch, insert it only into the loop furthest away from you (the back loop). This specific placement creates a deeply ridged, faux-knit ribbing that is incredibly elastic.
Stitch Notes Before You Begin
Materials
Yarn: Any weight yarn suitable for creating a dense, stretchy fabric (Sport, DK, or Worsted weights work beautifully).
Hook: A crochet hook that matches your chosen yarn size (consider going up half a size if you crochet tightly).
Notions: Scissors, a yarn needle, and tape measure.
Sizing & Measurements
Custom Fit: This pattern is completely customizable to your body measurements.
Length: Your foundation chain determines the total height (top to bottom) of the top. For example, a foundation chain of 37 chains yields an approximate 10-inch tall crop top.
Width: The fabric is highly elastic and will stretch several inches wider than its flat measurement when worn.
Written Pattern Instructions

Foundation and Base Row
Foundation: Make a slip knot and chain loosely until the chain matches your desired top length.
Row 1: Turn the chain to work into the back bumps. Skip the first chain from the hook. Slip stitch into the back bump of the second chain from the hook. Slip stitch into the back bump of every chain across the row.
- Never read a crochet pattern before? No problem! The video tutorial below is perfect for beginners, or give the written pattern below a try!

Increasing for the One-Shoulder Slant
Row 2 (Increase Row): Chain 2 and turn your work. Skip the first chain from the hook. Slip stitch into the second chain from the hook (this creates your increase). Slip stitch in the back loop only across the remainder of the row, until 1 stitch remains. Work the final slip stitch through both loops for a clean edge.
Row 3 (Straight Row): Chain 1 and turn your work. Slip stitch through both loops of the very first stitch. Slip stitch in the back loop only across the rest of the row.
Repeat: Alternate Row 2 and Row 3. You will see the fabric begin to angle upward on one side. Continue this repetition until the angled edge reaches from the side of your bust up to your shoulder or desired neckline.

Shoulder and Underarm Shaping
Step 1: Stop working the increase rows once your desired shoulder height is achieved.
Step 2: Switch to working only straight rows. To do this, chain 1, turn, and slip stitch across the row (working the first and last stitches through both loops, and the middle stitches in the back loop only).
Step 3: Continue working these straight rows for approximately 2 inches to build out the shoulder section.
Step 4: Continue working straight rows for an additional 1 inch to properly level out and define the underarm side of the panel. Fasten off.

Assembly & Finishing
Panel 2: Repeat all of the steps above to make a second panel that is identical to the first.
Alignment: Place both panels together with the wrong sides facing each other.
Shoulder Seam: Using your yarn needle and a mattress stitch or whipstitch, sew the straight shoulder edges together securely.
Side Seams: Sew the side seams together, working through both loops of the edge stitches to ensure durability and strength.
Finishing Touches: Cut your yarn, weave in all loose ends securely with your yarn needle, and lightly steam-block the top if needed to relax the stitches.