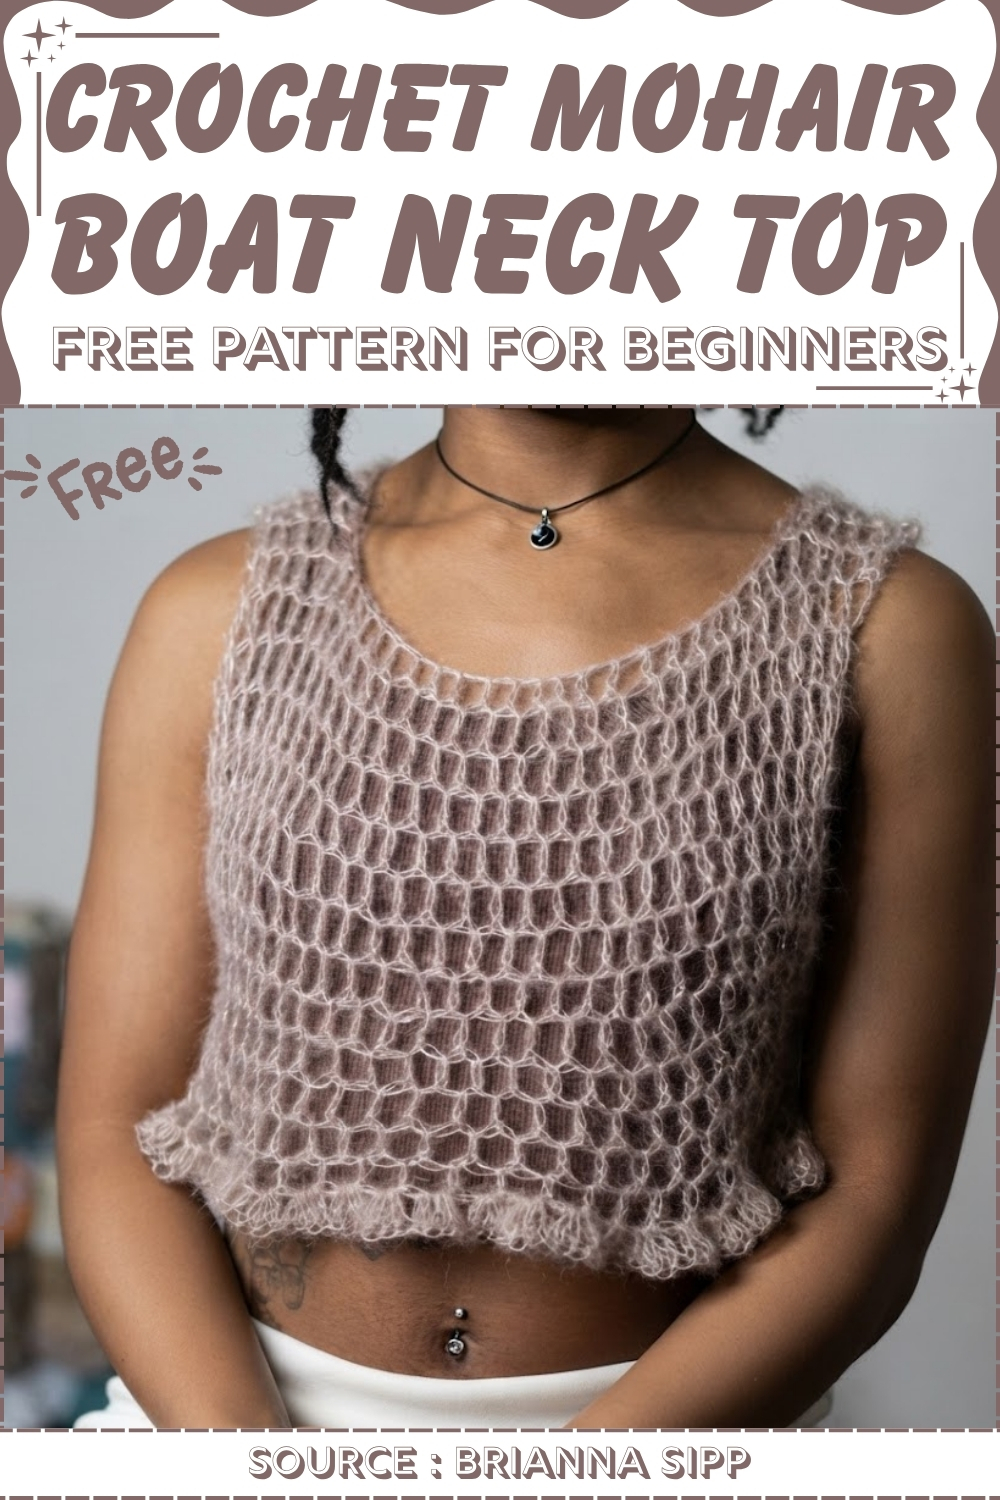
New crocheters can finish a mohair tank top in one sitting using about 246 yards of lace weight mohair and a 5.0 mm hook. You size the back panel from your own measurements, grow the front from the straps, then work a ruffle hem in the round.
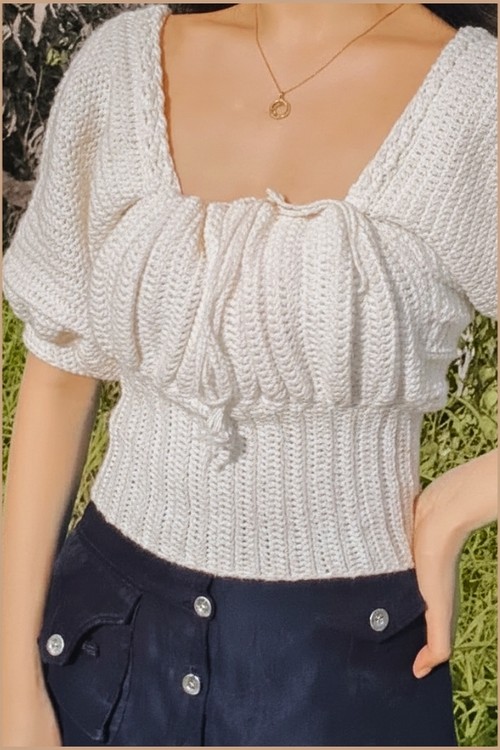
Mohair changes the character of a simple mesh top completely. Worked loosely on a large hook, the fuzzy halo fills the open cells so the fabric reads soft instead of sheer, and the wide neckline sits off the shoulders with no shaping to fuss over. For the same neckline in a crisper yarn, this spider stitch boat neck top makes a useful comparison.
Mohair Boat Neck Top Crochet
Construction stays flat and forgiving. You work two rectangles, seam the shoulders and sides, and leave generous armhole openings, so the fit adjusts by changing how wide you work rather than by counting increases. The one thing worth practicing first is even tension, since mohair grips itself and resists being pulled back.
Quick Facts
- Skill level: Easy / beginner-friendly
- Construction: Measurement-based; back panel first, strap neckline shaped at the top, front panel grown from the straps, shoulder seam joined, ruffle hem worked in the round
- Main stitch: Double crochet mesh (worked into spaces, not stitch tops)
- Hook: 5.0 mm
- Yarn: Mohair lace yarn, approximately 246 yards
- Estimated time: A fast single session — the open mesh stitch and large hook move quickly
Customization Ideas (Before You Begin)
Since every count comes from your own measurements:
- Adjust the strap width. The creator used 4 to 6 double crochets per strap. More stitches give a wider, more covered strap; fewer give a delicate spaghetti effect.
- Deepen or shorten the scoop. Working even fewer rows on the front panel deepens the scoop; matching the back panel’s row count gives a straighter neckline.
- Skip the ruffle. For a clean, minimal hem, end with a single round of double crochets rather than working 4 per space.
- Change the length. The row counts are the original creator’s — measure your desired body length and stop when you get there rather than counting to a fixed number.
- Add a third color or contrast. The ruffle round and the neckline chain are natural spots to introduce a contrast yarn without changing any construction.
Materials and Tools
- Mohair lace yarn (cruelty-free; approximately 246 yards)
- A 5.0 mm crochet hook
- Measuring tape
- Scissors
- Yarn needle
Essential Stitch to Know
The Pattern
Step 1: Measuring and Starting Chain
- Measure from armpit to armpit to determine the width of your top.
- Chain loosely to match this width. (The creator chained approximately 40 stitches, adding about half an inch of ease.)
Step 2: Foundation Row
- Work into the 3rd chain from the hook with a double crochet.
- Place 1 double crochet in every stitch for the rest of the row.
- Chain 2 and turn.

Step 3: Mesh Body Pattern (Back Panel)
- Row 1: Instead of going into the top of stitches, work under the stitch and into the space. Place a double crochet in every space across. Chain 2 and turn.
- Row 2: Skip the very first space, then place 1 double crochet in every space to the end. Chain 2 and turn.
- Row 3: Do not skip the first space this time. Place a double crochet in the first space and continue across. Chain 2 and turn.
- Pattern repeat: Continue alternating between skipping and not skipping the first space on each row.
- Continue until you reach your desired back panel length minus approximately 1 inch. (The creator worked 13 rows total.)
Reading crochet patterns can be tricky when you’re just starting out, feel free to follow the video tutorial below instead!
Step 4: Shaping the Straps and Neckline (Back Panel Top)
- Chain 2 and turn. Skip the first stitch and place a double crochet in the next.
- Work only your desired strap width across. (The creator used 4 to 6 double crochets.) Finish this first strap.
- Count the corresponding number of spaces on the other side to match your strap width.
- Create a neck hole chain spanning the unworked spaces between the two straps. Chain this loosely.
- Join with a double crochet in the 6th space on the opposite side, then continue double crocheting to the end of the row.
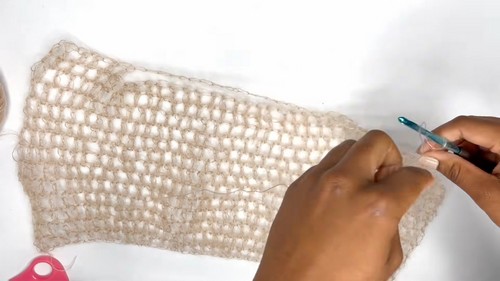
Step 5: Front Panel
- Work a solid row of double crochet across the straps and the neck chain.
- Continue working the mesh stitch pattern (alternating the first-space skip and no-skip rows) for the front panel.
- Work 3 fewer rows than the back panel to create a lower scoop neckline at the front. (The creator worked 10 rows for the front.)
Step 6: Joining the Shoulders and Working in the Round
- Align the front and back panels at the top shoulders.
- Slip stitch them together, chain 2, and begin working in rounds to connect both sides.
- Continue the mesh pattern in the round for 3 rounds — or however many are needed to make up for the 3 shorter front rows and match the side lengths.

Step 7: Ruffle Hem and Finishing
- Once you reach your final length, chain 2.
- Work 4 double crochets into each space all the way around to create the ruffle hem.
- Slip stitch to the top of the first stitch, chain 1, fasten off, and weave in or trim the ends.

Tips and Troubleshooting
- Chain the starting foundation and the neck hole chain loosely. Mohair lace is soft and forgiving but can pull tight at chain sections if worked under tension — a loose chain keeps these edges flexible and wearable.
- Count your mesh rows before shaping the straps. The back panel needs to be exactly 3 rows longer than the front for the shoulder join to work cleanly. Count the back rows before starting the strap shaping so you know your target front row count.
- Work 4 double crochets into every space on the ruffle round. The ruffle needs to be consistent — more than 4 makes it too dramatic and floppy; fewer gives a subtle flare rather than a true ruffle.
Yarn Substitution
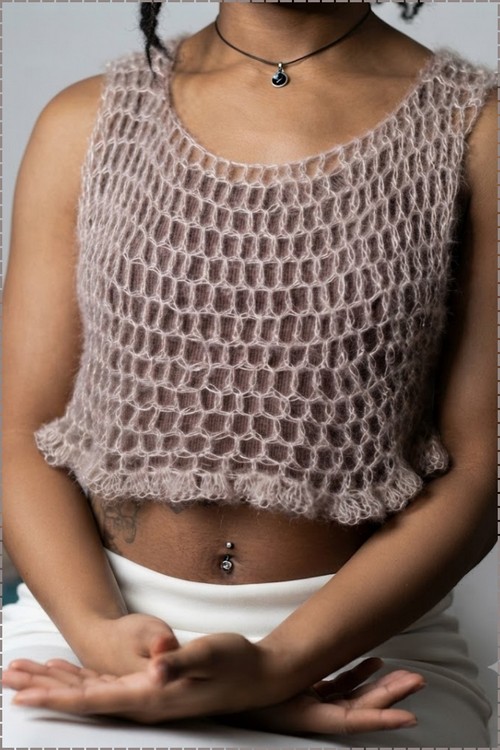
Mohair lace genuinely matters here. The halo of mohair is what gives the fabric its floating, cloud-like quality — substituting a smooth DK or cotton yarn will produce a denser, heavier tank without the distinctive delicate texture. If you can’t source mohair lace specifically, a mohair-silk blend lace weight (such as held alongside a fine thread) can approximate the effect. Any substitution in a heavier weight will need a larger hook to keep the mesh open and airy.
Frequently Asked Questions
1. Why does the mesh pattern alternate between skipping and not skipping the first space? Working into the space rather than the stitch top is what creates the open mesh grid. Alternating the first-space skip and no-skip creates a slight offset in the grid each row, which is what gives the mesh its characteristic diagonal texture rather than a perfectly vertical column pattern.
2. Why is the front panel 3 rows shorter than the back? The 3 missing front rows create the scoop neckline — the front dips lower than the back. Those rows are then made up in Step 6 when you join the shoulders and work 3 rounds in the round to match the side lengths. It’s a clever way to shape the neckline without any shaping rows.
3. How does working in the round for Step 6 fix the length difference? After joining at the shoulders, you work the remaining rounds around the full connected tube — both the front and back together. This adds the 3 rows the front was missing to both sides simultaneously, bringing the side seams to the same length without any seaming.
4. Can I work this in a yarn other than mohair lace? The construction works in any yarn, but the visual result changes significantly. A smooth lace weight without mohair halo gives a more structured, less ethereal top. A sport or DK weight will need fewer rows to reach the same length. Whatever you use, the measurement-based chain means the sizing adjusts to your body regardless.