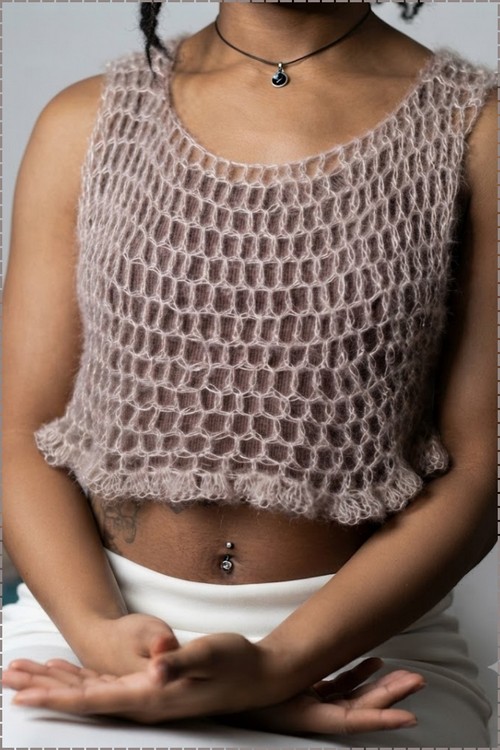
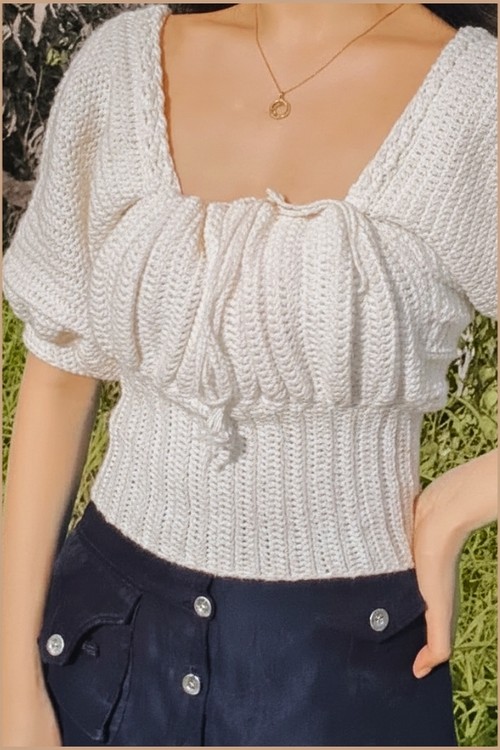
Date nights suit crochet wrap sweaters that tie at the waist and frame the neckline. Lavender works for spring and deep plum for winter, and the same crochet sweater wrap top pattern makes both.
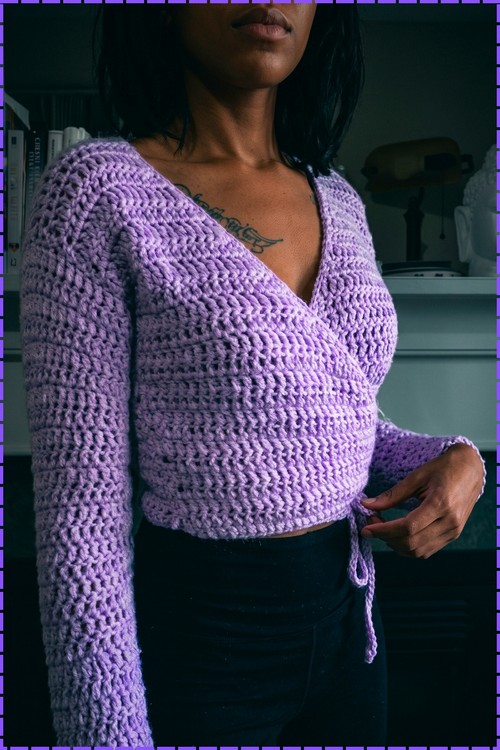
Both front panels cross over the chest and tie at one side of the waist in this crochet sweater wrap top free pattern, a cropped lavender top with long sleeves. The crossover forms a deep V neckline, and the hem stops at the natural waist. Rows of tall stitches leave small gaps across the fabric, so the top feels light despite its full coverage. Try the top on before securing the ties, since the overlap decides how low the V sits.
Crochet Sweater Wrap Top
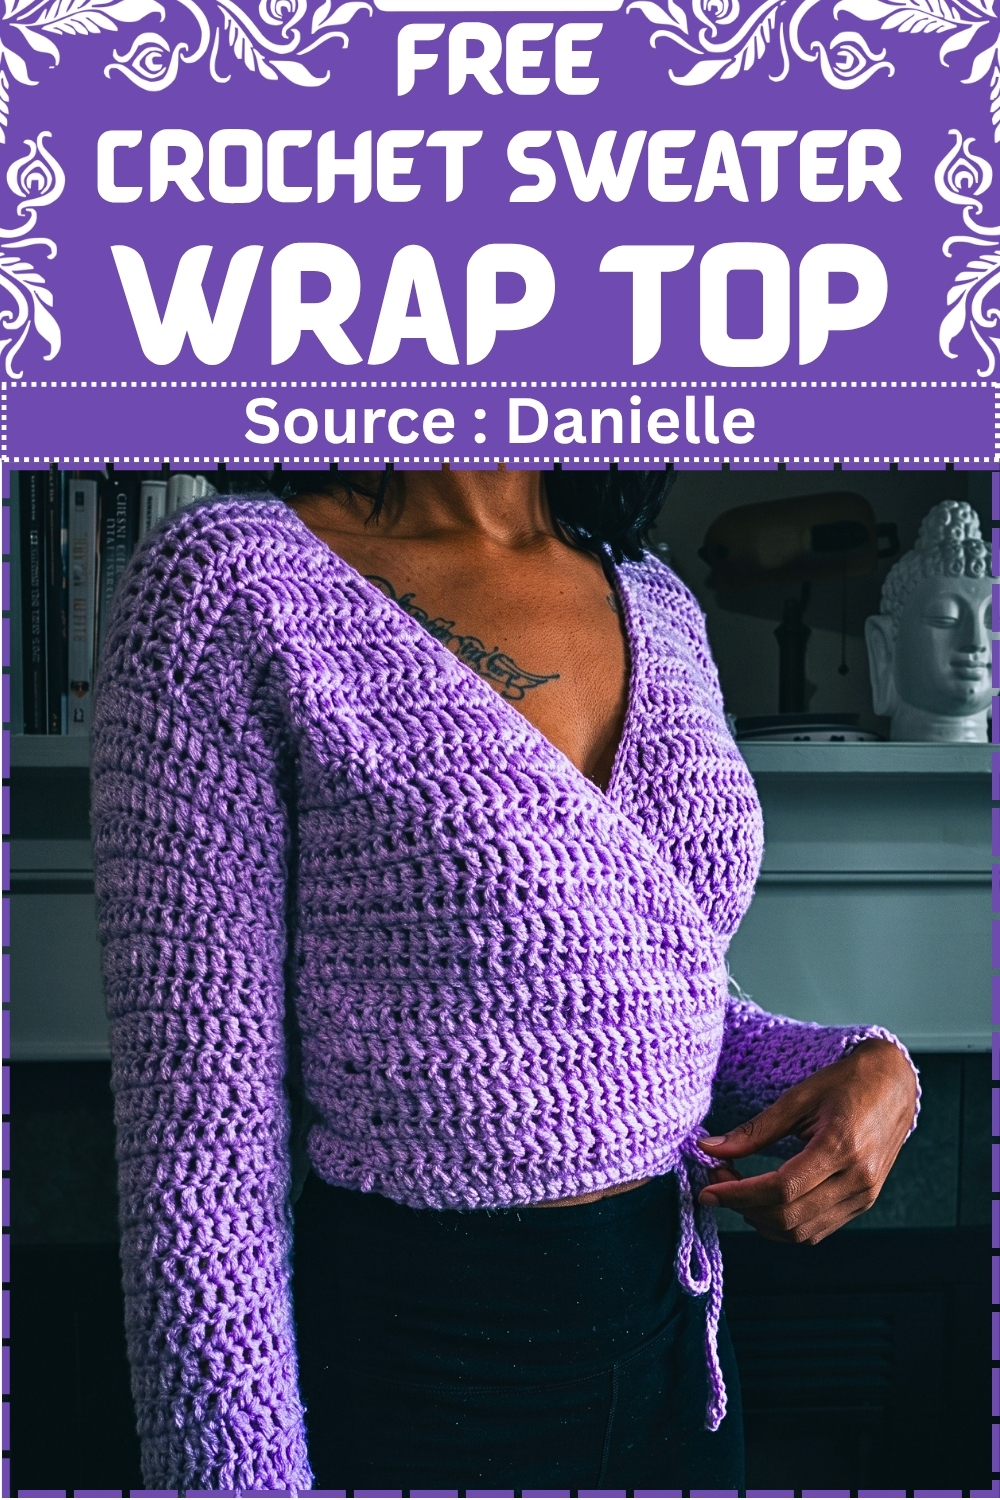
This crochet sweater wrap top pairs a crossover V-neck front with fitted long sleeves and ties that wrap around the waist. You build it from five simple pieces: two slanted front panels, one straight back panel, and two sleeves. Then seam everything together. Makers who already work comfortable rows of double crochet and want a first fitted garment will find it very manageable. The sizing starts at Extra-Small to Small, and a short measuring guide lets you adapt every panel to your own bust, waist, and wrist. Worsted weight yarn keeps the fabric soft, drapey, and quick to finish.
What You Need
- Medium worsted weight yarn, such as Caron Simply Soft, about 2 to 3 skeins depending on body length and sleeve style
- 5.0 mm (H) crochet hook
- Tapestry or sewing needle
- Scissors
- Measuring tape
- Stitch markers or short lengths of scrap yarn
Technique Notes
- Measure first, chain second. This top fits because you calculate your own chain counts before starting. Take your bust and waist measurements, then check your gauge on a small dc swatch. The designer’s gauge is 4 stitches per inch; if you get more or fewer, use your own number in the math and the panels will still fit.
- Dc2tog for the wrap slope. Yarn over, insert into the next stitch, pull up a loop, yarn over and pull through 2 loops, then repeat into the following stitch and pull through all 3 loops on the hook. Working it on the neck edge only creates the slanted crossover line. Place a stitch marker on the shaping edge so you never decrease on the wrong side by mistake.
- Controlling the slope. Decreasing on alternate rows gives a gentle slant, while decreasing on every row makes it steep. Lay the panel against your chest as you go to see how deep the V is getting.
- Matching rows. Count the rows on your finished front panel and write the number down before starting the back panel, because both pieces need the same height for clean side seams.
- Setting sleeves inside out. Sewing a right-side-out sleeve into an inside-out body keeps the seam hidden and the edges aligned. Scrap yarn ties hold the pieces together better than pins on stretchy fabric.
Crochet Criss-Cross Wrap Top Pattern
Size and Sizing Math
- Size: Extra-Small to Small, adaptable with custom measurements
- Designer’s gauge: 4 stitches per inch; use your own gauge in every calculation
- Front panels (make 2): multiply (half bust measurement + 2 inches) by your stitch gauge; the designer’s half bust of 8 inches + 2 inches = 10 inches × 4 = 40 chains
- Back panel (make 1): multiply half waist measurement by your stitch gauge; the designer’s 13 inches × 4 = 52 chains
- Shoulder and neck gap: reserve 14 stitches at each top shoulder edge for joining
- Sleeves (make 2): chain to fit your wrist circumference, with the designer using 24 chains, and increase on the 5th row of each repeat
Part 1: Front Panels (Make 2)
Foundation and Body
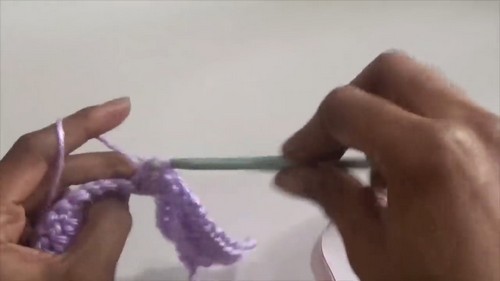
- Foundation chain: Ch 40, or your calculated front width [40 ch].
- Row 1: Ch 2, dc in the 3rd ch from the hook, then dc in every ch across, and turn.
- Rows 2–16: Keep working straight dc rows, or alternating pattern rows, until the piece reaches your desired underarm and side shaping height, keeping the side edges clean for sewing.
Gradual Decreases for the Wrap Slope
- On the shaping side, dc2tog over the last 2 stitches to begin the slanted wrap front.
- Alternate decrease rows with regular rows as needed to control how steep the slope becomes.
Steeper Decreases
- Switch to decreasing on the V-neck edge every row for the final section, about 9 rows, until only the shoulder strap stitches remain [14 sts].
Shoulder Extension
- Work 2 straight rows across the remaining shoulder stitches [14 sts].
- Fasten off.
- Repeat the full front panel process for the second front piece.
Part 2: Back Panel (Make 1)
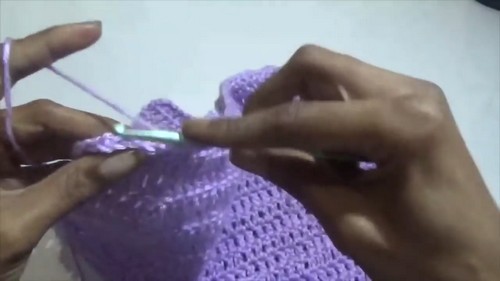
Foundation and Body
- Foundation chain: Ch 52, or your calculated half-waist width [52 ch].
- Row 1: Ch 1 or 2, then work hdc or dc across the foundation chain, and turn.
- Following rows: Work even rows with no increases or decreases until the row count matches your front panels.
Shoulder and Neck Partition (Final Row)
- Ch 3, turn, and dc across the first shoulder section [14 sts].
- Sl st across the center back neck gap stitches.
- Dc across the final shoulder section on the opposite side [14 sts].
- Fasten off.
Part 3: Sleeves (Make 2)
Foundation
- Foundation chain: Ch 24 to fit your wrist circumference [24 ch].
- Work flat for a sewn sleeve, or join if you prefer.
- Work a foundation row of hdc or dc across the chain.
Increase Pattern
- Work 4 straight rows of dc.
- On the 5th row, work 2 dc into the first stitch and 2 dc into the last stitch for a total increase of 2 stitches [26 sts].
- Repeat the cadence of 4 straight rows followed by 1 increase row until the sleeve length matches your arm measurement, about 16 inches.
- Fasten off.
Sleeve Edging (Optional)
- Attach yarn at the cuff edge.
- Skip 3 sts, then work a shell of 3 dc in the next st.
- Repeat the skip and shell around the cuff.
- End with a dc in the last st for a scalloped cluster edge.
Sleeve Seam
- Sew the long open side of each sleeve closed with your tapestry needle.
Part 4: Wraparound Ties and Edging
- Attach yarn to the bottom foundation corner of a front panel.
- Work chain loops in an arch pattern of ch 3 to 4 with dc loops, or work extended chain and dc rows, to form a long waist tie.
- Repeat on the other front panel so both lower edges carry a tie.
Part 5: Assembly and Seaming
Shoulder Seams
- Line up the 14-stitch shoulder edge of each front panel with the matching 14-stitch shoulder section of the back panel.
- Slip stitch or mattress stitch across each shoulder seam.
Side Seams
- Sew each side body seam from the bottom upward, stopping to leave an armhole that matches your sleeve circumference.
- Keep the lower front wrap split open and never sew the front wrap edges together down the center.
Sleeve Attachment
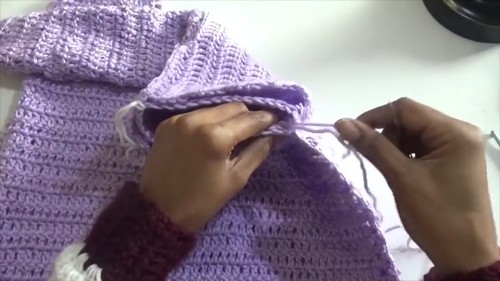
- Turn the body inside out so the seams show.
- Turn the sleeve right side out.
- Place the sleeve inside the body armhole, matching the sleeve underarm seam to the body side seam.
- Secure the pieces with scrap yarn stitch markers or pins.
- Whipstitch or mattress stitch all the way around the armhole.
- Repeat for the second sleeve.
Neck and Front Edging (Optional)
- Work one round of sc around the V-neck, the front slopes, and the neck opening to tidy the raw stitch edges.
Yarn Substitution
Any soft medium worsted weight yarn works here as long as it drapes well, because a stiff yarn makes the wrap front stand away from the body. Acrylic blends like the one suggested wash easily and stay light. Cotton blends suit warmer months but stretch with wear, so keep the body slightly shorter. A wool blend gives extra warmth for a winter layer. Always swatch and recalculate your chain counts with the new gauge before starting the panels.
Customization Ideas
- Crop the front and back panels for a wrap top that sits above high-waisted jeans.
- Stop the sleeves at the elbow for a lighter three-quarter look.
- Work the waist ties and cuff edging in a contrast color.
- Skip the scallop edging and add a round of sc for a sleek, minimal cuff.
FAQ
- Can I make this crochet wrap top in a larger size? Yes. Measure your own bust, waist, and wrist, then plug those numbers and your gauge into the sizing math before chaining each piece.
- Why does my wrap front gape at the neckline? The slope is usually too gradual. Decrease more often on the neck edge, or work a firm round of sc around the V-neck to pull it in.
- How long do the waist ties need to be? Make them long enough to cross behind your back and tie at the front or side. Wrap the unfinished top around yourself to check before fastening off.