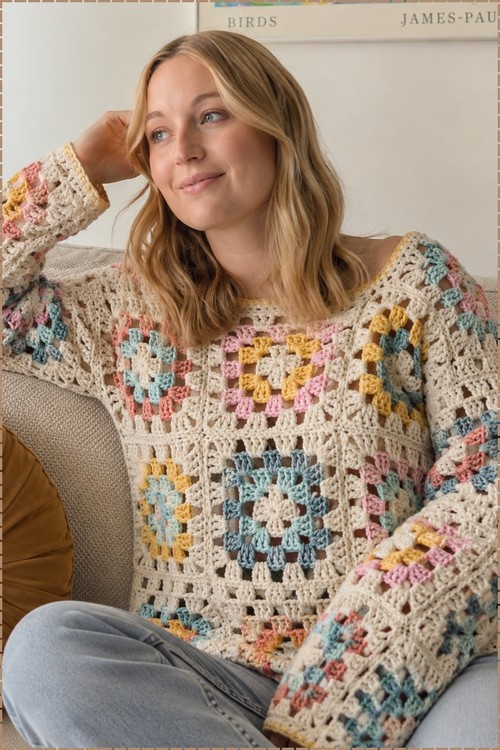
Your bust measurement sets the size of every granny square in this square neck crochet sweater, so the fit is built in before any seaming starts. Twenty two squares and a 6 mm hook turn worsted yarn into a cute long sleeve top whose neckline forms straight from the grid.
Granny squares in soft pastels against a cream background give this sweater a vintage feel that still looks current worn over jeans. Each square is worked individually before the panels come together, so the construction breaks a full garment down into small, satisfying sessions. It sits in easy reach of anyone who has already made a granny square top with sleeves and wants to take the same building block further into a full sweater.
Long-Sleeve Square-Neck Crochet Sweater
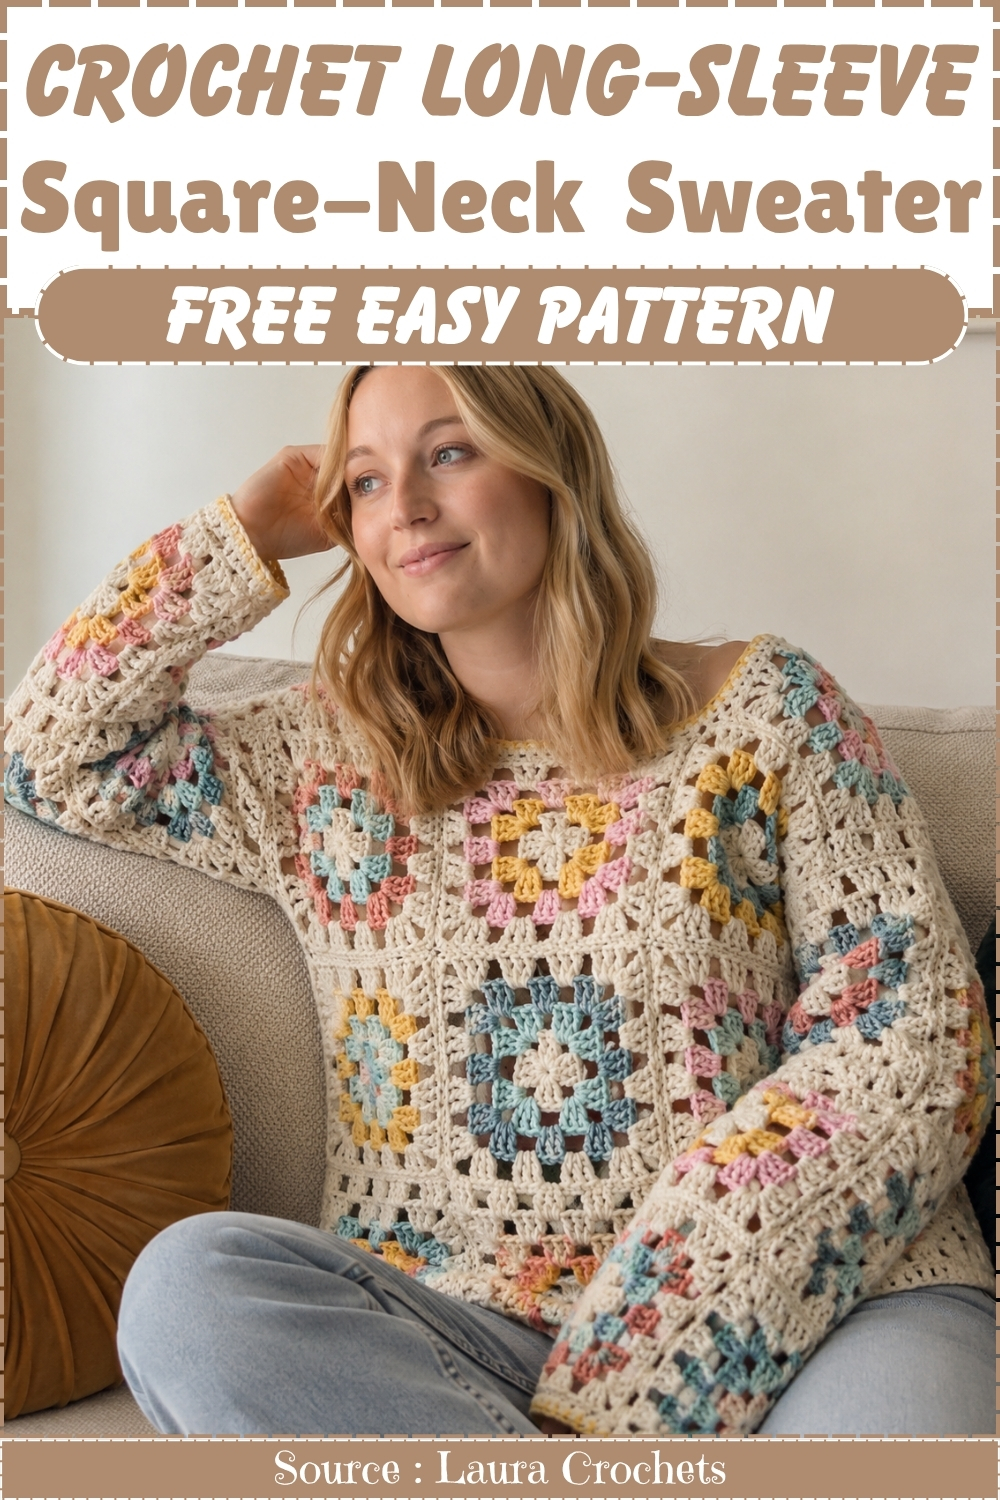
Front and back are each a grid of joined squares, and the sleeves are built the same way so the whole garment has one consistent texture throughout. The square neckline forms naturally from the grid layout without any extra shaping rows. Color placement across the motifs can follow the original pastel palette or use up scraps in whatever tones you have on hand.
Quick Facts
- Skill level: Intermediate
- Construction: 22 granny squares (16 regular, 8 larger sleeve squares), sized to your body measurements, assembled into front and back panels with attached sleeves
- Hook: 6 mm
- Yarn: Weight 4 across all colors for consistent square dimensions
- Blocking required: Yes — steam blocking is essential before assembly
- Estimated time: A longer project; the square count, blocking time, and seaming each take dedicated sessions
Customization Ideas (Before You Start)
Since every square dimension comes from your own measurements, customization is built into the pattern from the start:
- Change the color palette. The original uses butter yellow, red, pink, navy, and kelly green against an off-white base — but any 3 to 4 accent colors with a strong base color will work. A monochromatic palette gives a more minimal look; high-contrast colors give maximum visual energy.
- Use a self-striping cake yarn. Swapping the multi-accent approach for a single cake yarn on the first 3 rounds gives a cohesive, gradient effect without planning color placement.
- Adjust the length. If the 2-by-3 square grid feels too short, the optional extra granny-stitch rows at the underarm after assembly can add 1 to 2 inches of body length without remaking the squares.
- Change the neckline accent. Any of the accent colors used in the squares can be pulled for the neckline round — the idea is to echo a color already in the body rather than introducing something new.
- Add cuff ribbing. The original finishes with a round of double crochets — for a more fitted cuff, substitute post-stitch ribbing rounds before fastening off.
Materials and Tools
- Weight 4 yarn in your chosen colors. For the original colorway: approximately 2 skeins of the base off-white, plus accent colors (butter yellow, red, pink, navy blue, kelly green) for the granny square rounds
- A 6 mm hook
- Tapestry needle and straight pins
- Blocking board
- Garment steamer
Know This Stitch
The Pattern
1. Measuring and Sizing
The square size is determined by your body measurements — not a fixed number.
- Square width: Measure across the widest part of your torso (e.g., bust), add 2 inches for ease, divide by 2 for each panel, then divide by 3 (since each panel is 3 squares wide). The result is your target square width. (Example: 38-inch bust + 2 inches = 40 inches ÷ 2 = 20 inches per panel ÷ 3 = approximately 6.5 inches per square.)
- Square height: Measure from the top of your armpit to your waist (approximately 12 inches) to determine square height. Each square should be square — the same dimension for both height and width (for example, 6.5 × 6.5 inches).
2. Making the Granny Squares
Make a total of 22 squares: 16 regular squares (4 rounds each) and 8 larger sleeve squares (5 rounds each).
Round 1 — Center
- Start with a magic circle (or chain 4 and slip stitch to form a ring).
- Chain 4 (counts as the first triple crochet).
- Work 2 more triple crochets into the circle, chain 1.
- Repeat (3 triple crochets, chain 1) 3 more times until you have 4 clusters total.
- Join with a slip stitch to the top of the starting chain 4 and fasten off.
Round 2
- Attach your next color into any chain-1 space with a slip stitch.
- Chain 4, work 2 triple crochets into the same space, chain 1.
- In the next space, work a corner: 3 triple crochets, chain 2, 3 triple crochets. Chain 1.
- Repeat the corner pattern around all sides. Join with a slip stitch and fasten off.
Round 3
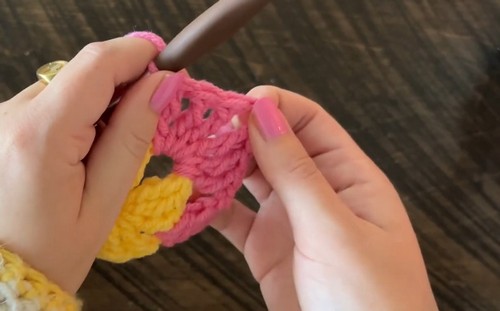
- Attach your next color into a corner space. Chain 4, work 2 triple crochets, chain 1.
- Work 1 cluster of (3 triple crochets, chain 1) in the side space, then work a corner (3 triple crochets, chain 2, 3 triple crochets) in the corner space.
- Repeat around. Join and fasten off.
Round 4 — Final round for regular squares
- Attach the base color (off-white) to a corner space. Chain 4, work 2 triple crochets, chain 1.
- Work single clusters of 3 triple crochets (separated by chain-1 spaces) along the sides, and full corners (3 triple crochets, chain 2, 3 triple crochets) at each corner.
- Join at the top of the chain 4 and fasten off.
Sleeve squares (8 pieces)
- Add one extra round of the base color following the same granny stitch and corner pattern, making the sleeve squares slightly larger than the body squares to fit the sleeve opening properly.
3. Blocking the Squares
Blocking is not optional — it determines whether the assembled sweater hangs correctly.
- Lay each square flat on the blocking board.
- Lightly steam the square with a steamer held approximately 1 inch away.
- Pin each of the four corners down to maintain consistent square dimensions.
- Steam the pinned square thoroughly and let it cool and set — overnight is ideal, with a minimum of 4 hours.
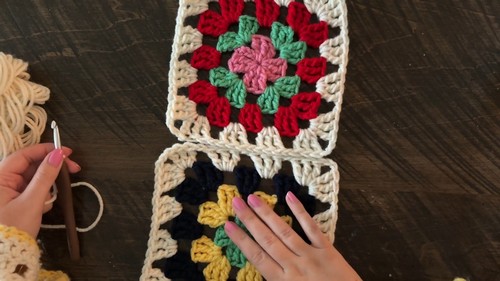
4. Assembly and Seaming
Layout
- Arrange squares into two main panels (front and back) of 6 squares each, in 2 rows of 3.
- Place shoulder squares on top and align the 8 larger sleeve squares to meet the center shoulders.
Seaming
- Fold panels with right sides touching (wrong sides facing out).
- Attach base color yarn and slip stitch through the matching top loops and corner chains of both squares to join them while retaining stretch.
- Join all horizontal and vertical seams on the front and back body panels, fold in half, and seam the underarms and sides.
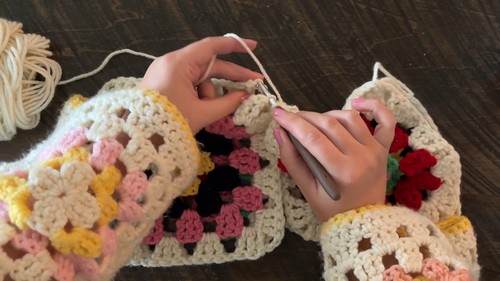
5. Finishing Touches
Optional length extension: If the torso feels too short after assembly, attach base yarn at the underarm and crochet 1 to 2 extra rows of granny stitch clusters around the bottom hem.
Edges and cuffs: Attach base color yarn to the sleeve cuffs and bottom edge. Work a round of double crochets into the top loop of each stitch for a clean finish.
Neckline: Choose a pop color from your granny squares. Attach yarn at the neckline and work a round of single crochets all the way around to echo the color palette and polish the collar edge.
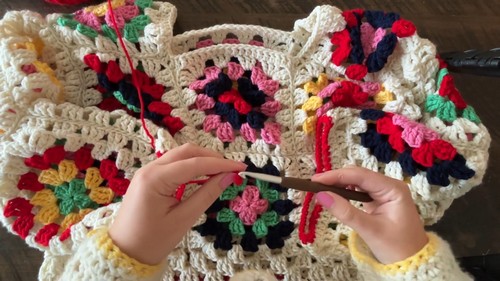
Tips and Troubleshooting
- Block every square to the same pinned dimensions before assembly. Even a quarter-inch variation square to square will create puckered seams and a sweater that doesn’t lie flat. Make a template from cardboard to check each square as you pin it.
- Use the slip stitch seam consistently throughout. The slip stitch through the top loops retains stretch, which matters for a sweater you’ll pull on and off. Don’t switch to a sewn seam partway through — the different tension will show.
- Crochet the sleeve squares one round larger than the body squares. The sleeve squares need to wrap around the arm, which requires more circumference than a flat body panel square. Skipping this step will give you sleeves that are too narrow to attach or too tight to wear.
Frequently Asked Questions
1. How many squares do I actually need to make? 22 squares total: 16 regular 4-round squares for the body panels and 8 slightly larger 5-round squares for the sleeves. The sizing formula ensures each square is built to your measurements rather than a fixed size.
2. Why use triple crochet in the granny squares instead of the traditional double crochet? Triple crochet creates a taller, airier square than double crochet — particularly noticeable in the center and corner clusters. The result is a more open, drape-forward fabric that moves differently from a traditional granny square sweater.
3. Can I assemble the sweater without blocking? Not if you want a professional result. Unblocked granny squares vary slightly in dimension even when worked to the same row count, and those variations compound across 22 squares. Blocking is what makes every square the same size and gives the assembled sweater its clean, flat drape.
4. Why are the sleeve squares larger than the body squares? The body squares are sized to cover your flat torso panel. The sleeve squares need to wrap around your arm in a tube, which requires more fabric. The extra border round adds the circumference needed to fit the sleeve opening without the seam pulling tight.