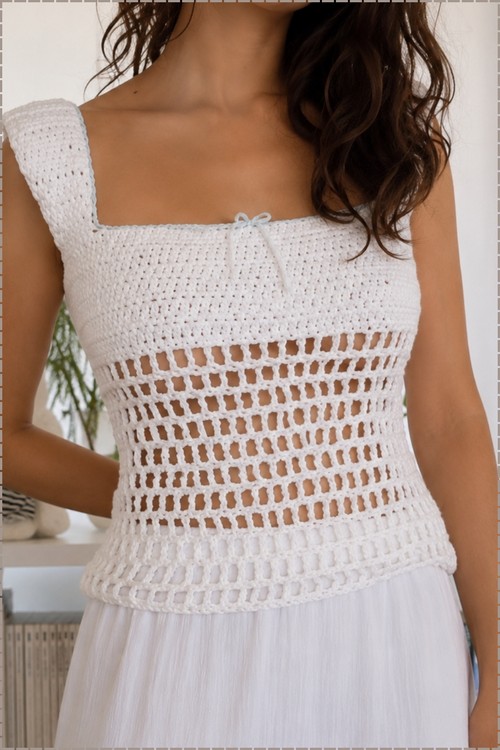
Warm evenings suit the open ladder mesh that drops below a ribbed bust band on this square neck crochet top. You clip the wide straps in place on your own shoulders before working them, and a light blue edging outlines the neckline.
White cotton and an open mesh waist make this one feel more like summer eveningwear than a casual top, especially paired with the flowing skirt in the photos. The bust panel is solid and structured while everything below it shifts into a wide ladder mesh that keeps the silhouette light without losing the fitted shape. It shares the same clean square neckline as the long sleeve granny square sweater but lands in a completely different season and mood.
Crochet Sweater Square Neck
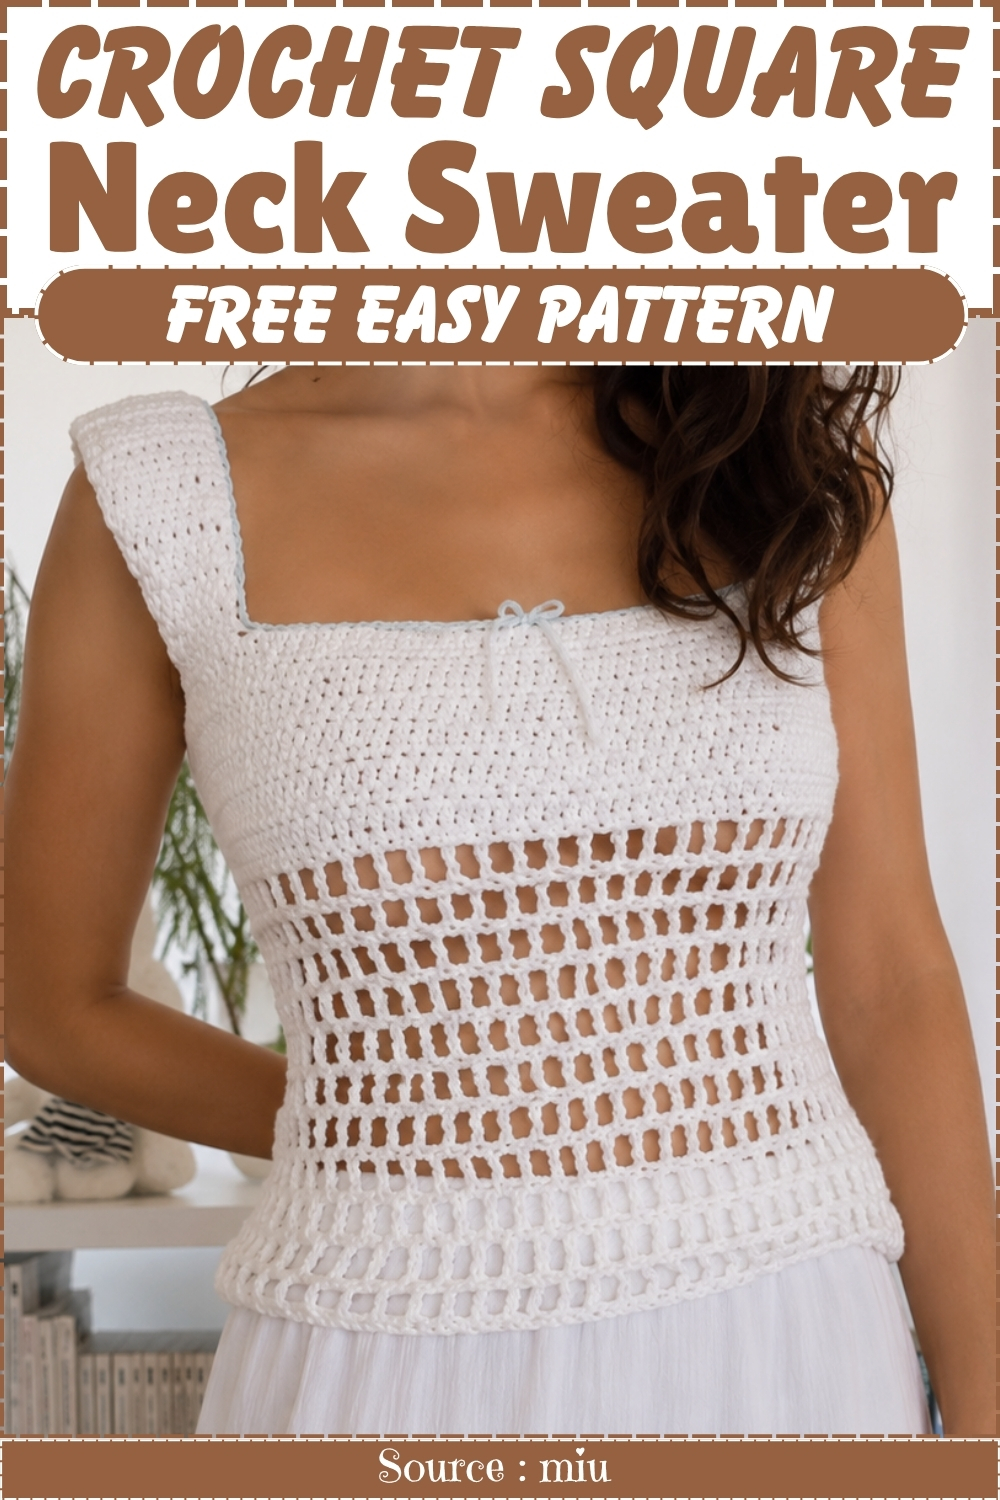
Construction starts at the top with a ribbed bust band and then transitions into the open mesh rows for the midriff section, so the two textures stack rather than mix. Wide cap straps sit at the shoulders and a thin ribbon tie finishes the center front neckline. Cotton yarn keeps the drape crisp so the mesh reads as intentional structure rather than looseness.
Why I love this one: fitting the shoulder straps directly on your body — clipping them in place before you crochet them — means the top actually fits the way you want it to, not the way a pattern chart guesses it should.
Materials and Tools
- Your choice of yarn (the creator works in a size small — adjust chain lengths and rows to your measurements)
- A contrasting yarn color for the neckline edging (the creator uses light blue)
- Half double crochet hook (sized to your yarn)
- Scissors
- Yarn needle
- Safety pins or hair clips (for strap placement fitting)
- A needle and yarn or a small ribbon for the bow detail
Stitch to Master
Difficulty and Time
This is a beginner-friendly top. The stitches are half double crochet, back-loop-only half double crochet, single crochet, and triple crochet — all standard and easy to manage. The most creative step is fitting the straps directly on your body before working them. Budget a few relaxed sessions.
The Pattern
Step 1: The Back Ribbing
- Chain 20 stitches.
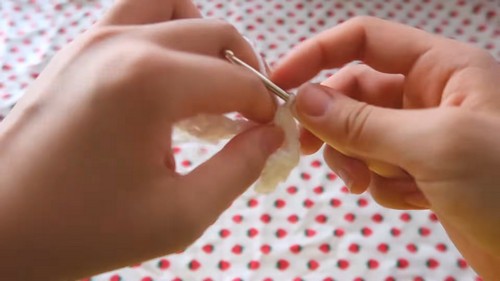
- Foundation row: Chain 2 for height, then work a half double crochet in the 4th chain from the hook and continue down the chain.
- Ribbing rows: Chain 3, flip your work, and work half double crochets in the back loops only starting from the second stitch.
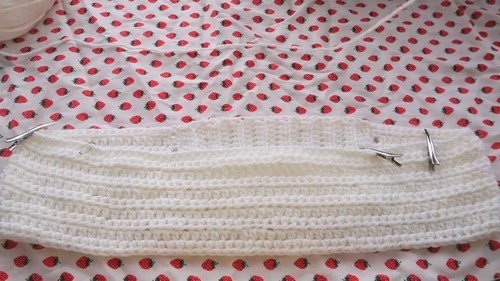
- Length: Complete 16 rows total (or adjust to achieve your desired width and stretch for the back section).
Step 2: The Main Front and Back Panel Base
- Chain 95 stitches (adjust according to your body width).
- Work half double crochets across every single chain.
- Continue working rows of half double crochets until the piece is long enough to reach around and connect with the other side.
- Seaming: Sew the ends of the main panel to the back ribbing from the inside to keep the sides even.
Step 3: Shoulder Straps
- Placement: Try on the top and use safety pins or hair clips near your armpits to mark even strap placements for the square-neck look.
- Strap construction: Start with 8 half double crochets and work for 6 rows.
- Increase: On the next row, increase to 9 half double crochets and continue for the remaining rows until the strap reaches the back. (The creator worked approximately 23 rows total.)
- Attach: Secure the strap to the back beside the ribbing. Repeat the same process for the second strap.
Step 4: Bottom Mesh Body Section
- Preparation: Try the top on, then add a clean foundation lining row of single crochets around the bottom edge.
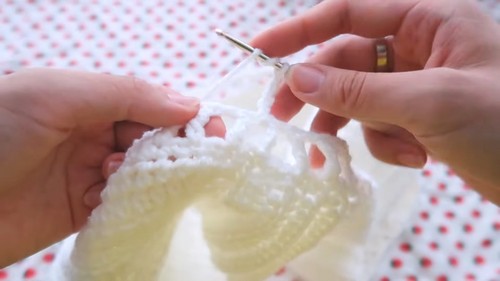
- Mesh pattern: Chain 4, skip a stitch, and work a triple crochet. Chain 1, skip a stitch, and work a triple crochet. Repeat this mesh pattern all the way around, closing in the 4th chain.
- Length: Continue the mesh pattern for approximately 11 rows, or your desired hem length.
Step 5: Finishing and Lining
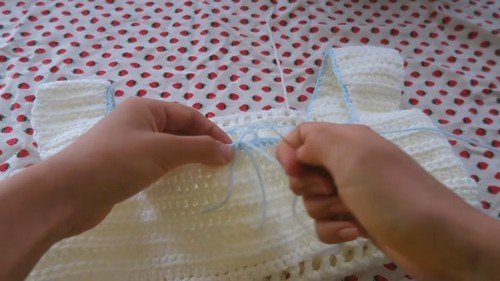
- Neckline edging: Add a round of single crochets in a contrasting yarn color around the neckline or inner borders.
- Bow detail: Attach a small handmade ribbon or bow to the center using a needle and yarn.
- Weave in all loose ends.
Tips and Troubleshooting
- Fit the straps before you crochet them. The safety-pin fitting step is the most important technique in this pattern — clipping the straps where they sit naturally on your body means you work to your actual measurements, not an average. Don’t skip it.
- Keep the back-loop-only rows relaxed. The back ribbing depends on the BLO rows being stretchy, not tight. Work them with deliberate, easy tension so the ribbing can do its job.
- Adjust the chain-95 to your actual body. The main panel chain sets the circumference of the top. Measure around your torso at the widest point you want the top to sit and chain to that measurement rather than assuming 95 stitches will fit.
- Close the mesh round cleanly. The mesh pattern closes by working into the 4th chain of your starting chain-4 — this is the stitch that keeps the mesh aligned. A slip stitch into the wrong chain will throw the round off.
Customization Ideas
- Adjust the mesh length. More rows on the mesh section gives a longer, skirt-like extension; fewer rows keeps it as a simple hem detail.
- Change the neckline color. Any contrast yarn that complements your main color works for the single crochet neckline round.
- Skip the bow. The bow is optional and purely decorative — the top is complete without it.
- Change the strap width. Starting with 10 or 12 half double crochets instead of 8 gives wider, more covered straps.
Frequently Asked Questions
1. Why is the back section worked separately as ribbing instead of as part of the main panel? The back ribbing creates a section with more stretch and a different texture than the main panel — it gives the top a structured, fitted feeling at the back without needing to shape the main piece. The seaming then joins the main panel to the ribbing, blending both sections seamlessly.
2. Can I adjust the neckline width to be less square and more rounded? The square neckline comes from the strap placement — moving the straps closer to the center gives a narrower, more U-shaped neckline. Further apart gives a wider, more rectangular opening. The fitting step (Step 3) is where you make this call.
3. How does the mesh pattern close “in the 4th chain”? Your first mesh sequence starts with chain 4, then a triple crochet. That initial chain-4 acts as the first chain space and first triple crochet of the round. At the end of the round, the final stitch connects back into the 4th chain of that starting chain-4 to close the circle — matching the height of a triple crochet and completing the first mesh space.
4. What does increasing from 8 to 9 stitches on the shoulder strap do? The single stitch increase is subtle — it slightly widens the strap as it approaches the back, which helps it sit flat across the shoulder and attach more cleanly to the wider back section. It’s a small adjustment with a noticeable effect on how the strap drapes.