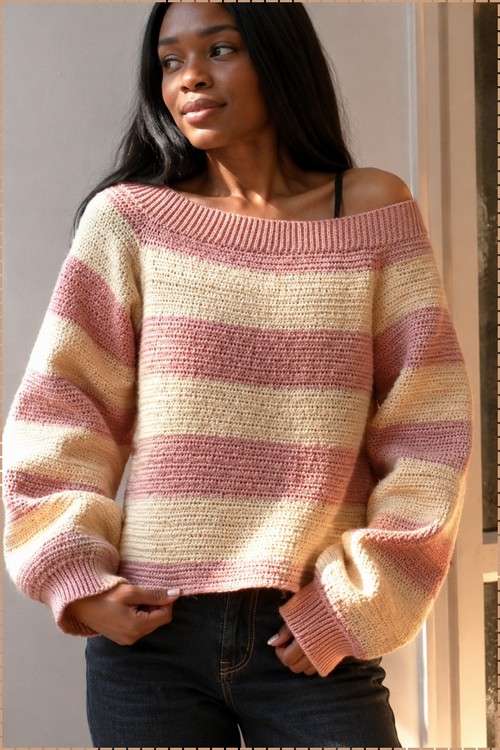
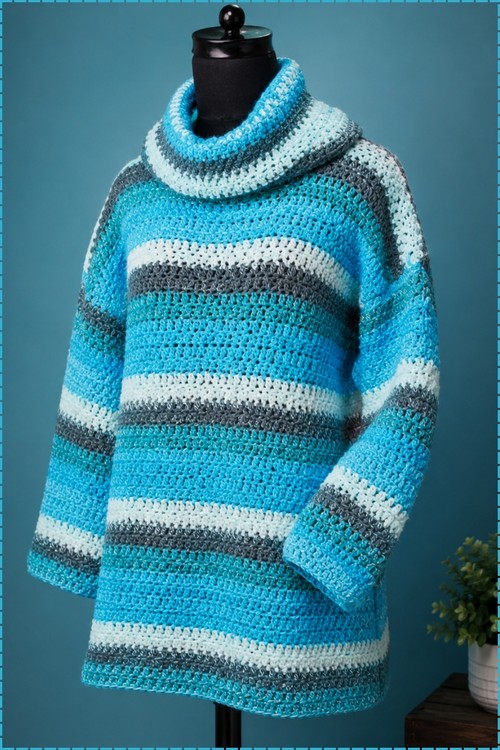
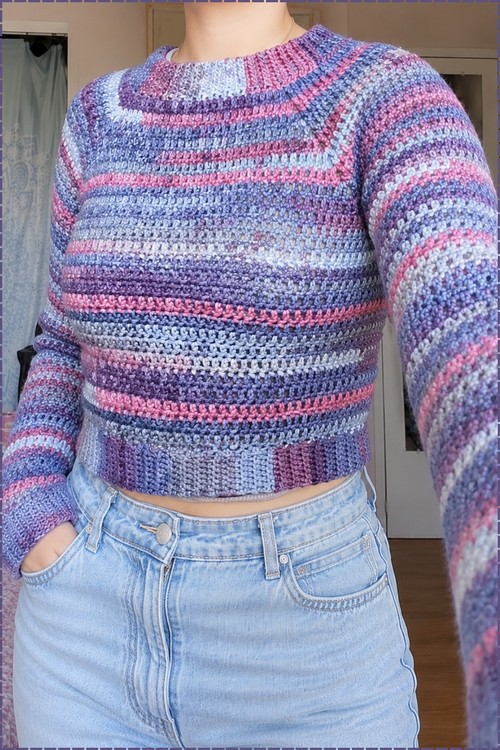
One skein of self-striping yarn gives this crochet mock neck sweater its whole colour pattern. Cropped at the waist so it sits over high-rise jeans, and the short collar stays up without folding over.
Self-striping yarn does all the colour work on this crochet mock neck sweater, shifting through blue, purple and pink without a single yarn change. The short collar stands upright rather than folding, raglan lines angle out from the neckline across the yoke, and the body ends cropped at the waist. Wind your skeins to find where the colour repeat starts, because sleeves worked from different points in the sequence will not match.
Mock Neck Crochet Sweater
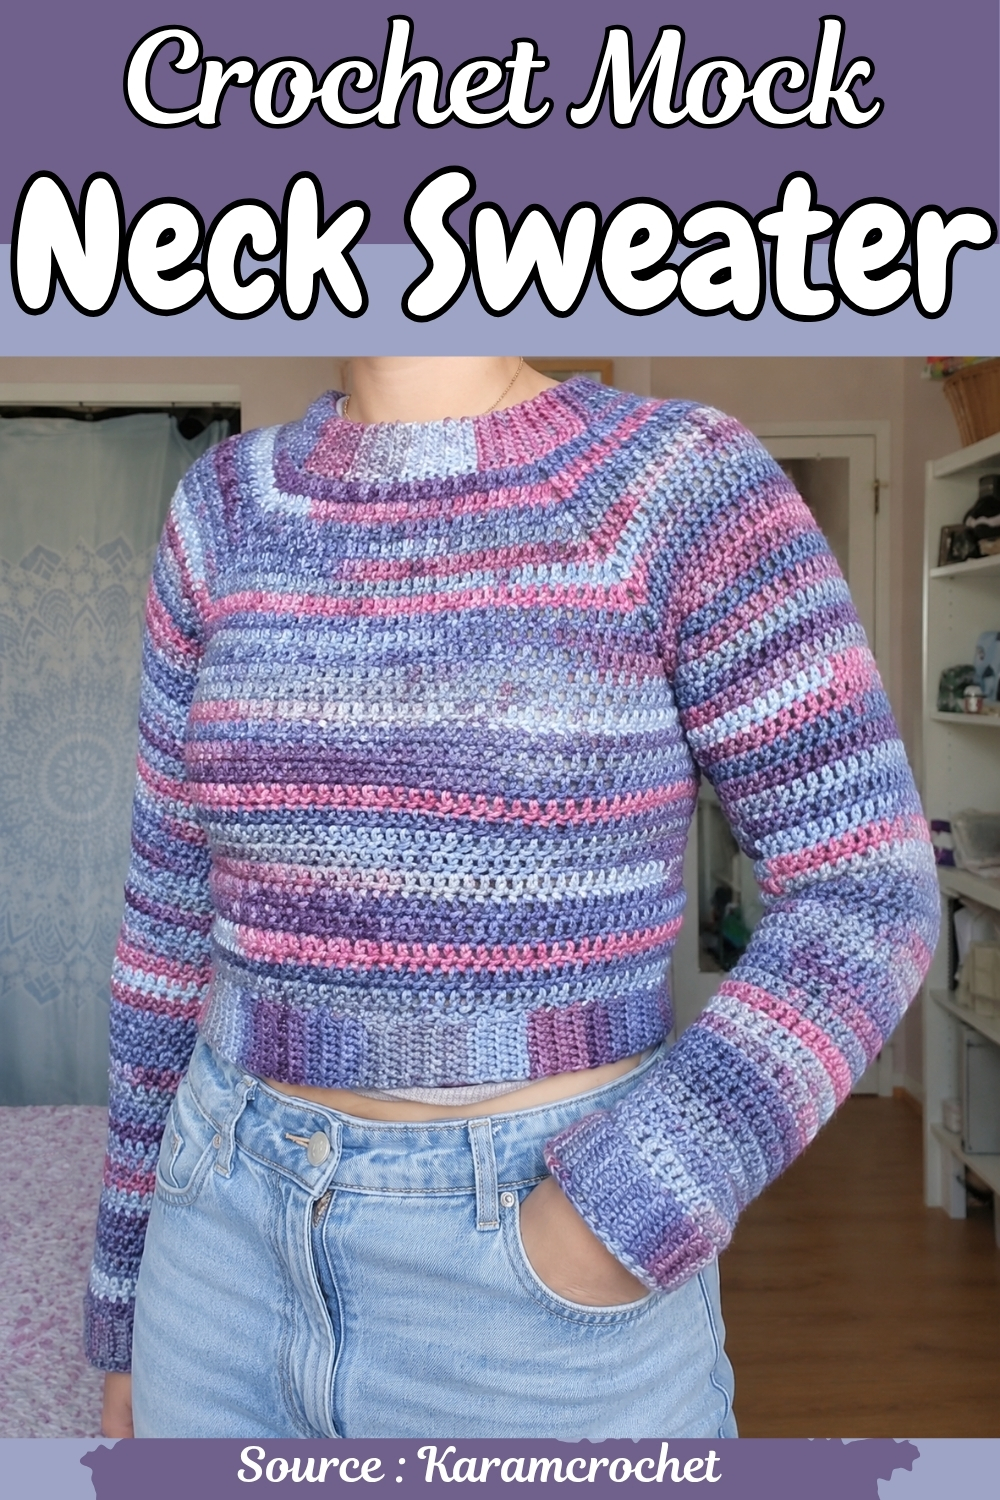
Variegated yarn does the color work for you here, cycling through blue, pink, and purple as the rows build up from the neckband outward. The raglan construction means sleeves and body grow together in one continuous piece so there are no panels to seam at the end. It pairs naturally with the same top down approach used in the raglan top but lands in a cozy cropped pullover rather than a warm weather top.
The mock neck is worked first as a ribbed band and then the raglan yoke fans out from there, which keeps the proportions easy to eyeball at every stage. Sleeve length and body length both adjust by simply working more or fewer rounds before the cuffs and hem. A single skein of variegated yarn in the right weight is all the color planning this one needs.
Materials & Tools
- 100% acrylic yarn (the sample used 3 skeins of a worsted-weight yarn)
- G-size hook — used for the ribbed collar, cuffs, and hem
- I-size hook — used for the body and sleeves
- Scissors
- 4 stitch markers
- Yarn/sewing needle
Handy Stitch to Know
Difficulty & Time
This sits at an advanced-beginner to intermediate level. The stitches themselves are simple — single crochet and double crochet — but the construction asks you to keep track of increases at four corners and manage the transition from yoke to body. Plan for a handful of relaxed evenings, more if you go long in the body or sleeves.
Technique Notes (with tips woven in)
The whole sweater leans on a ribbed band worked in back loops only, which shows up three times: the collar, the hem, and the cuffs. Working single crochet into just the back loop of each stitch is what creates that stretchy, vertical ribbing — get comfortable with it early, because you’ll return to it. A tip that saves headaches later: when you make the collar, your total row count must be a multiple of 4, since you’ll divide it into four sections for the front, back, and two sleeves. The sample used 100 rows, which divides neatly into four groups of 25.
When you reach the yoke, the four corner increases are the heart of the shaping. Keep your stitch markers parked in the chain-2 corner spaces so you never lose your place — and here’s the one that trips people up: in later rounds, don’t skip the stitch sitting right after a corner space. Work straight into the next available space instead, or your yoke will pull in unevenly. For the sleeves, taper gently. A few well-placed decreases near the underarm on the first rounds shape the cap without puckering; rushing the decreases is the fastest way to get a lumpy underarm.
The Pattern
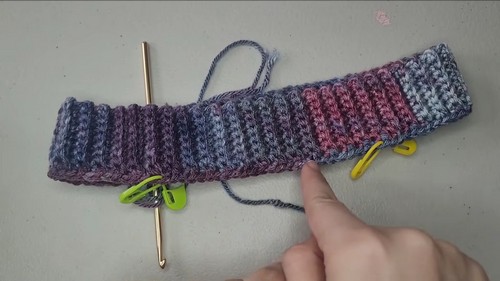
Step 1: The Ribbed Collar
- Using the smaller G-size hook, make a slip knot and chain 9.
- Row 1: Insert your hook into the second chain from the hook and single crochet. Single crochet across the remaining chains for a total of 8 stitches.
- Row 2 and onward: Chain 1 and turn. Working in the back loops only, single crochet all the way across.
- Repeat this row until the strip reaches the length you want around your neck or head. Remember, the final row count must be a multiple of 4. The sample made 100 rows.
- Joining: Bring both short ends together, making sure the strip isn’t twisted. Insert your hook through the back loop of the active row and the matching stitch on the opposite end, then slip stitch all the way across to join into a ring. Turn the collar so the seam faces away from you.
Step 2: Sectioning & Foundation Round
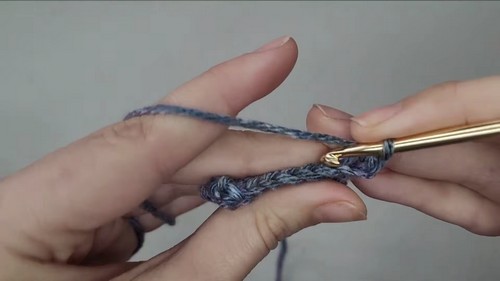
- Working around the edge of the collar, place single crochets evenly all the way around — one stitch per row (for example, 100 single crochets for 100 rows).
- Divide the round into 4 equal sections by placing a stitch marker at regular intervals (for example, every 25 stitches if you have 100 total).
- Join with a slip stitch to the first stitch.
Never read a crochet pattern before? No problem! The video tutorial below is perfect for beginners, or give the written pattern below a try!
Step 3: The Yoke
- Switch to the larger I-size hook.
- Chain 3 to begin the round (this counts as your first double crochet).
- Double crochet in each stitch until you reach a stitch marker.
- At every stitch marker, work double crochet, chain 2, double crochet all into that same marked space to create the increase corner. Move your stitch marker into the chain-2 space so you can find it next round.
- Continue working double crochets around, increasing at all 4 corners on every round.
- In later rounds, when you pass a corner space, do not skip the stitch immediately after it — go straight into the next available space.
- Keep going until the yoke reaches just below your underarms and chest. The sample worked 10 rows.
Step 4: Creating the Armholes
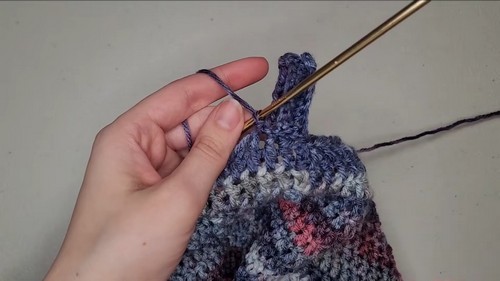
- Chain 3 and double crochet normally until you reach your first corner space.
- Work 1 double crochet into that corner space.
- Chain enough stitches to bridge from the front of your armpit to the back. The sample chained 6.
- Skip the entire sleeve section and double crochet directly into the next corner space on the other side of the armhole.
- Continue across the body panel until you reach the next armpit corner, then repeat the chain bridge and skip the sleeve section, joining back to the front panel.
- Slip stitch to close the round.
Step 5: The Body & Hem
- Continue working regular rounds of double crochet down the body until it reaches your desired length. The sample worked 15 rows.
- The hem: Switch back to the smaller G-size hook. Chain 9.
- Single crochet down the chain for 9 stitches, then slip stitch into the next body stitch.
- Flip your work and crochet back up in the back loops only.
- Hem style option: alternate between regular slip stitches and decrease slip stitches for a cinched look, or keep it straight by alternating regular stitches.
- When the ribbing goes all the way around, slip stitch the two ends together to finish.
Step 6: The Sleeves
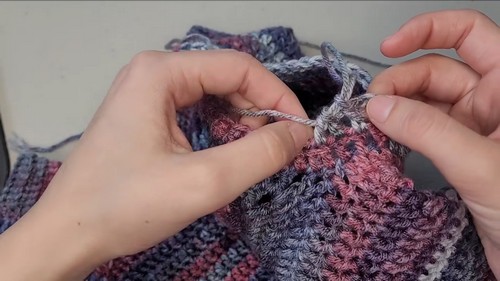
- Attach your yarn to the middle of the underarm chain bridge using the I-size hook.
- Chain 3, then double crochet around the armhole opening, working a few strategic decreases near the underarm corners on the first rows to taper the sleeve shape.
- Continue down the sleeve. You can keep tapering with occasional decreases all the way to the wrist, or stop decreasing around the elbow and work straight double crochets for a looser fit.
- Finish the cuffs using the same ribbed band method as the collar and hem: chain 9 with the G-hook and work in back loops only.
Yarn Substitution
The sample uses a worsted-weight acrylic, which is a great, affordable, easy-care choice for an everyday sweater. If you substitute, stay in the worsted-weight range so your hook sizes and stitch counts still make sense. A wool or wool blend adds warmth and body for colder climates, while a cotton blend gives a cooler, drapier feel for transitional weather. Work a small swatch in double crochet first to check the fabric feels right before committing three skeins to it.
Customization Ideas
- Collar height: Make the ribbed strip taller for a full turtleneck or shorter for a lower mock neck.
- Body and sleeve length: Add or remove rounds freely — crop the body or extend the sleeves to your liking.
- Cinched hem: Use the decrease-slip-stitch hem option for a gathered, blouson shape.
- Color blocking: Work the collar, cuffs, and hem in a contrasting shade for a sporty finish.
FAQ
Why does my collar row count need to be a multiple of 4? Because the collar becomes the foundation for the whole yoke, and the yoke divides into four equal sections — front, back, and two sleeves. A multiple of 4 lets you place your markers evenly so the sweater grows symmetrically.
Do I really not have to sew anything? Almost nothing. The sweater is worked seamlessly from the top down, and the only joins are slip-stitching the ribbed bands closed. There are no separate panels to seam together.
How do I stop the underarms from looking bunched? Taper gradually. Place your sleeve decreases near the underarm corners over the first few rounds rather than all at once, and don’t skip the stitch right after each corner space in the yoke — both keep the fabric smooth through the armhole.