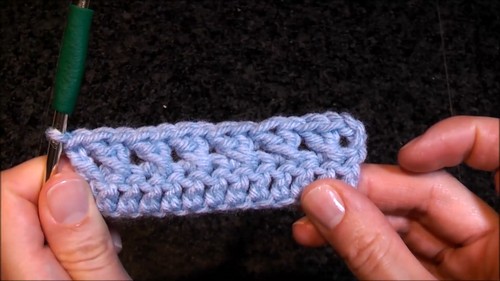
Crochet projects often look impressive without requiring complicated stitch patterns, and the Suzette Stitch is a perfect example. By combining a single crochet and double crochet into the same stitch, this technique creates a beautifully textured fabric with excellent drape and durability. It works wonderfully for both everyday accessories and decorative home projects while remaining easy to memorize after only a few rows.
Crochet Suzette Stitch
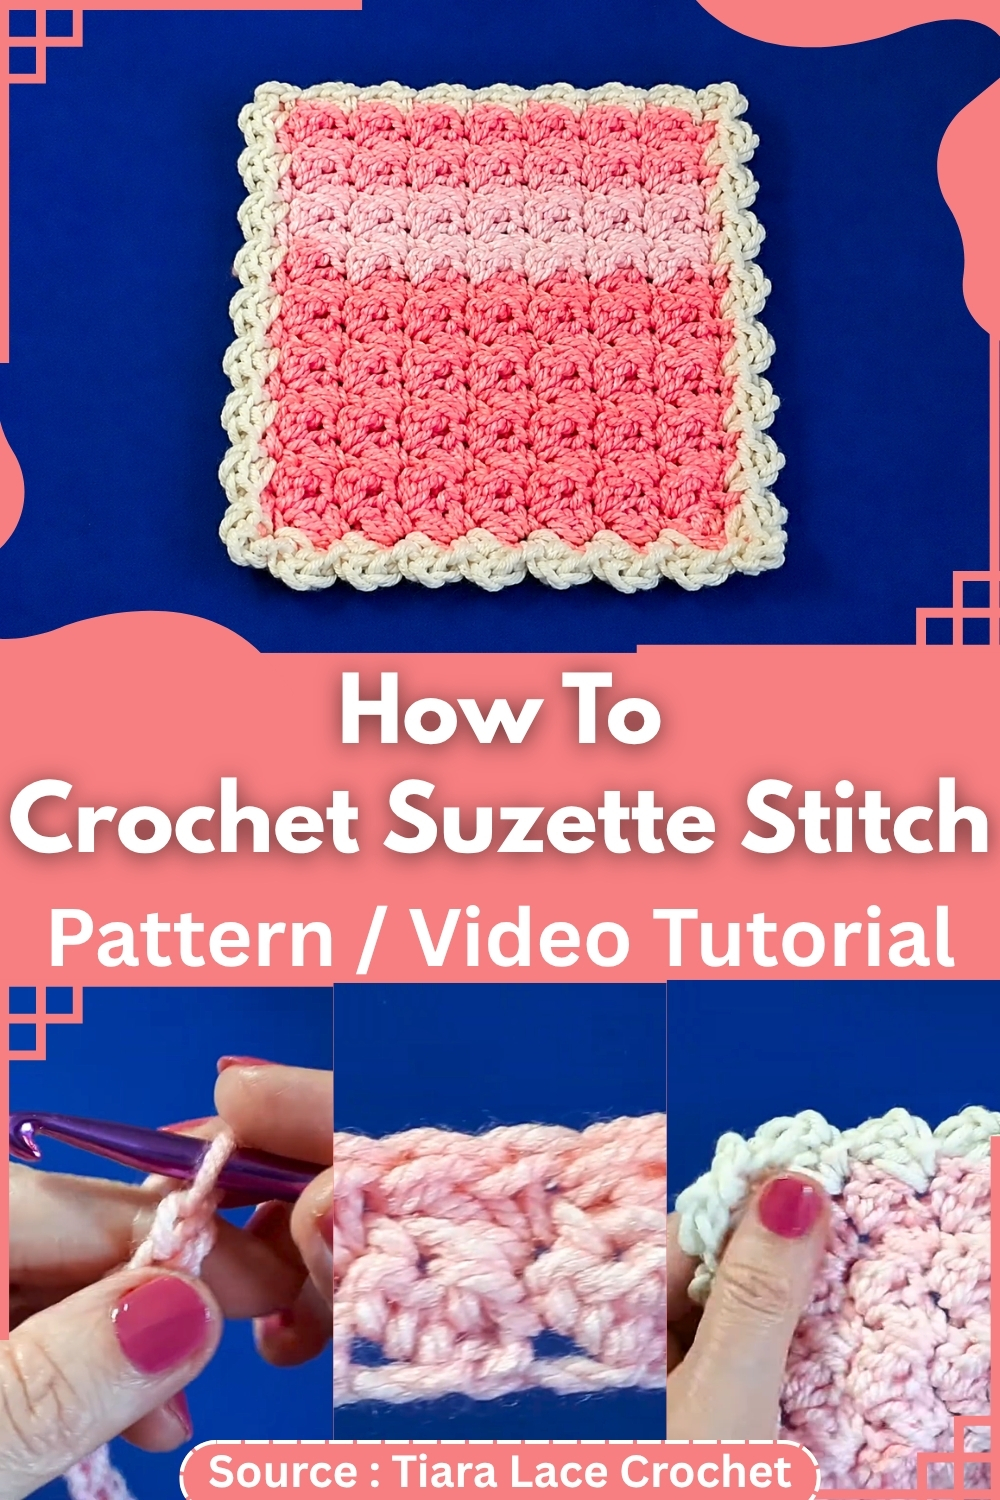
This tutorial also includes a flexible one-row border that adds a polished finish without needing complicated stitch counts, making it an excellent choice for beginners and experienced crocheters looking for an enjoyable, versatile stitch pattern.
Customization Ideas
- Create cozy scarves with a soft textured finish.
- Use the stitch for durable dishcloths and washcloths.
- Make modern baby blankets with beautiful stitch definition.
- Crochet cushion covers with subtle texture.
- Add the decorative border to blankets, placemats, or table runners.
- Experiment with striped or self-striping yarn for additional visual interest.
Materials and Tools
- Yarn of your choice
- Crochet hook appropriate for your yarn
- Scissors
- Yarn needle for weaving in ends
- Stitch markers (optional, useful for the first few rows)
Abbreviations
ch — chain sc — single crochet dc — double crochet sl st — slip stitch st — stitch
The Pattern
Foundation Row
- Chain an even number of stitches.
Row 1
- Skip the first chain.
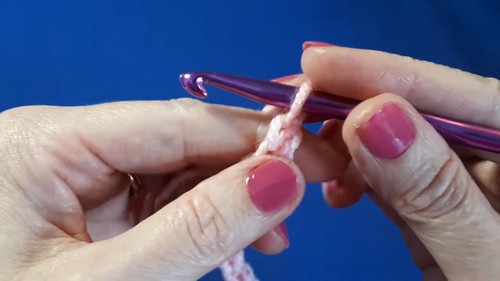
- In the second chain from the hook, work 1 sc and 1 dc into the same chain.
- Skip the next chain.
- In the following chain, work 1 sc and 1 dc into the same chain.
- Continue across the row: skip one chain, work 1 sc and 1 dc into the next chain.
- When two chains remain, skip one chain.
- Work 1 sc into the final chain.
Row 2
- Ch 1 and turn.
- In the first stitch, work 1 sc and 1 dc.
- Skip the next stitch.
- Work 1 sc and 1 dc into the next stitch.
- Continue across the row.
- Always skip the dc from the previous row — work only into the sc stitches.
- End the row with 1 sc in the final stitch.
- If you’re new to reading crochet patterns, don’t worry, just follow along with the video tutorial below and use the written pattern as a reference!

Row 3 and Beyond
- Repeat Row 2 until the project reaches your desired length.
One-Row Border
Border Overview
This border works directly around the completed project without a preparation round. It’s flexible and forgiving — the goal is visual balance, not an exact stitch count. Adjust spacing naturally as you go.
Starting the Border
- Attach yarn in a corner space.
- Ch 2.
- Work 1 dc into the same corner space.

Border Repeat
- Skip 1 stitch.
- Work 1 sl st into the next stitch.
- Ch 2.
- Work 1 dc into the same space.
- Repeat this sequence around the entire project.
Corners
At each corner, work:
- 1 sl st
- Ch 2
- 1 sl st or 1 dc into the corner space
This allows the border to turn smoothly without pulling or puckering.

Tips
- 1. Always work into the sc, never the dc. This is the single most important thing to watch in Row 2 and beyond. The dc from the previous row sits taller and can look like the obvious place to insert your hook — but it’s the sc you want. The sc is the shorter stitch sitting slightly behind the dc. A stitch marker on the sc during your first few rows removes all guesswork.
- 2. Keep your turning chain relaxed. A tight ch 1 at the start of each row pulls the edge inward and creates a wavy left side over time. Give the chain a little ease and let it sit loosely before you turn. Consistent, relaxed tension across both the chain and the dc in each pair is what gives the texture its clean definition.
- 3. Count stitches at the end of the first three rows. The stitch count should stay consistent from Row 1 onward. If it’s creeping up or down, the issue is almost always working into the dc instead of the sc, or missing the final sc at row end. Catching drift early saves having to frog more than a row or two.
FAQ
1. What makes the Suzette stitch different from other sc-dc combination stitches? The defining move is the skip. After working 1 sc and 1 dc into the same stitch, you skip the dc on the following row and work the next pair into the sc. This staggered skip-and-pair system builds up a tight, nubby texture with small raised clusters that sit close together across the fabric. It’s related to but visually distinct from the star stitch or granite stitch — denser and more cushioned in feel.
2. Can I use this stitch for a blanket? Yes — it works very well for blankets, particularly baby blankets and lap throws. The fabric has a firm, cushioned quality that holds its shape well. Because the stitch is quite dense, it produces a warm, substantial fabric. Factor in extra yardage compared to a more open stitch pattern at the same dimensions.
3. Why does my fabric look uneven in the first few rows? The Suzette stitch has a short settling period where the texture looks a little inconsistent before the rows have enough context to show the pattern clearly. Work at least four to six rows before judging the appearance. If the stitch is correct, the fabric will even out as it builds. If a specific row looks clearly different in height or texture, check whether you accidentally worked into the dc on that row.
4. Does the border work on any project size? Yes. The border instructions explicitly allow for flexible spacing — you’re not locked to a specific stitch count. Place the sl st and ch-2 dc clusters at visually even intervals along the edge and adjust naturally at corners. The border is designed to be forgiving, so minor spacing variations read as handmade character rather than error.