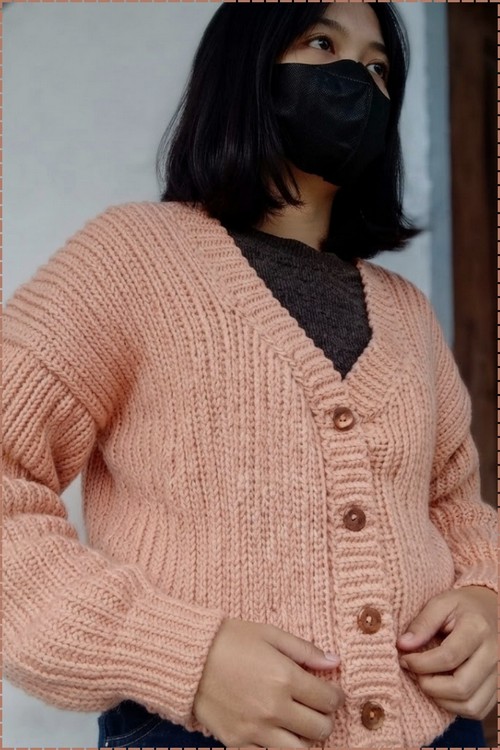
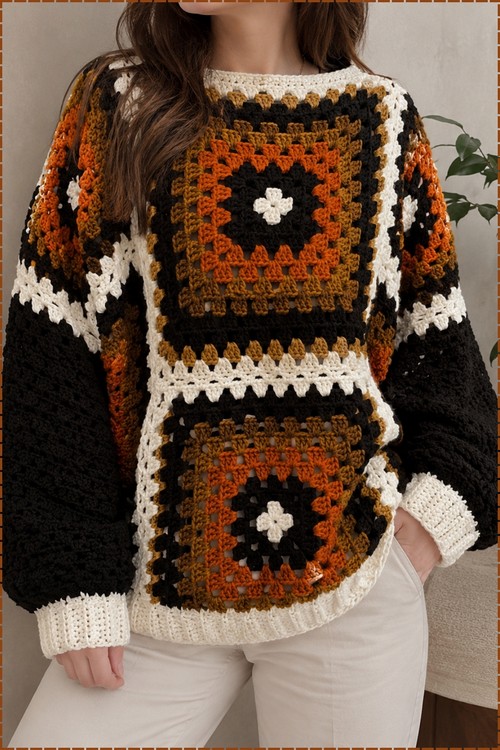
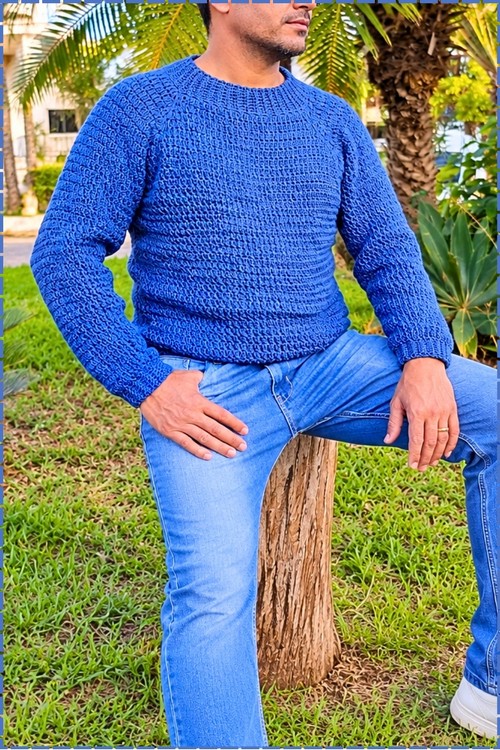
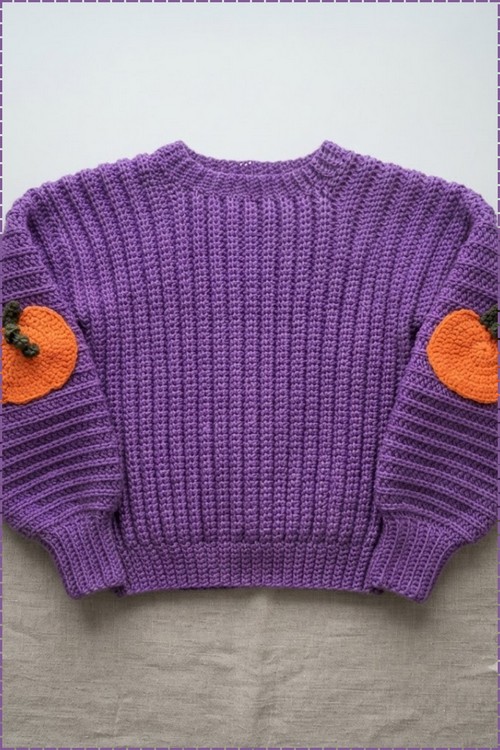
Finish a long sleeve pullover with crochet sweater cuffs that gather each wrist snugly, so the sleeves puff out above them. Grape purple ribbing on the cuffs, hem, and crew neckline ties the sweater together and gives crochet cuffs for long sleeves a store bought look.
Crochet cuffs can completely change the look of a finished sweater, and this beginner-friendly pattern from Cool Like WYNTER shows exactly how to add them. The folded ribbed construction sits cleanly at the wrist and works on almost any pullover you already have in your queue including a slouchy oversized style that benefits especially from the structured finish.
Crochet Cuffs On A Sweater

The stitch throughout is front and back post double crochet ribbing, which gives the cuffs that satisfying stretch and density. If you haven’t worked post stitches before, the full ribbing tutorial walks through every step before you touch the sweater. The pumpkin appliqués shown in the photos are decorative add-ons from the source and the core pattern is the cuff construction itself.
Quick Facts
Skill level: Easy — suitable for anyone comfortable with single crochet and slip stitch Technique: Sideways ribbing strip attached directly to the project edge as you work Works on: Sleeve cuffs, body hems, round necklines, and collar openings Hook used: 4.5 mm (match to your project yarn) Seaming: One short mattress stitch seam at the end to close the ribbing into a loop Estimated time: 30–60 minutes per cuff or collar section
Customization Ideas
- Before you pick up your hook, a few decisions will shape the final look of your ribbing.
- Ribbing depth: Chain more stitches for a deeper, wider ribbing band — useful for a statement cuff or a taller collar. Chain fewer for a slim, minimal edge. The example in this pattern uses a chain of 6 to produce 5 stitches of ribbing, but there is no fixed rule.
- Starting position for collars: Begin at the center back of the neckline rather than at a side seam. This places the final seam at the back of the collar where it will be least visible when worn.
- Starting position for cuffs: Cuffs have no visual front or back, so you can attach anywhere along the sleeve edge. Starting near an existing seam keeps the closing seam tidy.
- Collar shaping on curved necklines: The standard pattern uses slip stitch decreases at the neckline curves to prevent the collar from flaring outward into a boat-neck shape. If your neckline is square or straight, you can skip this adjustment entirely and work the straight-edge method throughout.
Materials
- Your finished crochet project (sweater, cardigan, sleeve, or any open edge)
- The same yarn used for the project, or a matching weight yarn in a contrast color
- Crochet hook to match your yarn (4.5 mm used as reference)
- Yarn needle for closing the final seam
Learn Before You Start
The Pattern
Step 1: Attach Yarn and Chain Foundation
- Decide your starting position — center back for a collar, anywhere along the edge for a cuff.
- Make a slip knot and attach yarn to the project edge with a single crochet: insert your hook into the first edge stitch, pull the slip knot through, and secure.
- Chain the number of stitches you want for the depth of your ribbing. This chain length determines how tall the ribbing band will be — adjust freely to your preference.
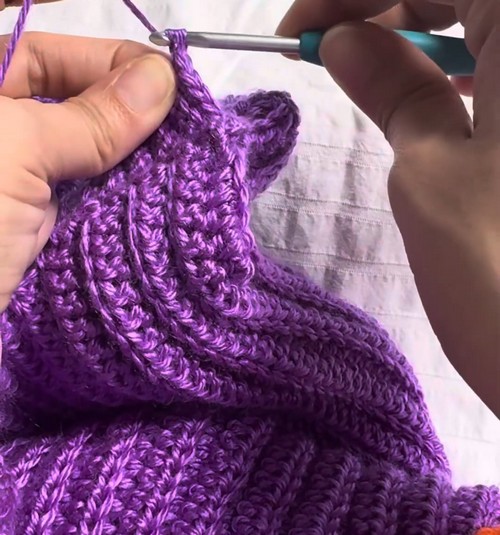
Step 2: First Ribbing Pass
- Starting in the second chain from the hook, single crochet all the way down the chain. For a cleaner edge, work into the back loops of the chain rather than the top loops.
- Once you reach the bottom of the chain, anchor the ribbing strip to the project by making 2 slip stitches into the next available spaces along the project edge. Space them naturally where your hook sits comfortably.
- Turn your work without chaining. Skip the 2 slip stitches.

Step 3: The Repeating Ribbing Pattern
This is the core sequence you will repeat all the way around the project edge:
Just starting out with crochet? The video tutorial below is a great place to begin, or challenge yourself with the written pattern below!
- Pass going up: Single crochet in the back loop only of every stitch back up the full length of the ribbing strip.
- At the top: Chain 1 and turn.
- Pass going down: Single crochet in the back loop only of every stitch back down to the base.
- Attach to edge: Work 2 slip stitches into the next spaces along the project edge.
- Turn: Turn without chaining. Skip the 2 slip stitches.
- Repeat this sequence — up in back loops, chain 1, down in back loops, 2 slip stitches into edge, turn — all the way around until you return to the starting point.
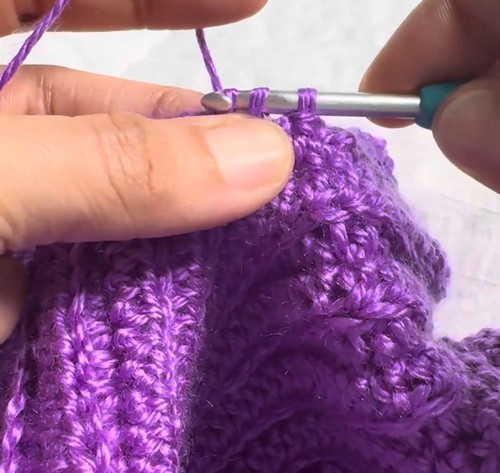
Step 4: Adjusting for Curved Necklines (Collar Only)
On straight edges like cuffs, the standard 2-slip-stitch attachment works throughout. On a curved or round neckline, use slip stitch decreases at the curved sections to prevent the collar from flaring outward:
- Insert your hook into the next space along the project edge and pull up a loop.
- Insert your hook into the following space and pull up a second loop.
- Slip stitch through all loops on the hook at once — this counts as your first connection point.
- Repeat the same decrease slip stitch one more time to equal the standard 2-point attachment.
- Turn and continue the ribbing as normal.
Once you move past the curve and onto a straight shoulder section with clear visible stitches, switch back to regular slip stitches worked directly into those stitches.
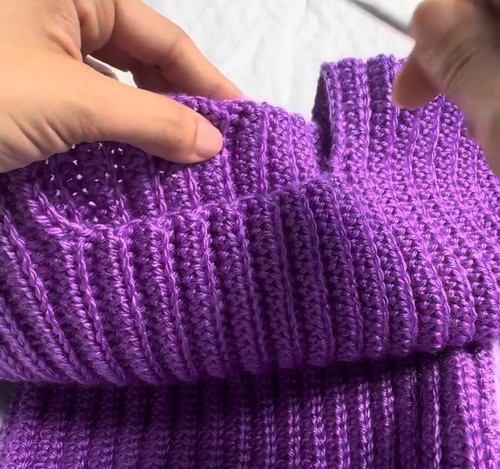
Step 5: Closing the Seam
- Continue the repeating pattern until you reach your original starting point.
- Complete the final 2 slip stitches and final ribbing row.
- Fasten off, leaving a long yarn tail — long enough to sew the closing seam.
- Thread the tail onto a yarn needle.
- Hold the first and last ribbing rows side by side and sew them together using a mattress stitch, weaving back and forth through the back loops only on each edge.
- Pull snugly to close the seam invisibly.
- Secure the tail, weave in all remaining ends, and trim.
Tips
- Work the chain-1 turn at the top of each up-pass consistently — the chain-1 is only at the top, never at the bottom before the slip stitches. Dropping it or adding it in the wrong place shifts the alignment of the BLO stitches and makes the ribbing look off-center after a few rows.
- Let your slip stitch spacing guide itself. You do not need to count the exact edge stitches as you attach — work 2 slip stitches wherever your hook fits naturally along the edge and keep moving. Forcing slip stitches into specific counted stitches often causes the ribbing to pull or bunch. Trust the even distribution as you go.
- Sew the closing seam with the wrong side facing you so you can see the back loops clearly. The mattress stitch through back loops only is what makes the join invisible from the right side — if you accidentally go through both loops, the seam will show as a small ridge.
FAQ
- Does it matter which direction I work around the project? No — you can work left to right or right to left depending on what feels natural at your starting point. The back-loop-only ribbing and the 2-slip-stitch attachment look the same in either direction.
- What if my slip stitches are pulling the project edge too tight? Loosen your tension specifically on the attachment slip stitches. They should sit flat against the edge, not pull the fabric in. If tightness persists, try going up one hook size for the attachment stitches only and returning to your standard size for the ribbing passes.
- Can I use this method on a project that is not a sweater — like a hat or bag? Absolutely. The sideways-attached ribbing strip works on any open edge — hats, basket tops, bag openings, boot cuffs. The only adjustment is for curved versus flat edges, which the collar shaping section above already covers.
- How do I make the ribbing stretchier? Use a slightly larger hook than you used for the main project. A hook one size up loosens the back-loop stitches just enough to add stretch without making the ribbing look floppy. This is especially useful for sleeve cuffs that need to slip over the hand easily.