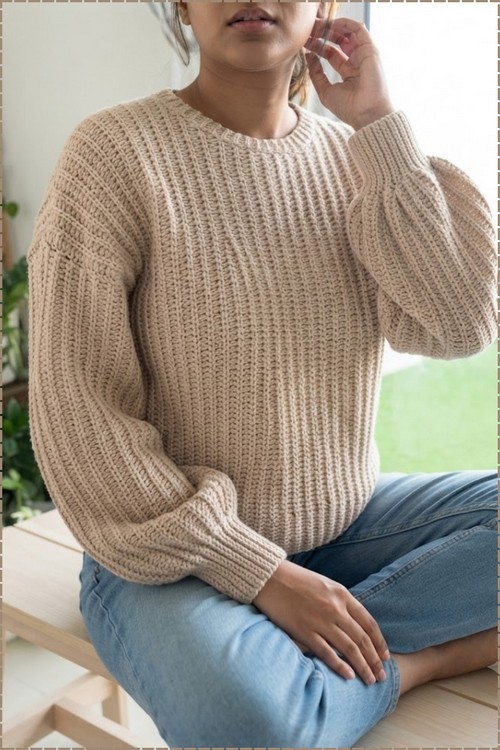
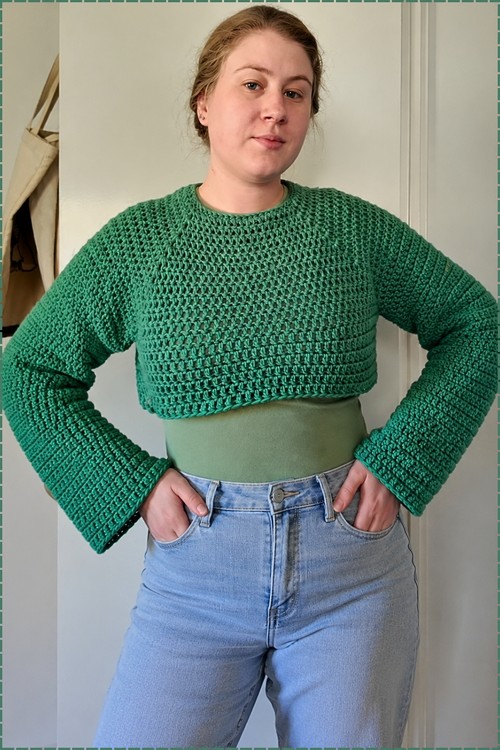
Autumn weekends suit a boho crochet sweater in soft sage green, with a wide neckline and long sleeves that reach the wrist. Thrift store denim and wide leg trousers pair with a boho chic sweater that stops at the hip, and its open texture makes a layering piece over a black tee.
Building a sweater from a single large granny square outward is one of the cleverest constructions in crochet, and this sage green pullover from Crochet with Karu makes the whole process look effortless. The center motif grows into a full body panel that connects naturally to something like the loose off shoulder sweater if you enjoy square-based constructions.
Boho Crochet Sweater
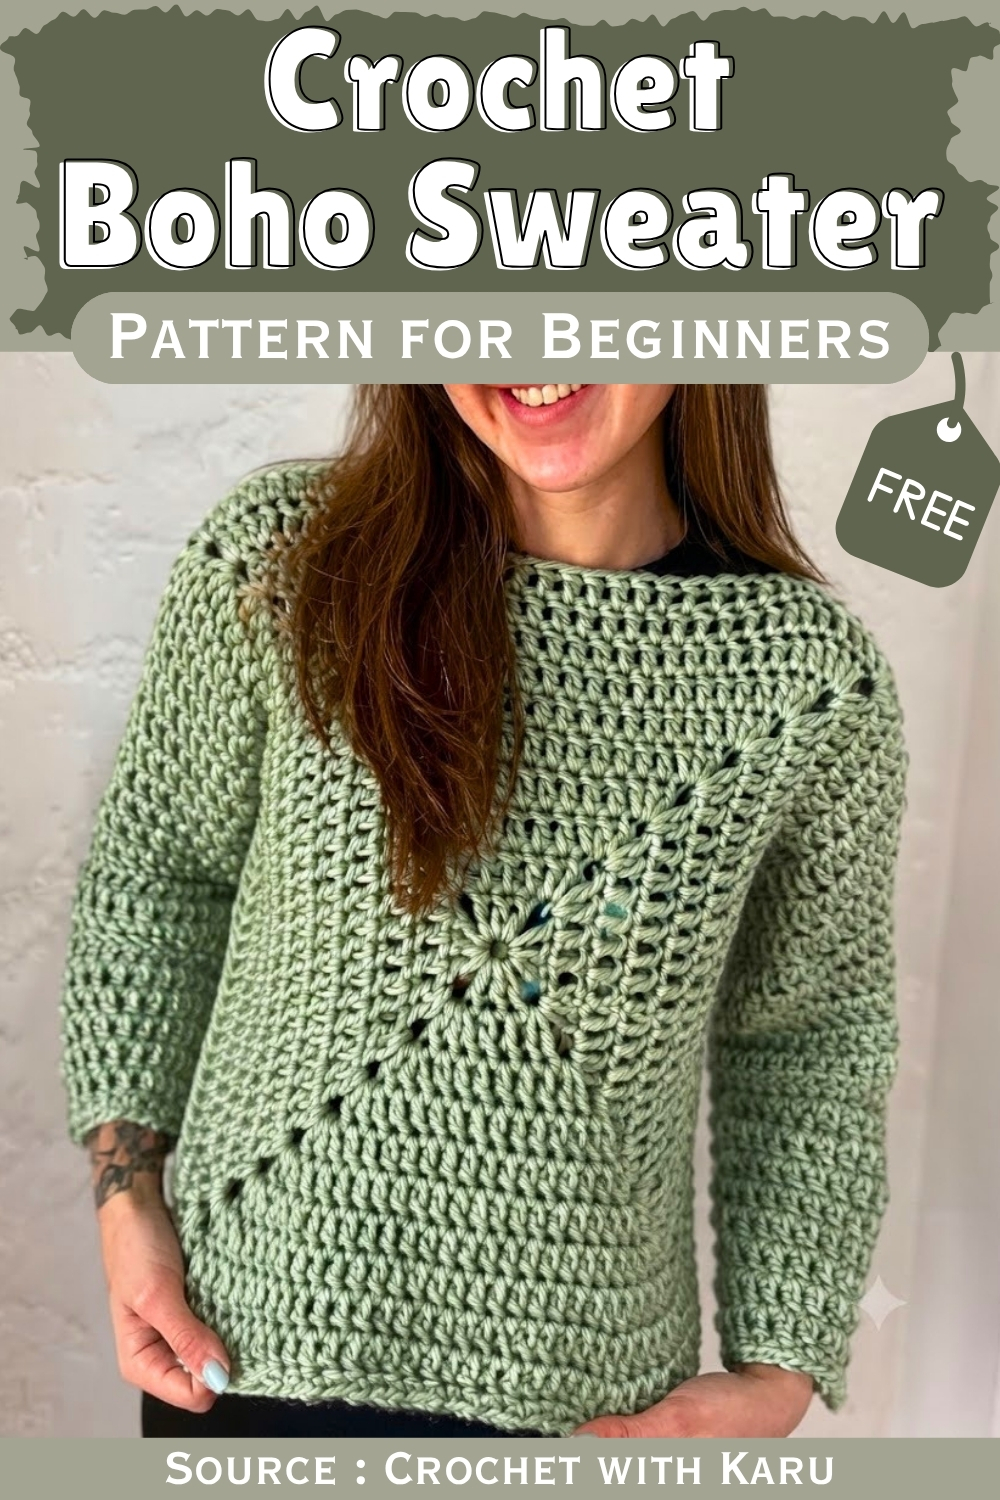
Solid double crochet panels fill in the body around the granny center, giving the finished piece enough structure to wear as a true pullover without losing that open boho texture. The sleeve seaming shown in the tutorial is minimal and beginner friendly, so the construction is more approachable than the finished silhouette suggests.
Materials
- Chunky or bulky weight yarn — acrylic or wool blend both work well
- 8 mm crochet hook
- Scissors
- Tapestry needle
- Measuring tape
- Stitch markers

Perfect the Stitch Before Starting
The Pattern
Part 1: Square Panels (Make 2)
Foundation ring:
- Make a slip knot and chain 5.
- Insert your hook into the first chain and slip stitch to form a closed ring.
Round 1:
- Chain 3 — this counts as your first double crochet.
- Work 2 double crochets into the center of the ring to complete the first cluster.
- Chain 2 for the corner.
- Work 3 double crochets into the center ring, then chain 2.
- Repeat twice more so you have 4 clusters of 3 double crochets, each separated by a chain-2 corner.
- Chain 2 and join to the top of the starting chain-3 with a slip stitch.
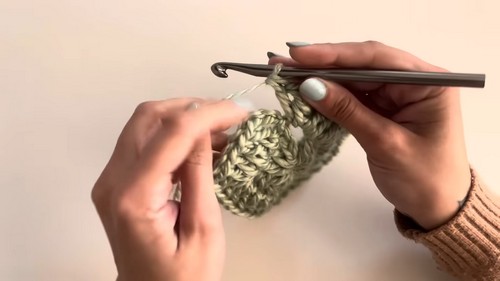
Round 2 and all following rounds:
- Chain 3 (counts as first double crochet) and work 1 double crochet into each stitch along the side until you reach the corner space.
- In the corner space, work the corner sequence: 2 double crochets, chain 2, 2 double crochets.
- Continue working 1 double crochet in every stitch across each side and the corner sequence in every corner all the way around.
- Join to the top of the starting chain with a slip stitch.
- Repeat this round, adding one round at a time, until the square width matches your shoulder-to-shoulder measurement.
- Fasten off.
- Make a second square identical to the first.
Never read a crochet pattern before? No problem! The video tutorial below is perfect for beginners, or give the written pattern below a try!
Part 2: Assembly
- Place both squares together with right sides facing inward.
- Use stitch markers to mark out the following openings before sewing: the neck opening at the top center, a shoulder seam of approximately 10 cm on each side of the neck, an armhole opening of approximately 16 cm on each side, and the side seams running from the bottom of each armhole down to the hem.
- Try the piece on before seaming to confirm your head and arms fit comfortably through the openings.
- Thread a length of yarn approximately double the seam length onto a tapestry needle.
- Seam the shoulder sections and side seams by working through the front loop of each stitch on the first panel and the back loop of the corresponding stitch on the second panel, whipstitching across the marked sections.
- Secure the ends tightly at each marker.
- Turn the sweater right-side out.

Part 3: Sleeves
- Attach yarn at the bottom of one armhole seam.
- Work a round of double crochets evenly all the way around the armhole opening.
- Join with a slip stitch.
- Continue working circular rounds of double crochet until the sleeve reaches your desired length.
- Repeat for the second sleeve.
Part 4: Cuff and Hem Trim
Work the same trim on the bottom edge of each sleeve and around the bottom hem of the sweater:
- Attach yarn at the start of the edge, chain 1, and in that same stitch work 1 single crochet, chain 1, and 1 single crochet.
- Skip the next stitch or space.
- In the following stitch or space, work 1 single crochet, chain 1, and 1 single crochet.
- Repeat this sequence all the way around the edge.
- Join with a slip stitch, fasten off, and weave in all remaining ends.

Tips
- Mark your openings with stitch markers and try the sweater on before you sew a single seam. Armhole placement in particular varies by individual build — adjusting the markers before seaming takes a minute and saves unpicking later.
- Keep your double crochet tension consistent between rounds. Granny squares that tighten up in later rounds will start to curl at the edges. If you notice the corners lifting, loosen your tension slightly or go up half a hook size for those rounds.
- When picking up stitches for the sleeves, distribute the double crochets as evenly as possible around the armhole opening. An uneven pickup round makes the sleeve sit off-center at the shoulder and is difficult to correct later.

FAQ
- How do I know when the square is the right size? Measure the width of the square flat after each round. Stop adding rounds when the measurement matches your shoulder-to-shoulder distance — measured on your own body from the outer edge of one shoulder to the outer edge of the other.
- Can I make the sleeves shorter? Yes — simply work fewer rounds of double crochet before adding the trim. The sleeves are worked in the round with no shaping, so you can stop at any length and the trim goes on at that point.
- What if my two squares come out slightly different sizes? Block both squares flat to the same dimensions before seaming. Pin them to matching measurements, mist with water, and let them dry. Bulky acrylic responds well to this and will even out minor tension differences.