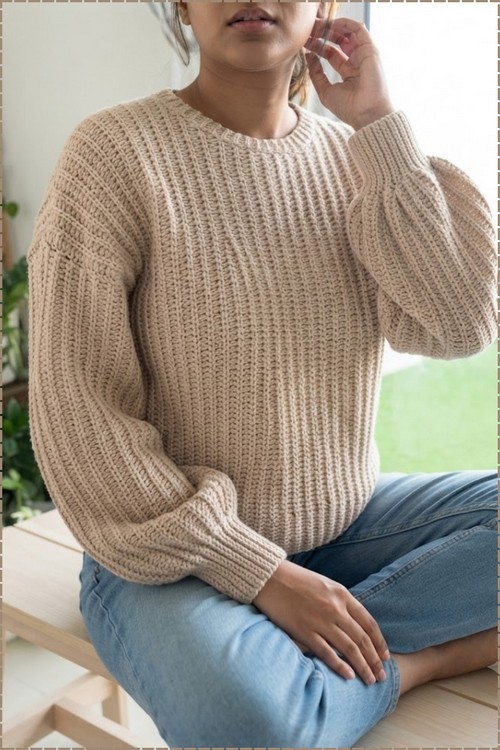
Coffee shops and casual offices suit a crochet sweater with ribbed cuffs in oatmeal beige, finished with a snug crew neckline that frames the collarbone. Neutral wardrobe lovers can pair the ribbed crochet sweater top with pale denim, then add a long coat when the weather cools.
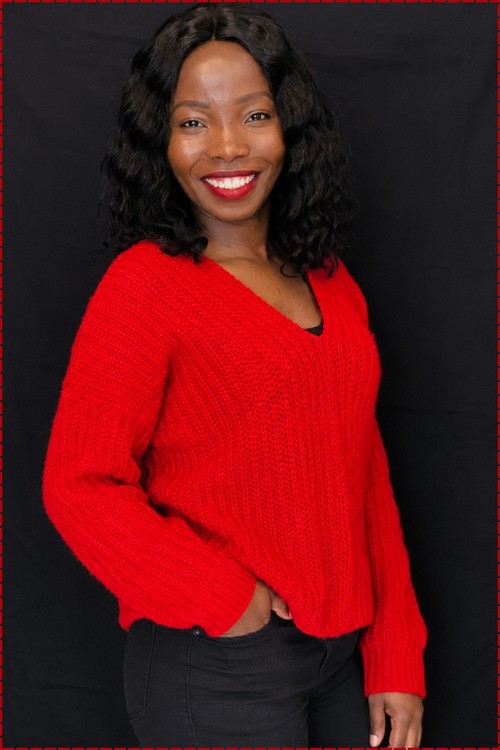
Working half double crochet in back loops only gives this beige pullover from The Gyne Crocheter that satisfying knit-like rib without any of the knitting. It constructs faster than it looks, and the relaxed silhouette makes it a natural next project after something like the slouchy oversized sweater.
Crochet Sweater With Ribbed Cuffs
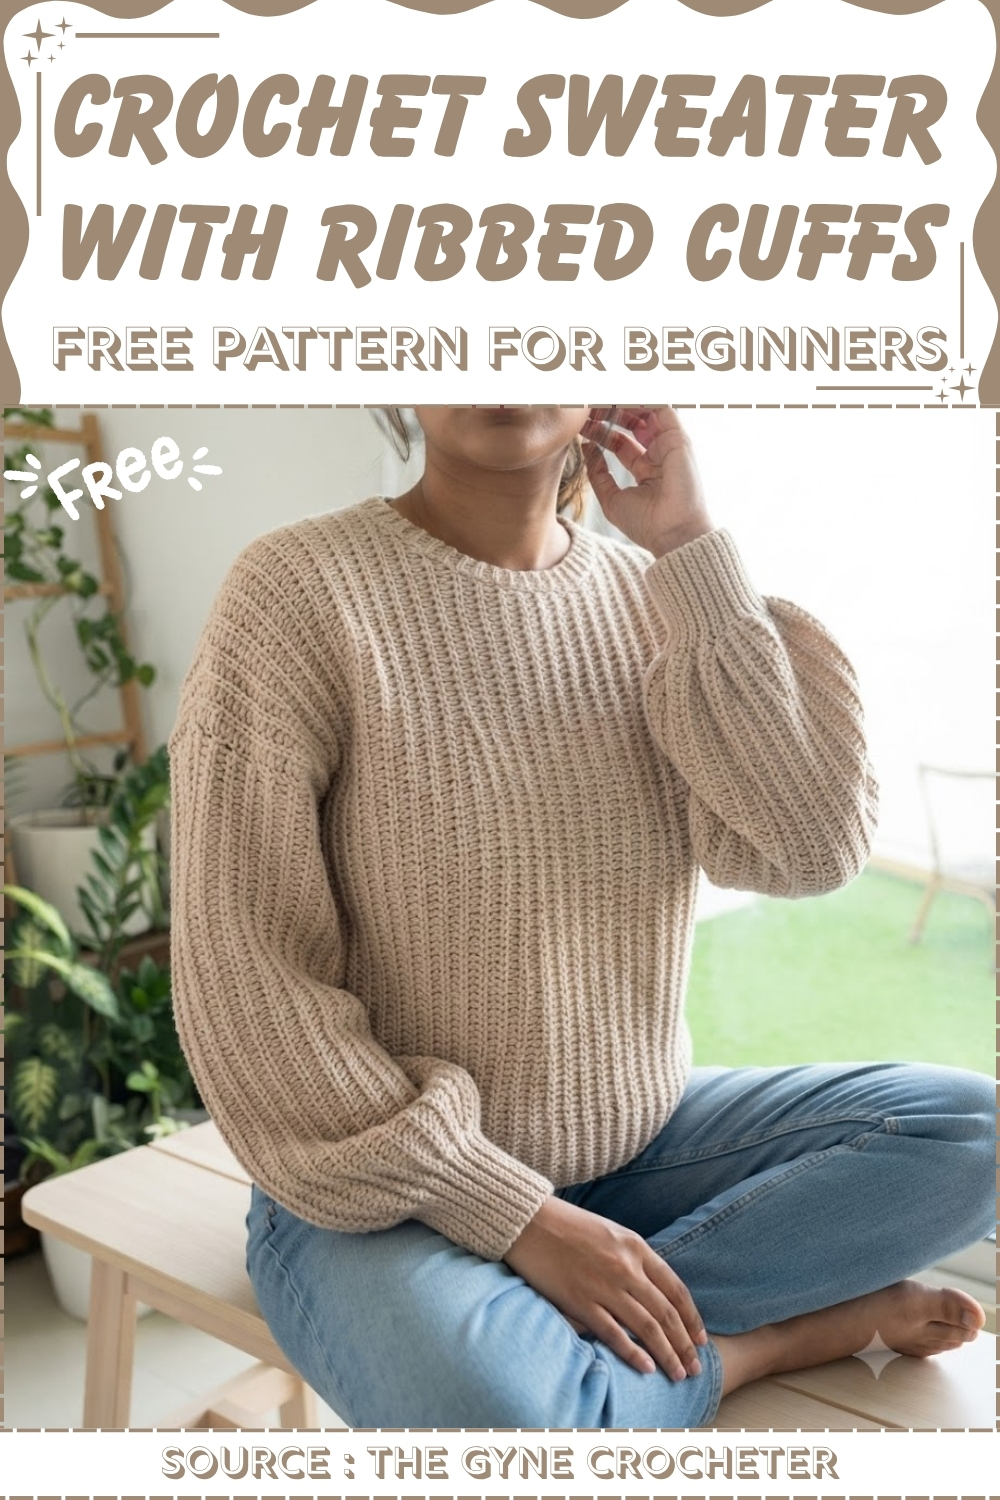
Balloon sleeves taper into neat single crochet cuffs that keep the wrists snug and the whole shape intentional. The ribbed body and fitted finish together give this one a polished everyday look that works across seasons.
Why I love this one: the fabric looks like it took twice as long to make as it actually did — and the ribbed cuffs and collar make the finished sweater feel genuinely polished rather than handmade-casual.
Materials
- Lightweight 2-ply cotton-acrylic blend yarn (55% cotton, 45% acrylic) — a smooth yarn in this weight gives the slip stitch ribbing its clean, defined look
- 3.0 mm crochet hook
- Yarn needle
- Stitch markers
- Scissors
Understand the Stitch First
The Pattern
Part 1: Back Panel
Foundation chain:
- Make a slip knot and chain 90 stitches for a medium size, plus 1 extra turning chain. The turning chain does not count as a stitch.
Row 1 — mixed base row:
- Skip the first chain from the hook.
- Work 10 single crochets into the following chains. These 10 stitches form the bottom ribbing section.
- Switch to half double crochet and continue working half double crochets into all remaining chains to the end of the row.
- Chain 1 and turn.
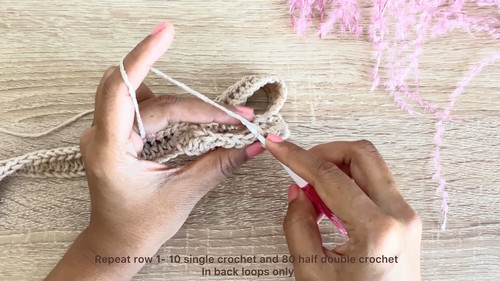
Row 2 and all following rows:
- From this row onward, work in the back loops only throughout.
- Work slip stitches across the half double crochet section.
- Work 10 single crochets in the back loops across the ribbing section.
- Chain 1 and turn.
New to crochet and not sure how to read a pattern yet? The video tutorial below will guide you through it step by step, you’ve got this!
Continuing the back panel:
- Repeat Rows 1 and 2 in the back loops only, building the panel upward.
- Continue until the back panel reaches approximately 23 inches wide for size M.
- End your final row on a Row 1 pattern.
Part 2: Front Panel with Neckline Shaping
Setup:
- Begin the front panel to match the same dimensions as the back panel.
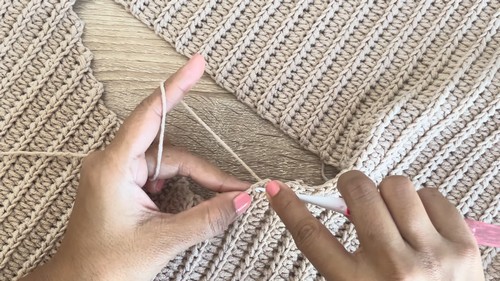
- Before beginning neckline shaping, measure 8 inches across the center of the panel and place stitch markers on both sides to mark the neckline boundaries. The markers land at the 11th ridge counting in from each edge.
Neckline decreases:
- Shape the neckline on both sides by stepping in gradually: decrease by 4 stitches first, then 2 stitches, then 2 stitches, then 2 stitches more — a total of 10 stitches decreased on each side.
Flat shoulder section:
- Work straight across each shoulder section without increasing or decreasing for 6 ridges (12 rows).
Neckline increases:
- Reverse the shaping by stepping back outward: increase by 2 stitches three times, then increase by 4 stitches once — a total of 10 stitches added back on each side.
Completing the front panel:
- Work 11 more ridges (22 rows) straight on both shoulder sides to match the back panel shoulder length.
- Fasten off and secure the ends.

Part 3: Sleeves (Make 2)
Foundation chain:
- Chain 70 stitches plus 1 turning chain for size M.
Cuff ribbing section:
- Skip the turning chain and work 15 slip stitches. Place a stitch marker on the first slip stitch to track this section.
Sleeve body:
- Work half double crochets across all remaining chains to the end of the foundation row.
- Chain 1 and turn.
Sleeve rows:
- Work in the back loops only from here on.
- For each row, work slip stitches across the cuff section and half double crochets across the sleeve body section.
- Repeat until the sleeve panel reaches approximately 15.5 inches wide for size M.
- End on a Row 1 pattern and fasten off.
Part 4: Assembly
Shoulder seams:
- Place the front and back panels together with wrong sides facing outward.
- Align the 11th ridges at the shoulder sections on both panels.
- Sew the shoulder seams together using a yarn needle.
Neckline trim and collar:
- Attach yarn at the right-side corner of the neckline opening.
- Work one row of slip stitches all the way around the neckline edge.
- Build a small ribbed collar by working alternating rows of single crochets and slip stitches in the back loops only, shaping the collar to follow the neckline contour.
- Slip stitch the final ends of the collar together and weave in the tails.
Attaching the sleeves:
- Align the center ridge of each sleeve panel with the shoulder seam.
- Match the stitch counts evenly on both sides of the shoulder seam.
- Sew the sleeve to the armhole from the wrong side using a yarn needle.
- Repeat for the second sleeve.
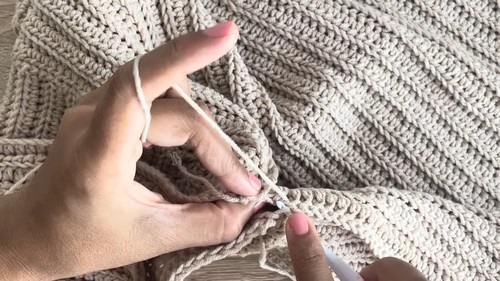
Side and sleeve seams:
- Fold the assembled sweater with the wrong side facing out.
- Sew continuously from the wrist, up the underarm, and down the side edge of the sweater body using slip stitches worked through the side loops. This produces a seam that is completely invisible on the right side.
Final finishing:
- Turn the sweater right-side out.
- Weave in all remaining yarn tails securely and trim any excess.
Tips
- The slip stitch section will feel tighter than the half double crochet section when you are working the back panel rows. Keep a consciously looser tension through the slip stitch area to prevent the fabric from pulling in at the sides. If you notice the edges curling inward as the panel grows, your slip stitches are likely too tight.
- Measure your panels flat against a tape measure every few inches as you work rather than waiting until the panel looks long enough. The back loop only technique compresses the rows slightly — what looks like 20 inches on the hook can be closer to 18 once you release the tension.
- Mark the center of your sleeve panel before attaching it to the shoulder seam. The sleeve center ridge needs to sit directly over the shoulder seam, and placing a stitch marker at the midpoint of the sleeve first makes alignment significantly easier.
Yarn Substitution
The cotton-acrylic blend used here is doing specific work in this pattern. The cotton content gives the slip stitch rows their crisp definition and keeps the fabric from stretching out of shape over time. The acrylic adds softness and a small amount of elasticity that makes the ribbing feel comfortable against the wrist and neck. A 100% cotton at the same weight will produce a slightly crisper, stiffer result — wearable but less drapey. A 100% acrylic will be softer but may stretch more than you expect in the body over the course of a day of wearing. The blend is genuinely the right choice for this construction.
FAQ
- Can I make this in a heavier yarn weight? Yes, but you will need to adjust your foundation chain significantly. A heavier yarn on a larger hook means fewer chains to reach the same width. Work a small gauge swatch first and use the stitch-per-inch measurement to calculate your new chain count rather than using the numbers from the pattern directly.
- How do I adjust the neckline width for a different size? The neckline is set by the center 8 inches of the panel, marked with stitch markers before shaping begins. For a smaller neckline, reduce the center measurement by an inch or two and move your markers inward. For a wider neckline, increase the center measurement slightly. The total decrease and increase counts stay the same — only the starting boundary shifts.
- The seam shows a ridge on the outside after sewing — what went wrong? The side seams are worked through the side loops (the vertical bars on the edge stitches), not through the top loops. If you sewed through the top loops of each stitch instead of the side loops, the seam will be more visible. Unpick and re-sew through the side loops only for an invisible finish.
- Do the front and back panels need to be exactly the same dimensions? They should be as close as possible, but minor differences of a row or two will not be noticeable once assembled. The shoulder seam alignment (matching the 11th ridge) is the most important measurement to get right — that determines how the neckline sits.