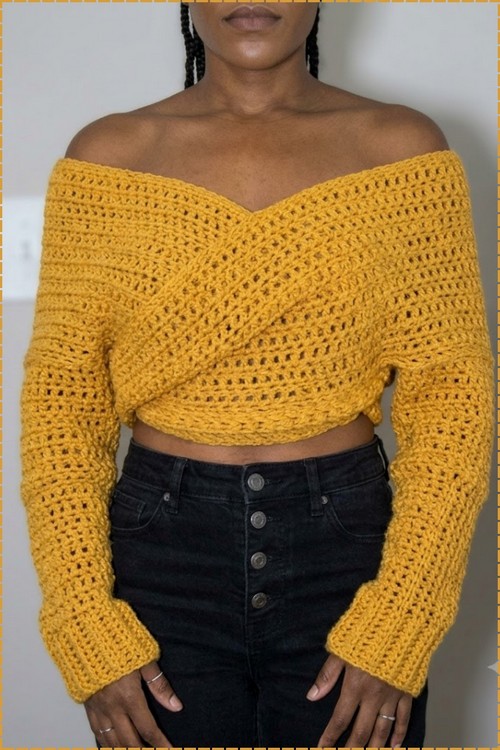
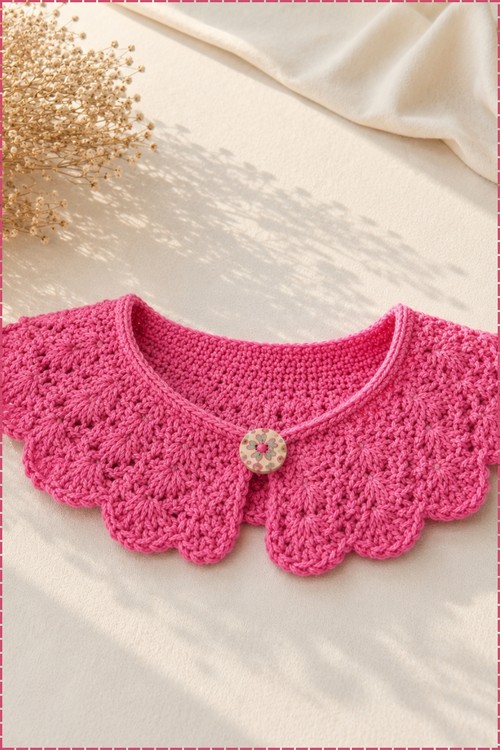
Raglan increases carry wide cream and caramel stripes unbroken across the yoke of this mohair crochet sweater, worked top down into a boxy cropped pullover. The wide sleeves taper to the wrist with no cuff band, giving it a relaxed standalone shape.
Cream and caramel is one of those combinations that photographs neutral but reads warm in person, and the wide stripe placement here does the work without any complicated colour management. The raglan shaping means both colours run continuously across the yoke seam lines, so the stripes stay clean from shoulder to hem. Builders who have already tried the oversized raglan top in a lighter yarn will find the same top down rhythm here, just heavier.
Raglan Crochet Sweater Mohair
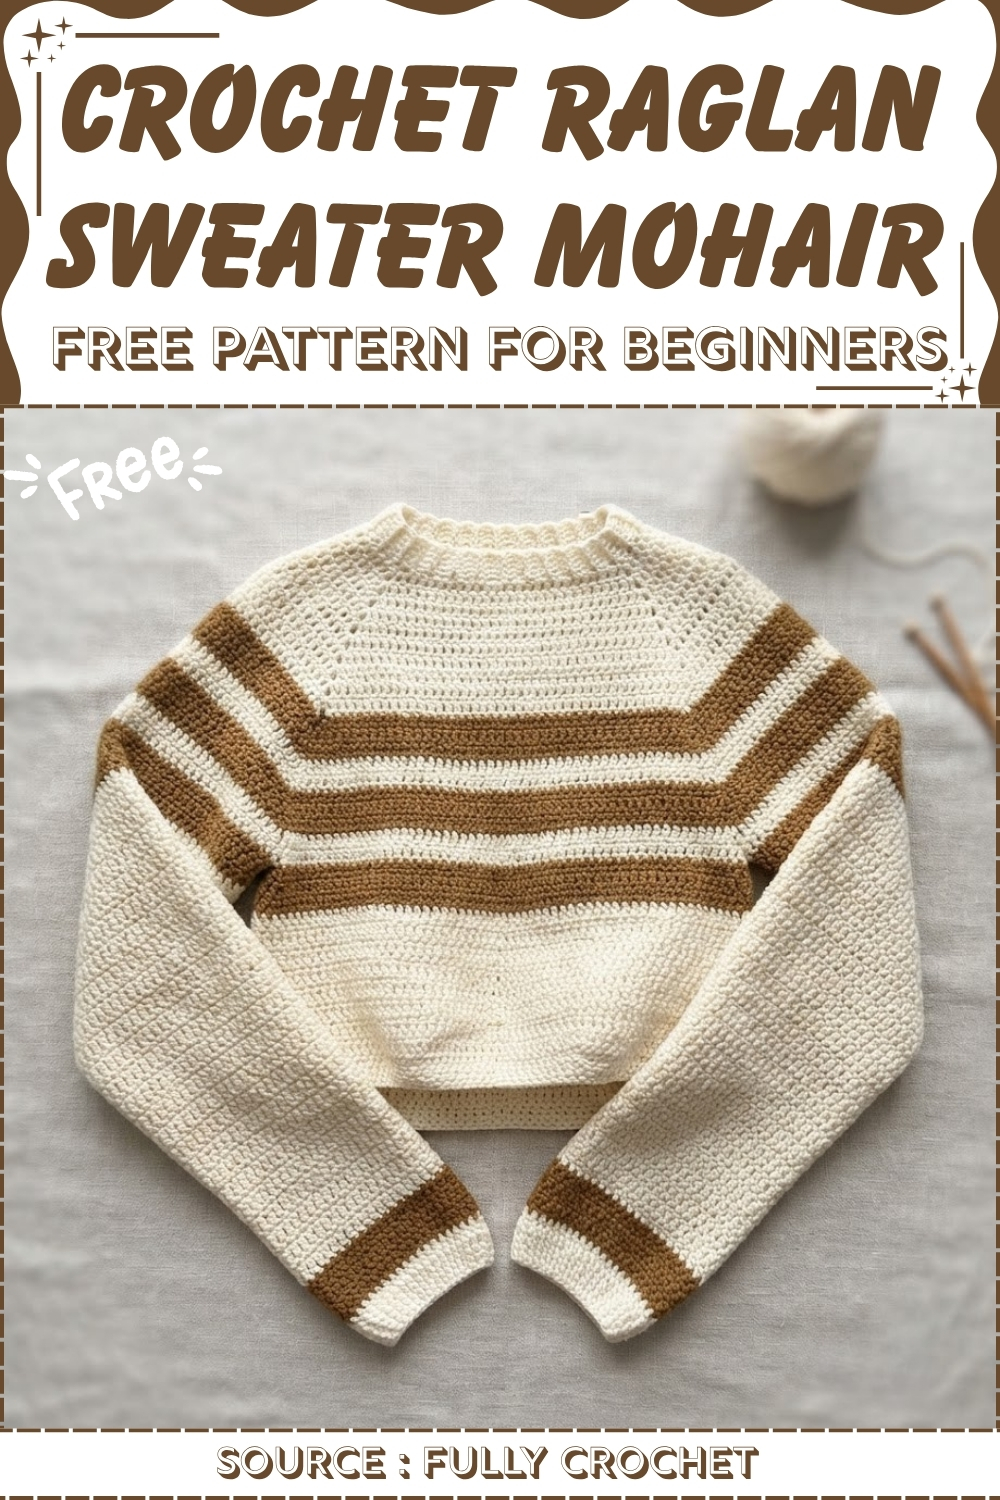
Silhouette is cropped and slightly boxy, which means the stripe proportions stay balanced even at a shorter length. Wide sleeves taper down without a cuff band, so the whole thing has a relaxed shape that works as a standalone layer rather than needing anything underneath to fill it out.
Quick Facts
Skill Level: Beginner–Intermediate Construction: Top-down raglan yoke worked flat in rows, body and sleeves continued in the round Main Stitch: Double crochet with single crochet collar and cuff sections Hook: 5 mm Yarn: Worsted weight in two colors — Cream and Mustard (or any two contrasting worsted colors) Fit: Relaxed boxy silhouette, fully adjustable to your measurements
Customization Ideas
- A few decisions worth making before you start:
- Colors: The pattern uses cream and mustard as the two-color stripe sequence, but any two worsted colors with good contrast will read the same way. A neutral plus a bold works best — navy and white, rust and oatmeal, or forest green and cream all carry the stripe well.
- Stripe width: The color sequence in this pattern runs 2–3 rows per color throughout, giving tight, even stripes. Wider stripes (5–6 rows per color) give a more relaxed, modern look; single-row alternating stripes produce a finer tweed-like effect.
- Body length: The body is worked until you reach your preferred length — crop, hip, or longer. There’s no structural change; just stop when it fits.
- Sleeve taper: The decrease rows toward the wrist are optional. Skip them entirely for straight, boxy sleeves, or follow the decrease sequence for a slightly more fitted cuff.
- Collar height: The collar is a side-to-side ribbed strip — work more rows before joining for a taller turtleneck, fewer for a shorter stand collar.
Materials & Tools
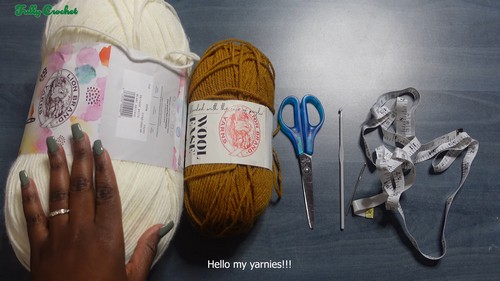
- Worsted weight yarn in Color 1 — Cream (Lion Brand or similar)
- Worsted weight yarn in Color 2 — Mustard/Yellow (Lion Brand or similar)
- 5 mm crochet hook
- 4 stitch markers
- Measuring tape
- Scissors
- Tapestry needle
Key measurements to take before starting: Neck circumference · Chest width · Arm length · Wrist circumference
Abbreviations used in this pattern: ch = chain · sc = single crochet · dc = double crochet · sl st = slip stitch · BLO = back loops only · inc = increase (2 sc in same st) · dec = decrease (2 sts worked together as one) · st(s) = stitch(es) · sp = space
Understand the Stitch First
The Pattern
Part 1: Collar
- Make a sl st to form a small ring.
- Ch 6, skip the first ch, sc in the next 5 ch. (5 sts)
- Ch 1, turn. Sc in the BLO across all 5 sts.
- Repeat — ch 1, turn, sc in BLO — until the strip is long enough to wrap comfortably around your neck.
- Sl st the two short ends of the strip together to form a circular collar tube.
(Working in BLO on every row is what creates the stretchy ribbed texture. Don’t skip this — it’s what makes the collar sit properly.)
Part 2: Yoke — Top-Down Raglan Shaping
The yoke is worked back and forth in rows from the collar downward, with raglan increases at 4 marked points to shape the front, back, and two sleeve sections.
Row 1 — Cream:
- Ch 1.
- Sc in 4 sts, inc (2 sc in next st). Repeat this sc-4, inc sequence across the entire row.
- Place 4 stitch markers approximately 2 cm in from each side of the work to mark the 4 raglan increase points.
Row 2 — Cream:
- Ch 2, turn.
- Dc in each st across.
- At each stitch marker: work dc, ch 1, dc all in that marked st — raglan increase made. Repeat at all 4 points.
- Sl st to join at the end.
Rows 3–14 — Cream:
- Ch 2, turn.
- Dc in each st across.
- At each of the 4 ch-1 sps from the previous row: work dc, ch 1, dc.
- Sl st to join at the end of each row.
- Continue for all rows 3 through 14. By Row 14 you will have 4 clearly defined sections — left front, right front, left sleeve, right sleeve — each growing larger with every row.
Just starting out with crochet? The video tutorial below is a great place to begin, or challenge yourself with the written pattern below!
https://www.youtube.com/watch?v=qFWJAkBlqz4
Part 3: Separating Sleeves from Body
Separating Row — Cream:
- Dc across the front body sts to the first sleeve section.
- Skip the sleeve sts and ch 5 (or chain more to match your underarm measurement). Sl st into the closest st on the other side of the sleeve gap to bridge the underarm.
- Dc across the back body sts to the second sleeve.
- Skip the second sleeve sts and ch 5 (or to your measurement). Sl st to close the second underarm bridge.
- Continue to the end of the row.
(Try the sweater on at this point or hold it against your body — check the underarm chain feels comfortable before continuing. Add extra chains now if needed.)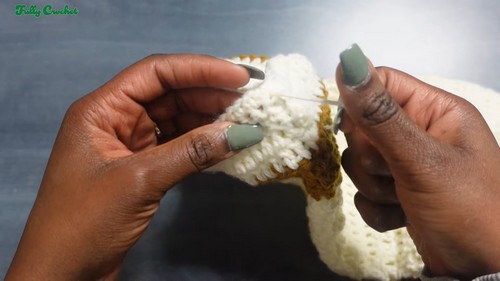
Part 4: Body
Rows 15–16 — Mustard:
- Join Mustard with sl st. Ch 2, turn.
- Dc in each st across.
- At each underarm chain bridge: dc, ch 1, dc into the chain sp.
- Sl st to join.
Rows 17–19 — Cream:
- Join Cream with sl st. Ch 2, turn.
- Dc in each st across.
- At underarm chain sp: dc, ch 1, dc.
- Sl st to join.
Row 20 — Cream:
- Ch 2, turn.
- Dc across to the chain sp.
- At chain sp: dc, ch 1, dc.
- Sl st to join.
Row 21 — Cream (Full Body Round):
- Ch 2, turn.
- Dc in Cream across the entire body.
- When you reach the underarm chain bridges, dc into each individual chain.
- Continue to end of row. Sl st to join.
Rows 22–24 — Mustard:
- Join Mustard with sl st. Ch 2, turn.
- Dc in each st across. Sl st to join.
Rows 25 onward — Alternating Stripes:
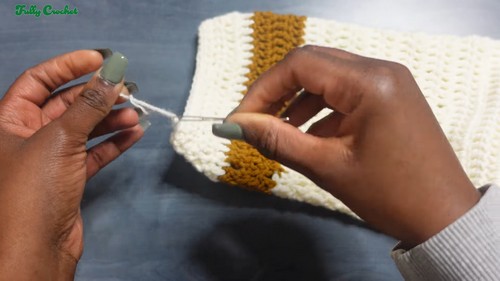
- Continue alternating approximately 3 rows Cream, 3 rows Mustard.
- Each row: ch 2, turn, dc in each st, sl st to join.
- Continue until the body reaches your desired length.
Part 5: Sleeves (Make Two)
Sleeve Row 1 — Cream:
- Attach Cream at the middle of the underarm chain bridge.
- Ch 2. Dc in each st around the entire armhole opening, picking up sts from the yoke rows and the underarm chains. Sl st to join.
Sleeve Rows 2–4 — Mustard:
- Join Mustard with sl st. Ch 2, turn.
- Dc in each st across. Sl st to join.
- Repeat for rows 2, 3, and 4.
Sleeve Rows 5–15 — Alternating Colors (No Decreases Yet):
- Continue alternating Cream and Mustard stripes, approximately 3 rows each.
- Each row: ch 2, turn, dc in each st, sl st to join.
- Work until the sleeve is approximately 10 cm from your wrist.
Sleeve Rows 16–18 — Mustard (Begin Shaping Transition):
- Join Mustard with sl st. Ch 2, turn.
- Dc in each st across. Sl st to join.
- Join Cream at end of Row 18.
(From this point, decrease twice every 5 rows to taper the sleeve toward the wrist.)
Sleeve Rows 19–20 — Mustard:
- Ch 2, turn. Dc in each st across. Sl st to join.
Sleeve Row 21 — Cream (Decrease Row):
- Join Cream with sl st. Ch 1, turn.
- Sc in each st, working 1 dec evenly placed in this row. Sl st to join.
Sleeve Rows 22–23 — Cream:
- Ch 1, turn. Sc in each st across. Sl st to join.
Sleeve Row 24 — Mustard:
- Join Mustard with sl st. Ch 2, turn. Dc in each st across. Sl st to join.
Sleeve Rows 25–34 — Alternating Colors:
- Join Cream with sl st. Ch 2, turn. Dc in each st. Sl st to join.
- Alternate Cream and Mustard stripes as established.
- Continue until sleeve reaches your desired arm length.
Sleeve Rows 35–39 — Cream (Wrist Shaping):
- Ch 1, turn. Sc in each st.
- Work 1 dec every 10 rows to gently taper to the wrist.
- Sl st to join after each row.
Finishing the sleeve:
- Fasten off, cut yarn, and weave in all ends.
Repeat all sleeve instructions for the second sleeve.
Part 6: Finishing
- Fasten off all remaining yarn ends.
- Weave in all loose ends securely on the wrong side using a tapestry needle.
- Steam block or wet block lightly if desired to even out the stitches and open up the dc fabric.
Stripe Color Sequence Reference
Collar: Cream — sc in BLO Yoke Rows 1–14: Cream — sc + dc with raglan increases Body Rows 15–16: Mustard — dc Body Rows 17–21: Cream — dc Body Rows 22–24: Mustard — dc Body Rows 25+: Alternating Cream/Mustard — dc Sleeve Row 1: Cream — dc Sleeve Rows 2–4: Mustard — dc Sleeve Rows 5–15: Alternating — dc Sleeve Rows 16–20: Mustard — dc Sleeve Rows 21–23: Cream — sc with dec Sleeve Rows 25–34: Alternating — dc Sleeve Rows 35–39: Cream — sc with dec

Tips
FAQ
1. How do I know when the yoke is deep enough to separate the sleeves? Hold the yoke against your body or try it on over your head. The bottom of the yoke should sit at your underarm — the raglan line running diagonally from neck to armpit. Row 14 is a guideline for a standard fit; adjust up or down as your own measurements require.
2. Can I make this in a single color instead of two? Yes. Work the entire pattern in one color, skipping all the color joins and carrying steps. The stripe reference chart becomes irrelevant — just continue dc in your chosen color throughout. The construction stays identical.
3. The color joins at the start of each stripe leave a small visible bump — how do I minimize it? Join the new color by drawing the new yarn through the last sl st of the previous row rather than chaining first. Keep the join tail short and weave it in on a diagonal rather than straight along a row edge. Blocking afterward helps the join blend.
4. My two sleeves look slightly different in length — how do I fix it? Count the rows on the first sleeve before starting the second, and follow the exact same row sequence. If the sleeves are already made and one is longer, add or remove a few rows at the wrist end of the shorter sleeve before working the decrease rows — the taper will still read evenly.