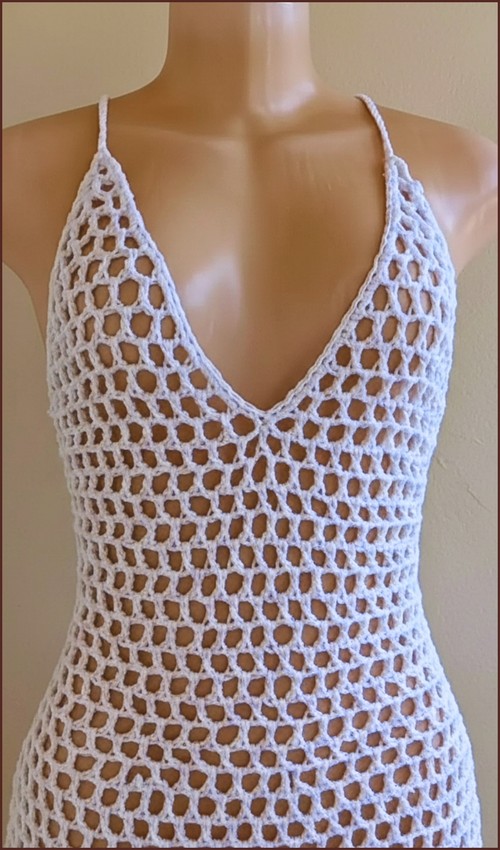
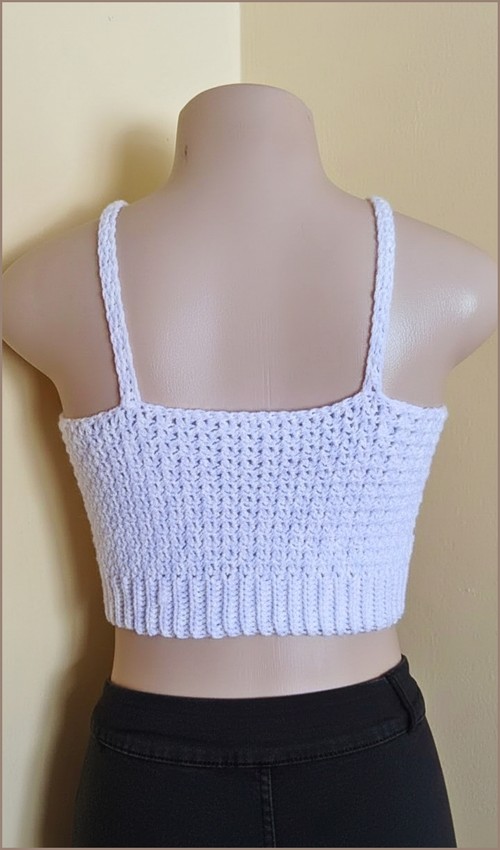
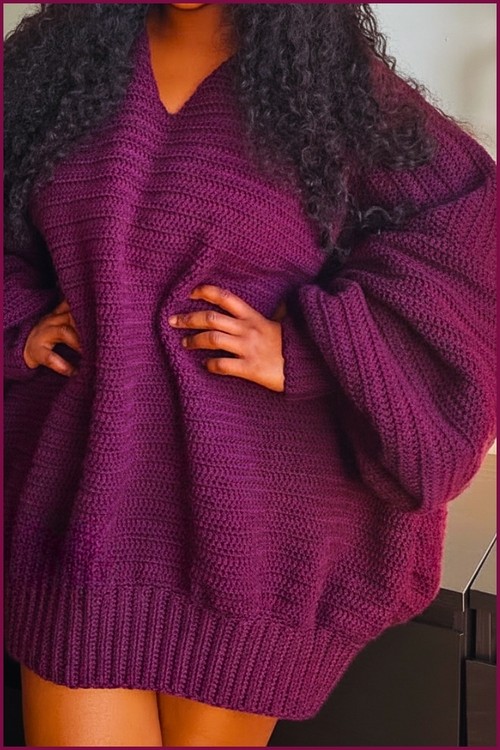
A backless top that actually stays in place needs good strap design, and this one solves it with tie-up straps that cross at the back and anchor the whole thing without fuss. The square neckline and dense body texture keep it looking structured even with an open back. For another strap-focused make, the twist top with straps gives you a reversible version worth comparing.
Crochet Backless Top With Straps

The body works up quickly in a single consistent stitch all the way through — no stitch switches, no shaping tricks beyond the armhole decreases. That makes it genuinely beginner-friendly even though the finished look reads as more polished than the construction warrants. Once you have this one blocked and ready, the backless top with bow is a natural next step with a different back detail.
Skill Level
- Easy to Intermediate
Materials
- 100% Cotton Jeans Yarn (approximately 200 meters per ball)
- 4.5 mm crochet hook
- Stitch markers
- Scissors
- Tapestry needle
Finished Size
This pattern is highly customizable.
Measurements
- Measure your bust circumference.
- Divide the measurement by two.
- The front panel width should match this half-bust measurement.
- Length can be adjusted according to your preference.
Stitch Guide
Front Panel Main Body
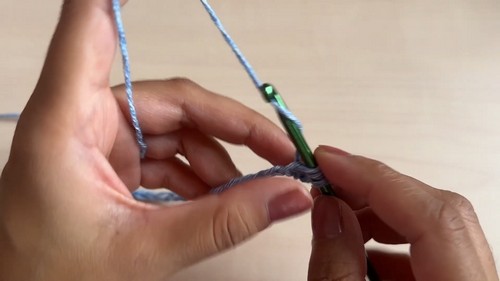
Foundation Row
- Measure your bust and divide the measurement by two.
- Create a slip knot.
- Chain an odd number of stitches to match the required width.
Row 1
- Skip the first chain from the hook.
- Work 1 Single Crochet in the next chain.
- Work 1 Double Crochet in the following chain.
- Continue alternating:
- 1 Single Crochet
- 1 Double Crochet
- Repeat across the entire row.
- Chain 1 and turn.
- If you’re still learning how to read crochet patterns, no stress! Follow the video tutorial below and use the written pattern below as you get more comfortable!
Row 2 and Beyond
- Work 1 Single Crochet into each Double Crochet from the previous row.
- Work 1 Double Crochet into each Single Crochet from the previous row.
- Continue alternating stitches across.
- Chain 1 and turn.
Repeat this stitch pattern until the panel reaches just below the underarm area.
Front Shaping Decreases
Decrease Row
- Chain 1 and turn.
- Work 1 Single Crochet in the first stitch.
- Skip the next stitch.
- Continue the established stitch pattern across the row.
- Skip the second-to-last stitch.
- Work 1 Double Crochet in the final stitch.
Shaping Section
- Repeat the decrease row for a total of 6 rows.
- After completing the decrease rows, work 10 additional rows in pattern with no shaping.
Pro Tip: Creating Smooth Decreases
Skipping stitches at both edges gradually narrows the panel and creates a flattering neckline shape. Count your stitches at the end of each row to ensure both sides remain symmetrical.
Neckline and Front Straps

First Strap
- Continue working the stitch pattern over the next 10 stitches only.
- Chain 1 and turn.
- Work these 10 stitches for 10 rows.
This forms the first shoulder strap.
- Place a stitch marker at the end of the strap.
Second Strap
- Count 10 stitches from the opposite side of the front panel.
- Attach yarn at this point.
- Work the same 10-stitch section for 10 rows.
This creates the second shoulder strap.
Back Panels

First Back Panel
From the end of the first front strap:
- Continue working over the same 10 stitches.
- Work 20 rows straight.
Increase Section
Increase only on the outer edge:
- Chain 3.
- Work 1 Single Crochet into the same stitch.
- Continue the established stitch pattern across the row.
Repeat increase rows until the panel contains 16 stitches across.
Straight Section
- Work 25 rows without any increases.
- Fasten off.
- Leave a long tail for sewing.
Second Back Panel
Repeat the same instructions on the opposite side.
Technique Explainer: Edge Increases
Working Chain 3 and an additional stitch into the same edge creates gradual shaping for the back panels. This helps the garment contour comfortably around the body while maintaining the stitch pattern.
Assembly

Joining the Garment
- Place front and back panels with right sides facing together.
- Using a tapestry needle and matching yarn, sew the side seams.
- Begin at the bottom edge.
- Continue sewing upward until you reach the point where the front decreases begin.
Turn the garment right side out.
Back Tie-Ups
Tie Panel Foundation
- Attach yarn to the bottom inner edge of one back panel.
- Work 8 Single Crochet stitches evenly along the edge.
- Chain 1 and turn.
Tie Rows
- Work 8 Single Crochet stitches across each row.
- Continue for 10 rows.
Shaping the Tie
- Decrease by 1 stitch every 10 rows until only 5 stitches remain.
Finishing the Tie
- Continue working 5 Single Crochet stitches per row until the tie reaches your desired length.
- Fasten off.
Second Tie

Repeat the same process on the opposite back panel.
Finishing
- Weave in all yarn ends securely.
- Block lightly if desired.
- Try on the top and adjust tie lengths if necessary.
Designer Notes
- Cotton yarn provides excellent structure and breathability.
- Add additional rows to the body for extra coverage.
- Lengthen the straps for a more adjustable fit.
- The tie-back design allows flexibility in sizing and comfort.
- For a more fitted look, reduce ease in the initial bust measurement.
Care Instructions
- Hand wash or machine wash on a gentle cycle.
- Lay flat to dry.
- Avoid excessive heat to maintain shape and stitch definition.
Enjoy creating your handmade Crochet Backless Top With Straps!