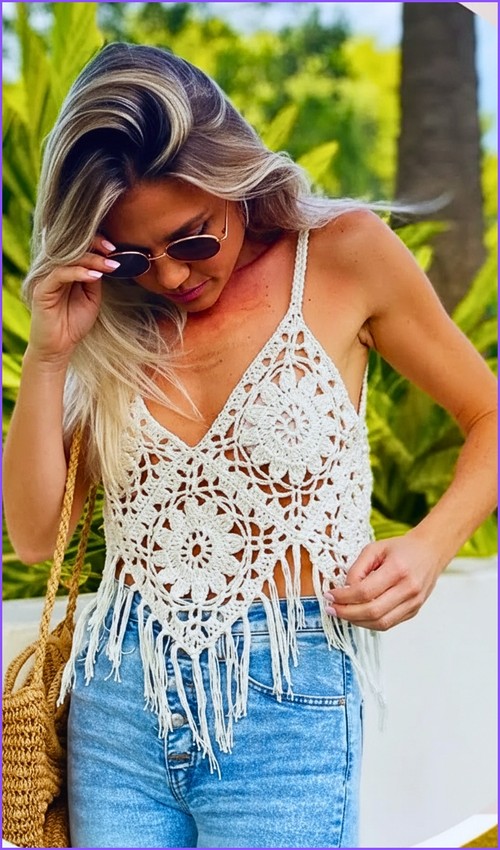
The lace-up back on this halter does double duty, it closes the top and lets you adjust the fit without any sizing math. Worked in two colours with a clean stripe break, it reads more considered than a single-colour version without adding any complexity to the construction. For a different halter with open-back detail, the cut-out halter top takes the backless concept in a different direction.
Backless Crochet Halter Top

The body is all half double crochet worked flat in rows, no stitch switching, just colour changes at the stripe breaks and straightforward neckline decreases. The lace-up back straps thread through at the end rather than being built in, so you can adjust the length to fit before committing. Once this is done, the backless top with straps is a close variation worth making next.
Skill Level
- Beginner to Easy Intermediate
Materials
- Weight 3 or Weight 4 cotton yarn
- Cotton-acrylic blend yarn (optional)
- 4 mm crochet hook
- Tape measure
- Scissors
- Yarn needle for weaving in ends
Finished Size
This pattern is highly adjustable.
- Beginning chain: 30 stitches
- Increase rows determine bust coverage
- Straight body rows determine top length
- Neck straps and side lacing provide adjustable sizing
The sample shown uses:
- 28 increase rows
- 8 straight rows
Adjust these measurements as needed for your preferred fit.
Stitch Guide
Abbreviations
- Ch = Chain
- Sc = Single Crochet
- Hdc = Half Double Crochet
- Dc = Double Crochet
- Sl St = Slip Stitch
Top Section

Foundation Row
- Create a slip knot.
- Chain 30.
- Add 1 extra chain for turning.
- Work 1 Half Double Crochet in the second chain from the hook.
- Work 1 Half Double Crochet in every remaining chain across.
This row forms the narrow center of the top.
Increase Triangle Section
Row 1
- Chain 1 and turn.
- Work 2 Half Double Crochet into the first stitch.
- Work 1 Half Double Crochet in every stitch across.
- Work 2 Half Double Crochet into the last stitch.
- Reading crochet patterns can be tricky when you’re just starting out, feel free to follow the video tutorial below instead!
Repeat
- Continue repeating this increase row.
- Add one increase at the beginning and one increase at the end of every row.
- The fabric will gradually widen into a large triangle shape.
Continue until the piece is wide enough to comfortably wrap around your body.
Sample Size: 28 increase rows.
Pro Tip
Place a stitch marker in the first and last stitch of each row. This makes it easier to remember where the increases should be worked and helps maintain clean edges.
Body Section Without Increases
Once the desired width has been reached, stop increasing.
Row
- Chain 1 and turn.
- Work 1 Half Double Crochet in every stitch across.
- Do not increase at either edge.
Repeat
Continue working straight rows until the desired length is achieved.
Sample Size: 8 straight rows.
Fit Check
Try the piece around your body periodically to ensure the length and coverage feel comfortable before moving on to the finishing steps.
Eyelets for Side Lacing

These eyelets create openings for the adjustable back lacing.
First Side
- Attach yarn at the upper corner of the straight section.
- Work Single Crochet stitches evenly along the side edge.
Eyelet Row
- Chain 1 and turn.
- Work 3 Double Crochet stitches.
- Chain 1 and skip 1 stitch.
- Work 2 Double Crochet stitches.
Repeat this sequence until you create 3 eyelet holes.
Finishing Row
- Chain 1 and turn.
- Work Single Crochet across the entire row.
- Place Single Crochet stitches into the chain spaces as well.
Second Side
Repeat the same process on the opposite side of the top.
Technique Explainer: Eyelets
Eyelets are small decorative openings created by chaining and skipping stitches. In this project, they serve as functional holes for threading the side lacing straps while also adding a stylish detail.
Borders and Neck Straps

Edge Border
- Work Single Crochet evenly around all outer edges of the top.
First Neck Strap
When you reach the top corner:
- Chain 200.
- Slip Stitch into each chain back toward the garment.
This creates a stronger and more durable strap.
Continue Edging
- Resume Single Crochet around the top.
Second Neck Strap
At the opposite top corner:
- Chain 200.
- Slip Stitch back down the chain.
Continue the edging until all borders are complete.
Pro Tip
If you prefer thicker straps, work a second row of Single Crochet along the strap after completing the Slip Stitch reinforcement.
Assembly

Neck Straps
- Place the top against your body.
- Cross the neck straps behind your back in an X shape.
- Bring the straps around the neck and tie securely.
Side Lacing
- Thread the straps through the eyelet holes on both sides.
- Lace them in a crisscross pattern.
- Adjust the tension for a snug yet comfortable fit.
Final Finishing
- Weave in all loose yarn ends.
- Lightly block the garment if desired.
- Try on and adjust the lacing for the perfect fit.
Styling Ideas
This Backless Crochet Halter Top pairs beautifully with:
- High-waisted denim shorts
- Linen pants
- Maxi skirts
- Beach cover-ups
- Layered jewelry for a boho-inspired look
The adjustable lace-up construction makes it easy to customize for different body shapes while maintaining a flattering silhouette.
Designer Notes
- Use cotton yarn for maximum breathability.
- Add more increase rows for fuller coverage.
- Add additional straight rows for a longer top.
- Neck straps can be shortened or lengthened to suit personal preference.
- Side lacing allows easy fit adjustments without altering the main body of the top.
Enjoy creating your handmade Backless Crochet Halter Top and customizing it to perfectly match your personal style.