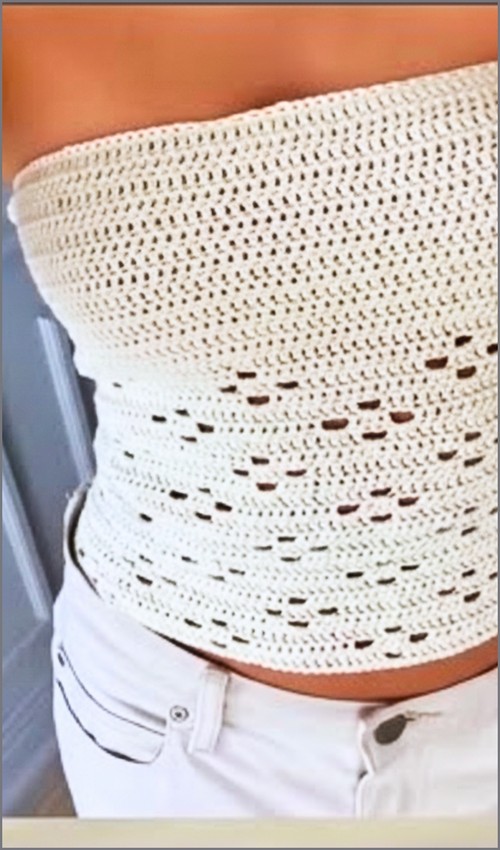
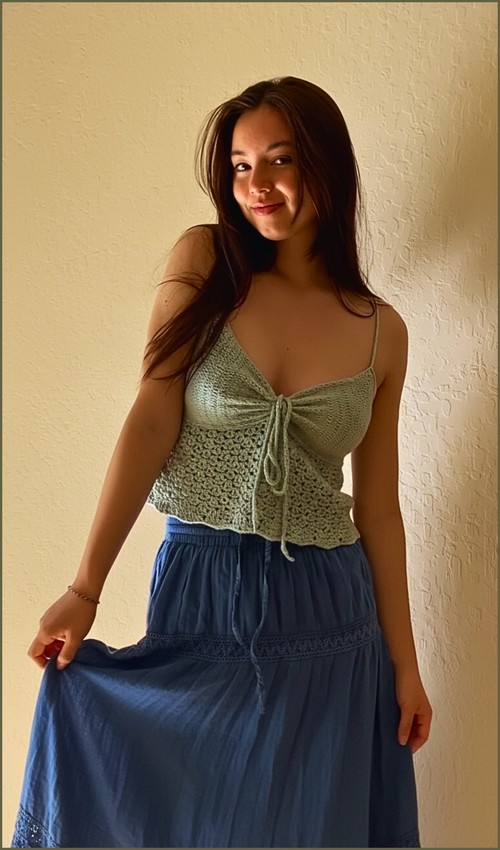
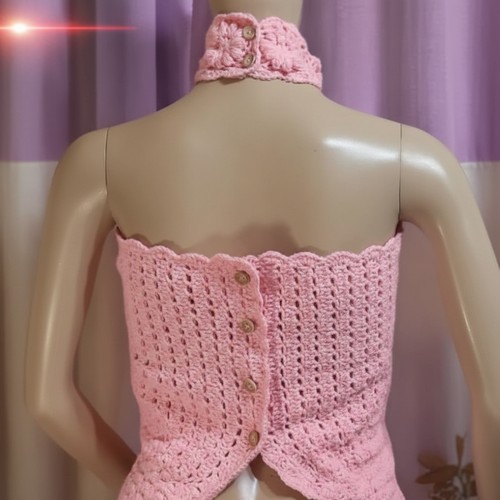
A circular mandala worked as the bust panel is one of the most striking ways to open a boho halter top the radiating dc clusters give it a dreamcatcher quality that the beaded fringe strands below only reinforce. This turquoise version adds a white flower appliqué at the center front and amber wooden beads on each fringe strand, details that take some patience but give the finished piece a handcrafted intentionality that plain fringe wouldn’t have. For a simpler beaded fringe halter that uses a triangular panel instead of a circular motif, this beaded fringe halter top is a useful warm-up project.
Crochet Boho Top Plus Size

The circular motif construction means this works from the center outward, so you can size it up or down simply by adding or removing rounds before attaching the body panel genuinely adaptable for plus size without needing a separate pattern. Spaghetti neck ties keep the fit adjustable at the top. For another mandala-style circular crochet top with a different silhouette, this crochet mandala wrap top takes the same in-the-round motif logic into a wrap format.
Materials
- 3 balls of 40 g 100 percent acrylic yarn
- 4.5 mm crochet hook for the body
- 5.0 mm crochet hook for the straps
- Scissors
- Stitch marker
- Darning needle
- Tape measure
- Decorative beads
Stitches You’ll Need to Know
Center Motif
- Start with a magic circle
- Chain 3 and work 17 double crochets into the circle for a total of 18 stitches, then slip stitch to close
- Chain 3, double crochet in the next stitch, then chain 1 and double crochet in the next stitch around
- Slip stitch into the first chain space, chain 3, work 2 more double crochets in the same space and pull through all loops together
- Chain 3 and work 3 combined double crochets in the next chain space around
- Single crochet into a chain space, then chain 4 and single crochet into the next space around
- Slip stitch into a chain space, chain 5, then single crochet into the next space around
- Single crochet into the third chain of the space, then work 2 double crochets, chain 2, and 2 double crochets in the next space around

Motif clarity and tips
- This motif uses a mix of solid stitches and chain spaces to build texture without adding bulk.
- The rounds that use combined double crochets create raised detail and help the motif hold its shape.
- When the instructions say to pull through all loops together, treat those stitches like a cluster and keep your tension even so the motif stays flat.
- If the circle begins to ripple, your chains may be too loose. If it cups, your tension may be too tight.
- Reading crochet patterns can be tricky when you’re just starting out, feel free to follow the video tutorial below instead!
Body Panels
- Make a slip knot and chain 87 for medium size, 77 for small, or 97 for extra large
- Double crochet in the fifth chain from the hook and in every stitch across
- Chain 3 and double crochet in the next 37 stitches
- Chain 5 and attach the center motif with a single crochet
- Chain 5, skip 8 stitches on the foundation chain, and continue double crocheting across
- Decrease at the beginning and end of each row to shape the top
- Work double crochets until 3 stitches remain, then decrease across the last two stitches
- Continue decreasing in this way until 4 stitches remain
- Repeat the same steps for the second side of the body and attach it to the opposite side of the motif
Shaping explanation
- The body panels are what give this top its plus-size-friendly fit.
- The decreases at the beginning and end of each row gently taper the fabric upward, helping it contour instead of pulling straight across the bust.
- Attaching each panel directly to the motif keeps the weight centered and prevents sagging.
- Use a stitch marker at the start of each row if it helps you stay consistent with your decreases.

Length and Borders
- Attach yarn to the bottom edge and work rows of double crochet until the desired length is reached
- Work half double crochets evenly along all edges
- In the chain spaces of the motif, place 5 half double crochets for a smooth finish
Length and edge notes
- Working the length after the panels are attached gives you full control over how cropped or long the top becomes.
- Try the piece on as you go if possible.
- The half double crochet edging softens the look and helps prevent curling, especially around the motif where chain spaces can otherwise feel loose.
Straps and Beaded Fringe
- Use 4 strands of yarn and a 5.0 mm hook to chain approximately 150 stitches for each strap
- Attach yarn to motif spaces and chain 20 for fringe strands
- Slide 3 beads onto each chain and secure with a knot at the end
- Wrap yarn around your hand 20 times to create tassels
- Tie the center of the wrapped yarn and attach tassels to the ends of the beaded chains

Strap and fringe guidance
- Using multiple strands for the straps adds strength without needing a tighter stitch pattern.
- Keep your chains relaxed so the straps drape comfortably over the shoulders.
- When adding beads, make sure the knot is snug and positioned close to the bead so it does not slide with wear.
- Tassels should be evenly trimmed after attaching to keep the finish balanced.

Fit and Sizing Guidance
- This design is especially forgiving for plus sizes because the shaping happens gradually and symmetrically.
- Choose your starting chain based on the width you want across the body, not just standard sizing.
- The decreasing rows allow the fabric to narrow naturally toward the neckline, reducing strain across the bust.
Beginner Notes
- If you are newer to motifs and garment shaping, take your time with the center piece and confirm it lies flat before moving on.
- Count stitches carefully during the body panel setup, as small miscounts can affect how the panels align with the motif.
Troubleshooting
- If the body pulls upward at the motif, check that your chain 5 spaces are not too tight.
If the neckline feels too narrow, slow down the decreases by spacing them over more rows.
If edges look uneven, the half double crochet border will help smooth minor inconsistencies.
Finishing Notes
- Weave in all ends securely, especially around the motif and straps where movement is greatest.
- Block lightly if needed to even out stitch definition.
- This final step helps the motif and panels settle into their intended shape and improves overall drape.