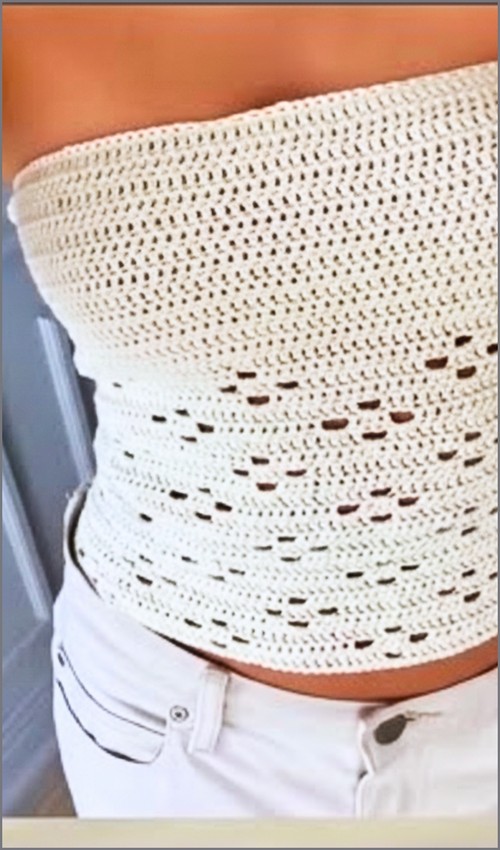
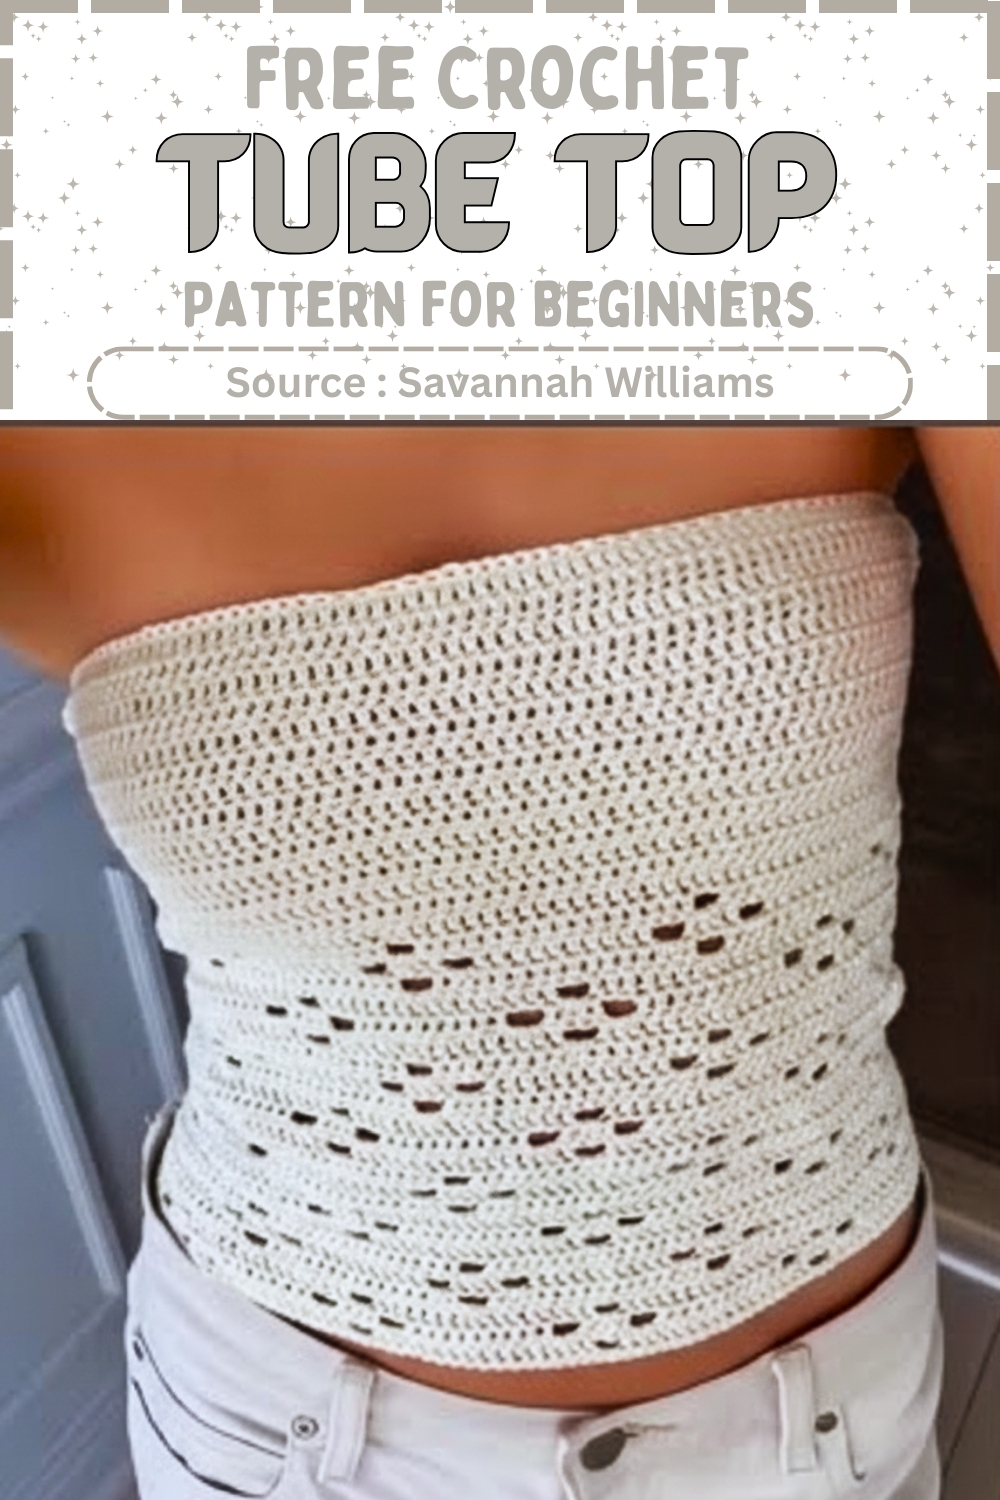
A tube top is one of those patterns that looks more complicated than it is you’re essentially working a rectangle and seaming it into a cylinder, and the openwork rows do most of the visual work for you. This one pairs a dense top band with repeating eyelet rows that give the body some breathability and texture without adding difficulty. If you like the tube top silhouette, the crochet ribbed style tube top takes the same basic shape in a different direction with an all-over ribbed texture.
Crochet Tube Top
The pattern works flat first, then seams into the tube so you can check your width and adjust before committing to the join. That makes sizing easier to manage than a fully in-the-round construction, especially if you’re newer to garment making. For another strapless option with a bit more coverage and structure, the crochet twist top is worth bookmarking alongside this one.
Materials
- Yarn approximately 100 g of 4 mm yarn cotton or acrylic
- 4 mm crochet hook
Basic Stitches Used Throughout the Pattern
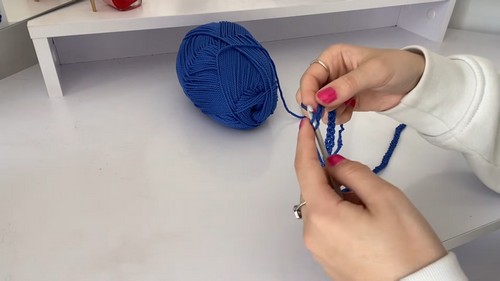
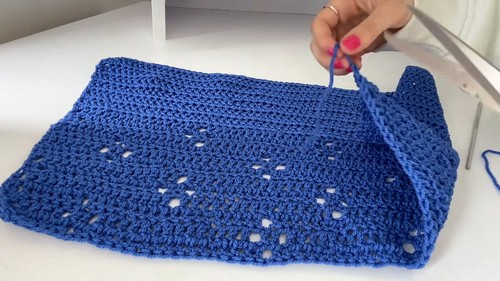
Top Section Foundation
- Measure from one armpit to the other across the chest and create a foundation chain to match that width
- For a UK size 6 to 8, chain 64 plus 1 turning chain
- Half double crochet into the second chain from the hook and into every chain across
- Chain 1, turn, and half double crochet in every stitch across
- Repeat the same row until the fabric reaches enough height to comfortably cover the bust
Single crochet may be used instead of half double crochet for more coverage if preferred
Foundation and Fit Notes
- This section forms the solid base of the tube top, so it controls both fit and support.
- Measuring from armpit to armpit rather than around the full bust keeps the top snug and prevents gaping at the sides.
- Half double crochet is used because it balances coverage and flexibility.
- If you tend to crochet loosely or prefer a firmer fabric, switching to single crochet is a practical adjustment that increases opacity without changing the structure of the top.
- Work enough rows so the fabric fully covers the bust when held against the body.
- This is especially important because the flower section above will be more open.
Flower Pattern Body
- Chain 2 to begin the first flower row
- Double crochet into the next 11 stitches
- Chain 1 loosely, skip one stitch, then double crochet into the next stitch to form the first flower hole
- Double crochet into the next 16 stitches
- Repeat the chain 1, skip 1, double crochet sequence across the row
- Turn and chain 2 for the second flower row
- Double crochet across until reaching two stitches before the previous row hole
- Chain 1, skip one stitch, and double crochet into the stitch just before the hole
- Double crochet into the chain space of the hole
- Chain 1, skip one stitch, and double crochet into the next stitch to form side petals
- Turn and chain 2 for the third flower row
- Double crochet across until reaching the center between the two side petals
- Chain 1, skip the center section, and double crochet into the next stitch to close the flower shape
- Offset the flower placement in the next set of rows so the flowers sit diagonally between the previous ones
- Continue repeating the flower rows until the desired length is reached
- If you’re new to reading crochet patterns, don’t worry, just follow along with the video tutorial below and use the written pattern as a reference!
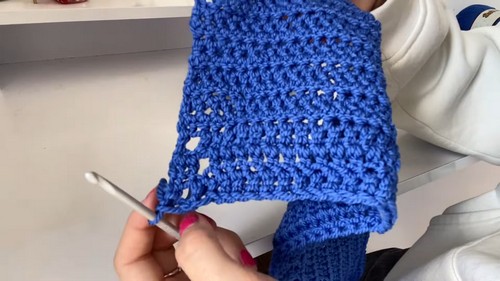
Understanding the Flower Construction
- Each flower is created over three rows.
- The first row introduces a hole.
- The second row builds side petals around that hole.
- The third row closes the shape by bridging the center space.
- The instruction to chain loosely is important.
- Tight chains will pull the fabric and distort the flower shape.
- If your flowers look pinched or uneven, try relaxing your tension just on the chain stitches.
- Offsetting the flowers in the next repeat prevents vertical stacking and creates a more balanced, flowing layout.
- Visually, this diagonal placement is what makes the pattern feel intentional rather than repetitive.
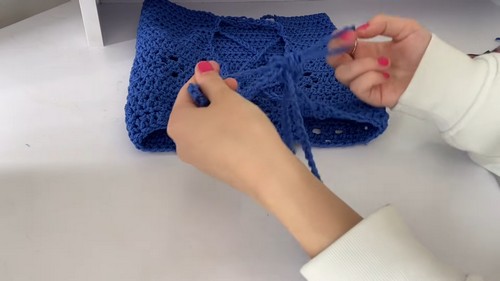
Straps and Finishing
- Fasten off once the top reaches the preferred length and weave in all loose ends
- Create two long chains of approximately 120 chains each for back ties
- Attach one chain to each top corner of the back panel
- Lace the chains through the back stitches in a criss cross style similar to a corset
- Use smaller jumps near the top edge and wider jumps toward the bottom
- Tie securely at the base to finish the tube top
Back Lacing Guidance
- The corset-style lacing allows the top to be adjustable, which is especially helpful with a fitted garment like this.
- Smaller jumps near the top help stabilize the neckline, while wider spacing at the bottom allows for comfortable shaping over the ribs.
- If the chains feel too long once laced, they can be shortened later.
- It is easier to remove excess length than to add more after finishing.
Fit and Sizing Guidance
- This top is designed to stretch slightly, especially if acrylic yarn is used.
- Cotton will hold its shape more firmly.
- When deciding length, keep in mind that the flower section has more give than the foundation rows.
- If you are between sizes, size down in width and rely on the lacing for adjustment.
- This helps prevent slipping during wear.
Stitch and Tension Notes
- Half double crochet creates a soft but supportive base
- Double crochet allows the flower pattern to stay open and visible
- Consistent turning at the end of rows keeps the fabric straight
- Marking the first flower hole in each row can help maintain alignment
Beginner Notes
- Although the stitches themselves are beginner-friendly, this pattern rewards careful counting.
- Take time to identify where each hole begins and ends before moving to the next row.
- If you are new to decorative spacing, practice one flower repeat on a small swatch before continuing the full garment.
Troubleshooting
- Flowers look uneven: Check chain tension and make sure chains are not pulled tight
- Fabric flares outward: You may be skipping too loosely or adding extra stitches near holes
- Top feels loose at the bust: Add an extra foundation row or switch to single crochet for more structure
Finishing Tips
- After weaving in ends, lightly block the top to relax the stitches and define the flower shapes. Avoid heavy stretching, especially if using cotton yarn, as this can permanently change the fit.
- This final step helps the pattern settle and gives the finished piece a clean, intentional look.