Crochet Shorts For Ladies
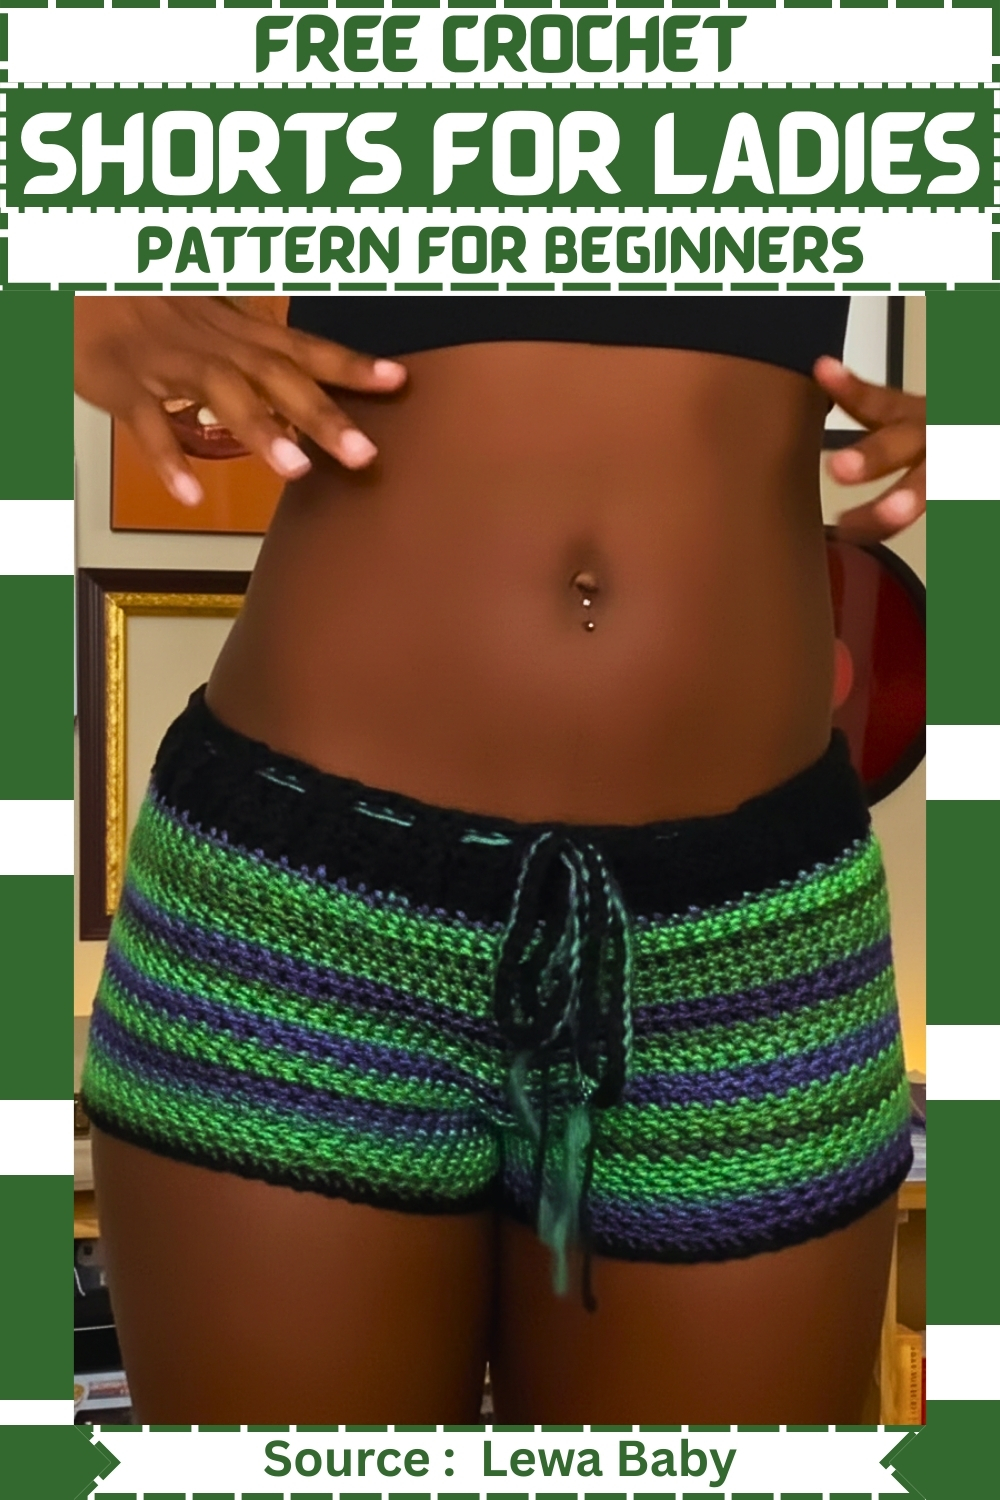
These shorts are built from the waist down in one continuous piece, which makes the fit easier to control as you go. You start by creating a stretchy ribbed waistband worked sideways, then turn and crochet directly into its edge to form the hips. The body is shaped simply by splitting the fabric into two leg openings, avoiding complex shaping or seaming. Understanding this overall structure before you begin will help the individual steps make more sense and reduce uncertainty while you work.
What to Expect From This Pattern
This pattern focuses on comfort, flexibility, and adjustability. The waistband stretch comes from the ribbing rather than elastic, and the hips and legs are shaped using straightforward half double crochet rounds. Because the pattern is measurement-based, you can fine-tune the fit at several stages instead of being locked into preset stitch counts.
Skill-wise, this is accessible to confident beginners who are comfortable with half double crochet and working in the round, but the shaping steps are explained carefully so you always know why you are doing them.
Materials
- 5.5 mm crochet hook
- Weight 4 acrylic yarn
- Stitch markers
- Measuring tape
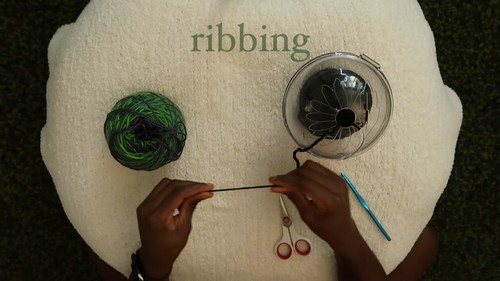
Ribbed Waistband
- Make a slip knot and create 6 foundation half double crochet stitches
- Chain 1 and turn
- Place 1 half double crochet in the first stitch
- Place 1 half double crochet in the back loop only of the next 4 stitches
- Place 1 regular half double crochet in the last stitch
- Repeat this row until the ribbing reaches your desired length
- Calculate rows by multiplying your waist measurement by 2 and add 1 if the number is even
- Fold the ribbing and join the ends using slip stitches through the back loops
- Turn the waistband inside out so the seam sits on the inside
Waistband Clarity and Fit Notes
- The ribbing is worked sideways, not in the round.
- This allows the waistband to stretch horizontally, which is what gives the shorts a comfortable fit without elastic.
- Using back loop only stitches in the center of the row creates defined ribs, while the regular half double crochets at the edges keep the sides clean and stable.
- When measuring the ribbing length, stretch it slightly but do not pull it tight.
- You want it to sit snugly on the body without digging in.
- Joining through the back loops keeps the seam flexible and visually consistent with the rest of the ribbing.
- Turning the waistband inside out places the seam against the body so it is hidden when worn.
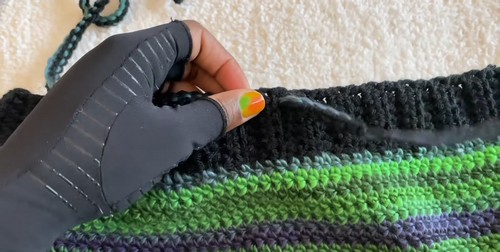
Building the Hips
- Chain 1 and work half double crochet stitches evenly along the side of the ribbed waistband
- Place stitches close enough to avoid gaps without overcrowding
- Continue working half double crochet in continuous rounds without chaining at the start
- Use a stitch marker to track each round
- Work approximately 14 rounds or until the piece reaches your desired hip depth
Why This Step Matters
- Crocheting into the side of ribbing can feel unfamiliar.
- There are no fixed stitch counts here on purpose.
- Everyone’s tension and ribbing height will differ, so spacing your stitches evenly is more important than hitting an exact number.
- Continuous rounds create a smoother fabric with no visible seam.
- The stitch marker is essential here because there is no chain at the start of each round to signal where one ends and the next begins.
- Hip depth is measured vertically from the top of the waistband down to where you want the shorts to begin separating into legs.
- Try the piece on if possible, or measure against a well-fitting pair of shorts.
Splitting the Legs
- Find the exact halfway point of your total stitch count
- Place stitch markers at the midpoint on both the front and back
- Create 10 foundation half double crochet stitches to form the crotch bridge
- Slip stitch into the marked stitch on the opposite side
- Chain 1 and turn
- Half double crochet back across the 10 foundation stitches to secure the bridge
Understanding the Leg Split
- This is the most important shaping step in the pattern.
- The midpoint markers ensure both legs are evenly sized.
- Take time to count carefully here, as accuracy will directly affect the fit.
- The foundation half double crochet stitches create a sturdy bridge that forms the crotch.
- Working back across them secures the bridge so it does not twist or stretch out during wear.
- Turning the work at this point helps lock the shape into place before you continue in rounds again.
Finishing the Legs
- Work half double crochet rounds evenly around the first leg opening
- Complete 5 rounds for the leg length
- Attach yarn to the second leg opening
- Chain 1 and work half double crochet across the bridge and around the leg
- Complete 5 rounds for the second leg
- Finish both legs with one round of single crochet for a neat edge

Leg Length and Balance Tips
- Each leg is worked separately, but they should mirror each other exactly.
- Count your rounds rather than relying on visual length alone to keep them even.
- The single crochet edging tightens the fabric slightly, which helps prevent the leg openings from flaring or stretching over time.
- Keep this round relaxed so it does not feel restrictive on the thighs.
Drawstring and Finishing
- Use two strands of yarn and chain approximately 150 stitches to create the drawstring
- Weave the drawstring through the waistband ribbing, passing through every two rows
- Weave in all loose ends securely
- Trim excess yarn and shape the shorts as needed
Finishing Notes
- Doubling the yarn for the drawstring adds strength and helps it slide smoothly through the ribbing without cutting into the stitches.
- Weaving through every two rows distributes tension evenly when the drawstring is tightened.
- Before trimming any yarn, try the shorts on and gently adjust the fabric with your hands.
- Acrylic yarn responds well to light shaping and smoothing, which helps the shorts settle into their final fit.
Beginner Notes and Common Troubleshooting
- If the waistband feels too loose: Remove a few ribbing rows and rejoin. Ribbing stretch varies by tension, and small adjustments make a big difference.
- If gaps appear at the hip join: You likely need to place stitches closer together when working into the ribbing edge. This is common and easy to correct in the first round.
- If the crotch feels tight: The bridge may be too short. Adding a few more foundation half double crochet stitches can improve comfort without affecting the rest of the pattern.
This pattern rewards slow, careful measuring and checking fit as you go. Take your time with the shaping steps, and you will end up with a pair of crochet shorts that feel secure, flexible, and wearable rather than stiff or bulky.