
Crochet granny square shorts work by letting simple stitches do the heavy lifting. Instead of complex shaping, the design relies on classic granny square construction, strategic folding, and thoughtful seaming to create wearable shorts that are both flexible and customizable. When you understand how the squares are built and why they are joined in a specific way, the process feels controlled rather than experimental, making Crochet Granny Square Shorts an approachable project even when garment construction feels intimidating.
Crochet Granny Square Shorts
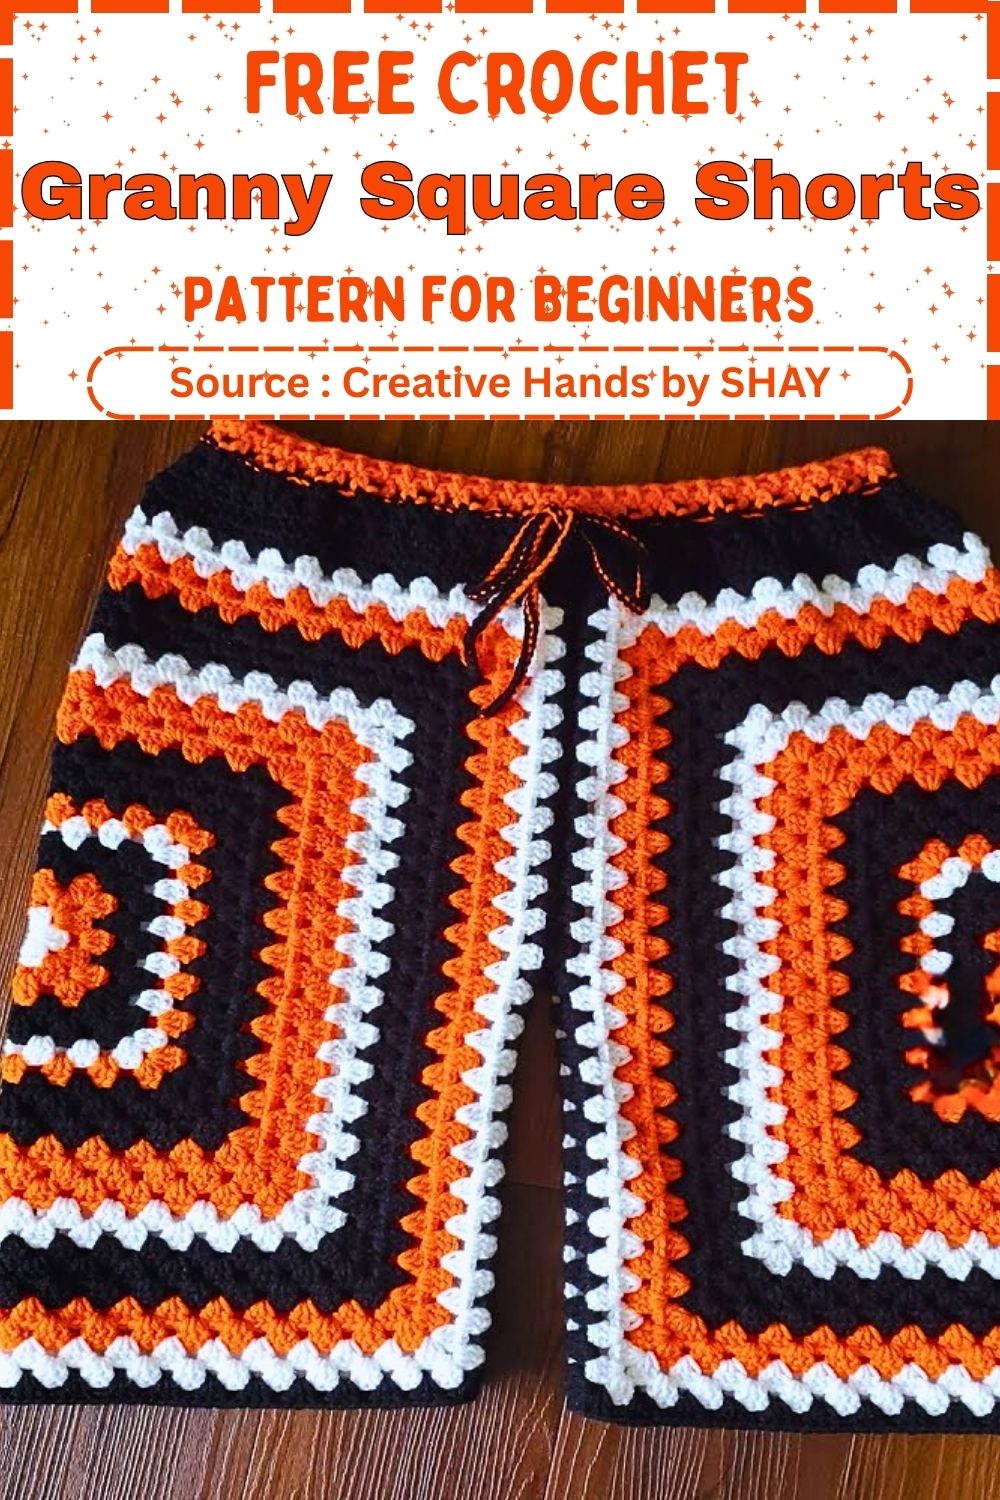
Granny square shorts are built very differently from most crochet garments. Instead of shaping row by row, the structure comes from how flat squares are folded, joined, and then stabilized with a waistband. Understanding that construction first makes the entire process feel logical rather than experimental. Once you see how two simple squares turn into leg openings and a crotch, the pattern becomes predictable and easy to adjust for fit.
Materials
- Materials
- Yarn in black, white, orange, or preferred colors
- 4.5 mm crochet hook
- 4.0 mm crochet hook
- Scissors
- Darning needle
- Measuring tape
- Stitch markers or pins
Create the Granny Square Panels
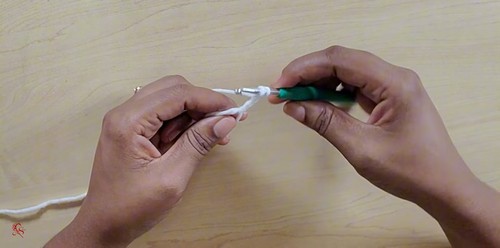
- Begin with a magic ring, chain 3, and work 2 double crochets into the ring
- Chain 2 and work 3 double crochets to form the first corner cluster
- Repeat the corner sequence until four clusters are completed
- Join with a slip stitch to close the round
- For the next round, work 3 double crochets, chain 2, and 3 double crochets into each corner
- Use chain 1 spaces between side clusters
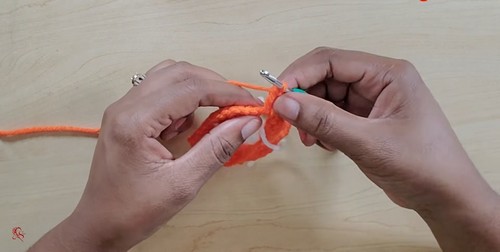
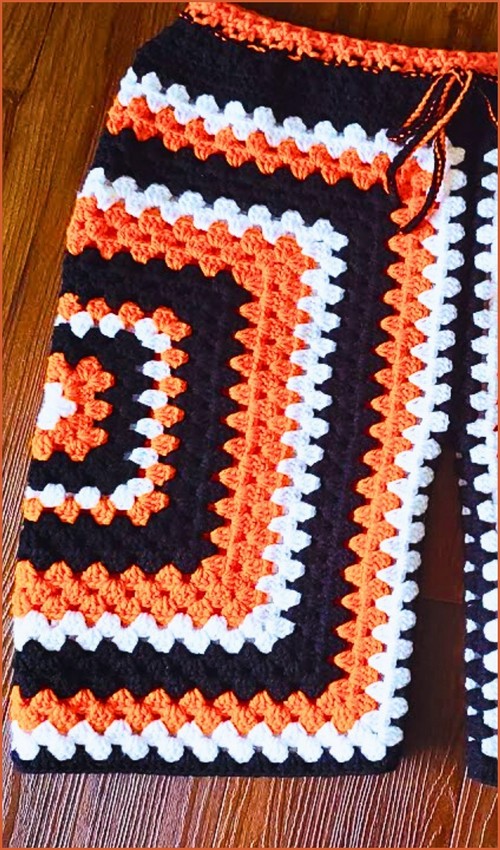
- Change colors as desired, starting with white in the center, followed by two rows of orange and two rows of black
- Continue repeating rounds until the square reaches the desired size
- Turn the work after every round to keep the square straight
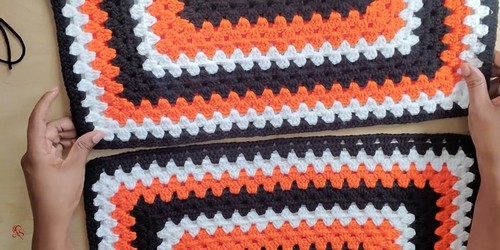
- Make two identical granny squares
Assemble the Shorts
- Fold each square in half diagonally to form leg shapes
- Measure down from the top corner to determine the waist-to-crotch depth and mark the point
- Using the 4.0 mm hook, slip stitch the inner edges together from the marked point to the bottom to form the legs
- Seam the front and back sections from the waist down to the crotch area
Create the Waistband
- Attach yarn at the waist opening and chain 3
- Work double crochets evenly around the entire waist
- Skip stitches evenly to reduce the waist circumference for a better fit
- Continue working until the stitch count fits comfortably
- Create ribbing by alternating front post and back post double crochets
- Add optional contrast rows at the top for a decorative finish
Make and Insert the Drawstring
- Hold two strands of yarn together and create a long chained cord
- Thread the cord through the waistband using a safety pin or latch hook
- Skip stitches evenly for a balanced look
- Tie off the ends securely and weave in all loose ends
How the Granny Squares Shape the Shorts
Each square is a standard, evenly built granny square.
The shaping happens later, not during the square itself.
When you fold a square diagonally, it naturally creates a triangular shape that becomes one leg.
The fold line becomes the center of the leg opening, and the open edges are what you seam together.
- Turning your work after every round is important here.
- Granny squares can subtly twist if worked in the same direction each round.
- Turning keeps the square visually straight and helps both squares behave the same when folded and joined.
- Making two truly identical squares matters more than it might seem.
- Even a small size difference can cause uneven leg openings or twisting at the crotch seam.
Fit and Sizing Guidance
The size of your squares controls nearly everything about the fit.
- Square size: Larger squares create looser, longer shorts. Smaller squares result in shorter, more fitted shorts.
- Waist-to-crotch depth: Measuring down from the top corner lets you customize how high or low the shorts sit. A deeper measurement gives more room and a relaxed fit. A shorter measurement creates a snug, higher-rise fit.
- Waist shaping: Skipping stitches evenly during the waistband is what prevents gaping. This is not a mistake correction step, but an intentional shaping technique.
Try folding and pinning the squares together before seaming. This gives a clear preview of how the shorts will sit on the body and helps confirm your measurements before committing.
Stitch and Shaping Clarity
- Corner clusters: Each corner always uses the same structure. The chain 2 creates the turn, while the 3 double crochets on either side provide strength and shape.
- Side clusters: The chain 1 spaces between side clusters keep the square flexible rather than stiff.
- Slip stitch seaming: Using a smaller hook for seaming creates a firm join without adding bulk. This is especially important in the inner leg area, where friction is highest.
- Post stitch ribbing: Alternating front post and back post double crochets forms vertical ridges that stretch comfortably around the waist without elastic.
Beginner Notes
- If your magic ring feels loose, pull it tight before joining the first round. Granny squares rely on a firm center.
- Use stitch markers when marking the waist-to-crotch point. Both squares should be marked at the exact same spot.
- When skipping stitches for waist shaping, spread the skips evenly rather than clustering them. This keeps the waistband smooth.
Troubleshooting Common Issues
- Leg openings feel uneven: Check that both squares are the same size and folded in the same direction. A flipped square can cause mismatched seams.
- Waistband flares out: More stitches need to be skipped in the first waistband round. The goal is a comfortable but secure fit before adding ribbing.
- Crotch feels too tight: The marked depth may be too short. Next time, measure slightly lower from the top corner before seaming.
- Twisting or leaning shorts: This usually comes from not turning the square each round or from uneven seaming tension.
Finishing Notes
- Weave in all ends securely, especially around the waistband and crotch seams.
- These areas experience the most movement.
- When inserting the drawstring, skipping stitches evenly prevents bunching and keeps the waistband balanced.
- Once finished, lightly block the shorts flat.
- This helps the granny squares relax and allows the seams to settle into their natural shape.


