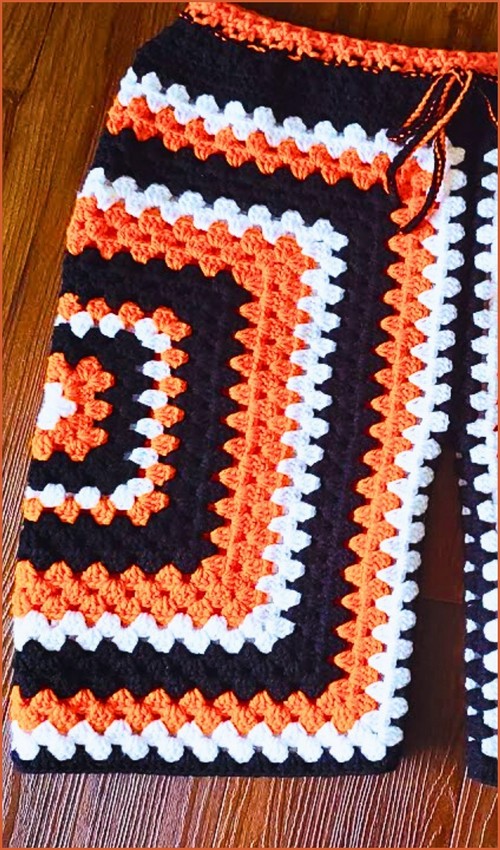
Getting the balance right between softness, stretch, and coverage can be tricky when crocheting bottoms for babies. Crochet Shorts For Kids work best when the fabric is light, flexible, and able to move with the child without riding up or feeling bulky. This design focuses on creating a comfortable shape that allows room for diapers while still sitting neatly at the waist and legs, making it practical for everyday wear as well as gentle on sensitive skin.
Crochet Shorts For Kids
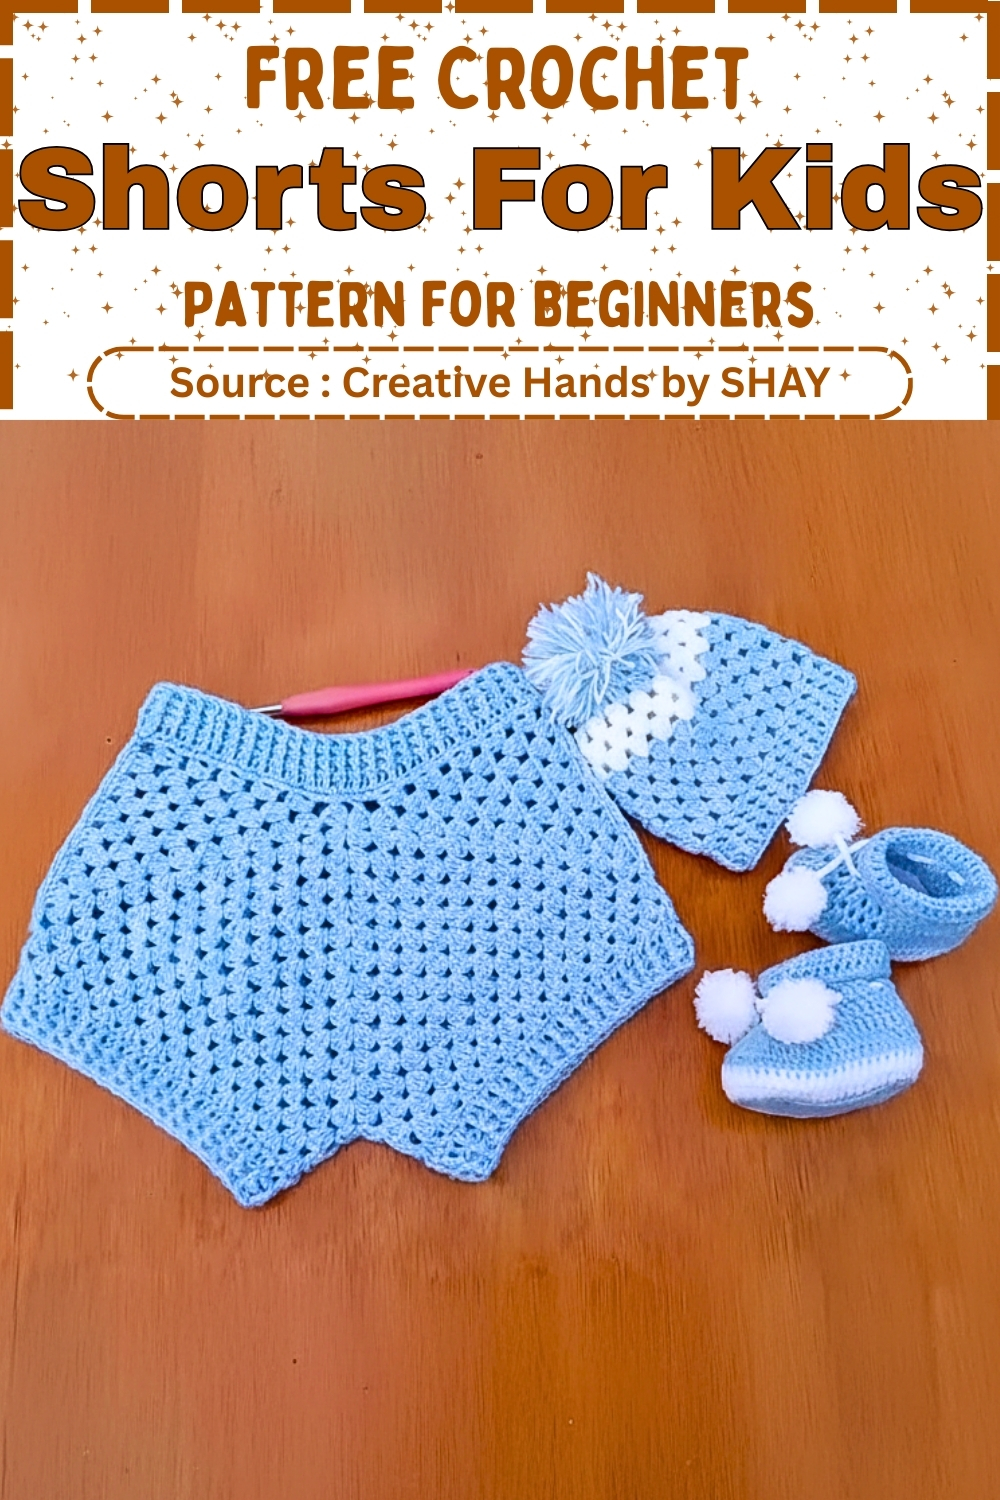
These shorts are built from two simple granny-style panels that grow outward evenly and then fold into shape. Understanding this construction makes the pattern feel much calmer to follow, especially when you reach the joining stage. Once you see how the flat panels turn into leg openings and a waist, each step has a clear purpose and the shaping makes sense.
Pattern Overview
This design creates soft crochet shorts suitable for babies aged 0 to 3 months. The fabric is light, flexible, and comfortable against the skin. The legs and waist are finished with post-stitch ribbing, which helps the shorts stay in place without feeling tight.
The pattern is worked in three main phases:
- Creating two identical diaper panels
- Joining the panels and forming the legs
- Building and finishing the waistline
Materials
- Lightweight yarn suitable for a 3.5 mm hook
- 3.5 mm crochet hook
- Scissors
- Yarn needle
The Diaper Section Make 2 Pieces
- This section forms the base of the shorts. Each panel grows like a modified granny square, which allows the fabric to expand evenly without shaping math.
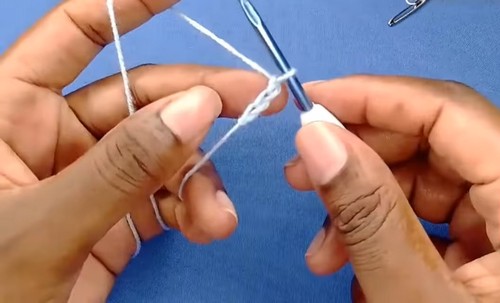
- Start with a foundation chain of 4 and work 2 double crochets into the first chain, with the remaining 3 chains counting as the first double crochet to form 3 double crochets total
- Chain 2 and work 3 double crochets into the same space, repeating until four sets of 3 double crochets are formed, then chain 2 and slip stitch to close the round
- Chain 4 to begin the next row, work a corner of 3 double crochets, chain 2, and 3 double crochets in each corner space, separating corners with chain 1
- End the row by completing the final corner partially, chaining 1, and placing one double crochet into the starting chain
- Chain 3 and turn, work 2 double crochets into the chain space, then continue with corner stitches and 3 double crochets in each chain space across
- Repeat the granny square growth pattern until 12 rows are completed or the panel measures approximately 15 cm in length
- Make a second identical panel
Stitch and Shaping Clarity
- Each corner creates expansion.
- The chain spaces act as flexible joints, allowing the panel to grow without stiffness.
- Turning the work helps keep the panels square and prevents twisting as the size increases.
Joining and Creating the Legs
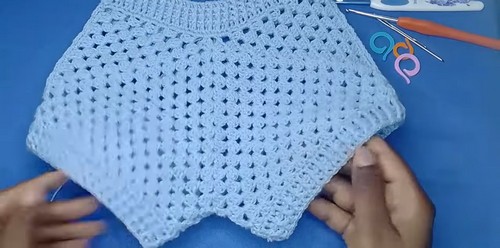
- This stage transforms flat panels into wearable shorts.
- Place both panels together and join along the sides using chain 3 and single crochet stitches, leaving openings for the waist and legs
- Attach yarn at a leg opening and work 3 double crochet granny clusters into each chain space without chaining between clusters
- Continue for 4 rounds to form the leg section
- Work one full round of double crochet in every stitch
- Finish the leg with 2 rounds of alternating front post double crochet and back post double crochet to create ribbing
- Repeat the same steps for the second leg
Why This Works
- Joining along the sides creates the crotch depth automatically.
- Working granny clusters without chains tightens the fabric slightly, which helps shape the leg without adding bulk.
- The ribbing adds stretch while keeping the leg openings neat.
The Waistline
- The waist is designed to be stretchy but secure.
- Attach yarn at the back waist and work 2 single crochets into each large space and 1 single crochet over each joining stitch around
- Work one full round of double crochet in every stitch
- Complete the waist by working 3 rounds of alternating front post and back post double crochets for a stretchy ribbed finish
Fit and Comfort Notes
- Post-stitch ribbing allows the waistband to stretch easily over diapers while still pulling back into shape.
- Starting at the back waist helps keep the join discreet.

Final Measurements 0 to 3 Months
- Waist to crotch length is approximately 15 cm
- Width is approximately 28 cm
Beginner Notes
- Keep stitch tension relaxed to avoid stiff fabric
- Count rows rather than relying only on measurements
- Matching panel size is more important than exact stitch count
Troubleshooting
- Panels curling: Light blocking or looser tension usually fixes this
- Uneven legs: Ensure both leg openings have the same number of rounds
- Tight waistband: Use a slightly looser tension on post stitches
Finishing Notes
- Weave in ends securely, especially around the crotch and waistband where movement is highest.
- A gentle steam block can help even the stitches, but avoid heat if using synthetic yarn.