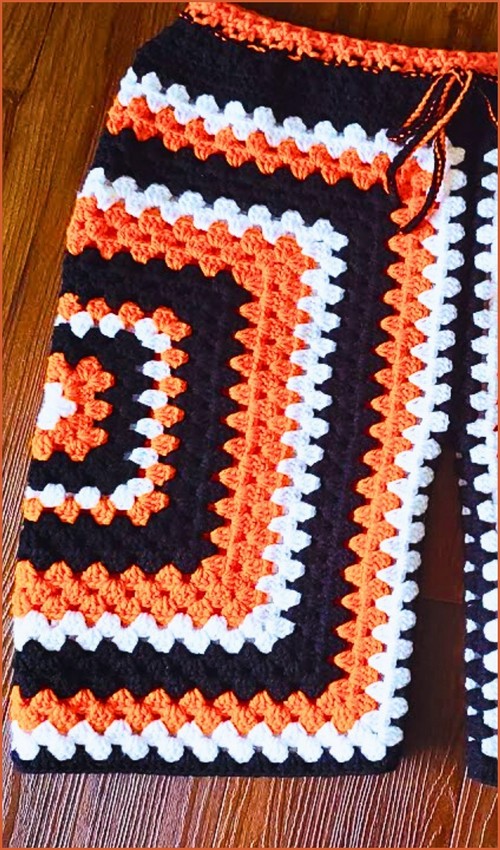
A matching set that covers three pieces at once, bralette, bell-sleeve bolero, and shorts — sounds ambitious, but the repetition of working the same yarn and stitch throughout actually makes the project more streamlined than it looks. The large mesh on the sleeves creates a striking contrast against the denser fabric of the bodice and shorts. For another crochet set pairing a top with a bottom piece, the granny square top and skirt set shows how far a single stitch motif can stretch across an outfit.
Crochet Top With Linen Shorts

The drawstring waistband on the shorts makes sizing flexible, which is a practical detail worth noting if you’re adjusting for fit. The high-waisted crochet shorts are worth bookmarking if you want to make the shorts portion as a standalone piece.
Materials
Cotton yarn in red, white, gray, and yellow
450g size 7 jumbo chenille yarn in blue
Appropriate hook sizes for selected yarns
Plastic canvas (for internal structure)
Needle for assembly
Helpful Stitches to Know
Shaping the Breast Cups
- Working with half double crochet (hdc) provides a denser fabric than double crochet, offering more coverage while maintaining the flexibility needed for a garment.
The Foundation
Chain 5.
- Work half double crochet stitches across each row.
Increasing for Width
- Row 1 and beyond: Increase by placing two half double crochets in the first and last stitch of every row.
- Teacher’s Note: Placing increases at the very edges ensures the cup expands outward symmetrically. If you find your edges becoming wavy, ensure your tension remains consistent, as hdc stitches can sometimes loosen at the start of a row.

Continue increasing until the cup measures approximately 3.5 to 4 inches wide.
Decreasing for Length
- Once you have reached the necessary width, you will shift from widening the piece to tapering it.
- Next Rows: Begin decreasing by crocheting two stitches together (hdc2tog) at the start and end of each row.
- Continue until the cup reaches about 7 inches in total length.
The Finishing Border
- Work a single crochet border evenly around the entire cup.
- Troubleshooting: When working into the raw edges of the hdc rows, aim for roughly 3 single crochets for every 2 rows of hdc. This prevents the border from ruffling or pulling the cup too tight.
- Repeat the same steps to create a second cup.
- If you’re new to reading crochet patterns, don’t worry, just follow along with the video tutorial below and use the written pattern as a reference!
Joining and Bodice Construction
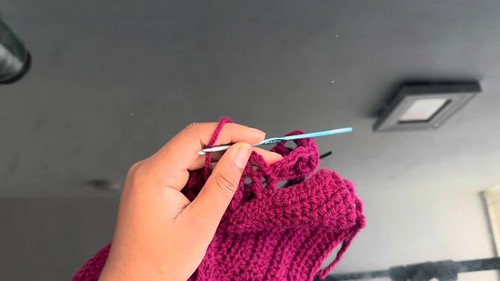
The transition from individual cups to a single garment requires careful alignment to ensure the bodice sits level against the ribs.
Assembly
Place both cups side by side and stitch them together at the center.
Leveling the Edges
- Attach yarn to the side of the joined cups.
- Work rows of half double crochet using a split stitch technique to straighten the curved edges.
- Clarity on Technique: The “split stitch” (working between the V of the stitch below) provides extra stability. To “level” the edge, you may need to use shorter stitches (like single crochet) on the high points of the cup and taller stitches (like hdc or dc) in the valleys until the top edge is a straight line.
- Continue until both sides form a level edge.
Back Length and Fit
- From each side of the bodice, chain approximately 26 to 30 stitches for the back length.
- Work half double crochet rows back and forth until the bodice fits your desired size.
Long Mesh Sleeves
- The mesh stitch is ideal for sleeves because it provides maximum airflow and a beautiful drape that doesn’t feel heavy on the arms.
Armhole Foundation
- Chain a length of approximately 12 inches for the shoulder.
- Attach the chain from the front to the back of the bodice to form the armhole.
Creating the Mesh

- Work around the armhole using the pattern: double crochet, chain 3, skip 3.
- Continue this mesh pattern evenly around.
Tapering and Flaring
To create a sophisticated silhouette, we will adjust the “bridge” of the mesh rather than the stitches themselves.
For the forearm: Gradually reduce the number of chains between double crochets (e.g., move to ch-2 or ch-1) to taper the sleeve toward the wrist.
For the cuff: Increase the chains again near the end to create a flared bell-shaped cuff.
Matching Shorts

The shorts are designed with a “ribbed-first” approach, ensuring they stay secure at the waist without sacrificing comfort.
Ribbed Waistband
Chain 12.
- Work double crochet stitches through the back loop only (BLO) to create a ribbed texture.
- Why BLO? Working in the back loops creates a ridge that mimics knit ribbing. It is significantly more elastic than standard double crochet, allowing the waistband to stretch over the hips and snap back to the waist.
- Continue working rows until the band comfortably fits around the waist.
- Stitch both ends of the waistband together to form a circle.
Shorts Body
- Attach yarn and work double crochet stitches evenly around the waistband.
- Hip Increases: Around row 4 or 5, begin increasing by placing two double crochets in one stitch every 10 to 15 stitches.
- Sizing Tip: If you prefer a “booty short” fit, keep increases minimal. For a relaxed, flowy fit, increase every 8 stitches to add more volume around the hips.
- Continue working evenly until reaching the desired length before the crotch.
Separating the Legs
- Chain 8 to 10 stitches across the center to create the crotch bridge.
- Attach yarn to one leg opening.
- Work double crochet stitches in the round until the leg reaches the desired length.
- Repeat the same steps for the second leg.
Finishing
Crochet a long chain and weave it through the waistband to create an adjustable drawstring. This adds an extra layer of security to the ribbed band.