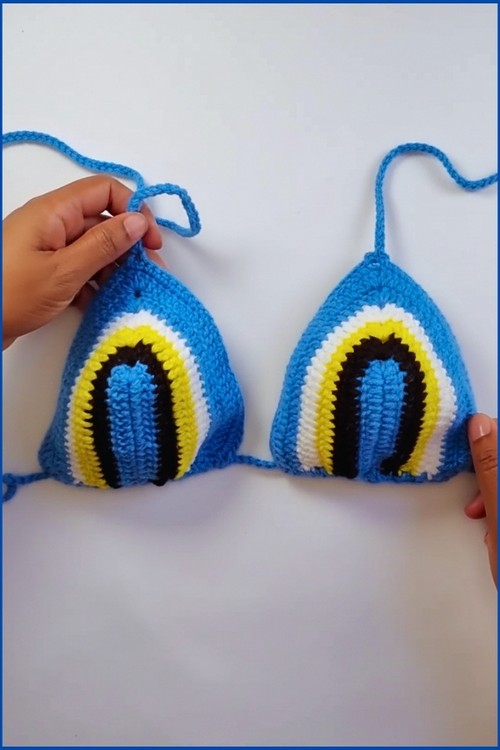
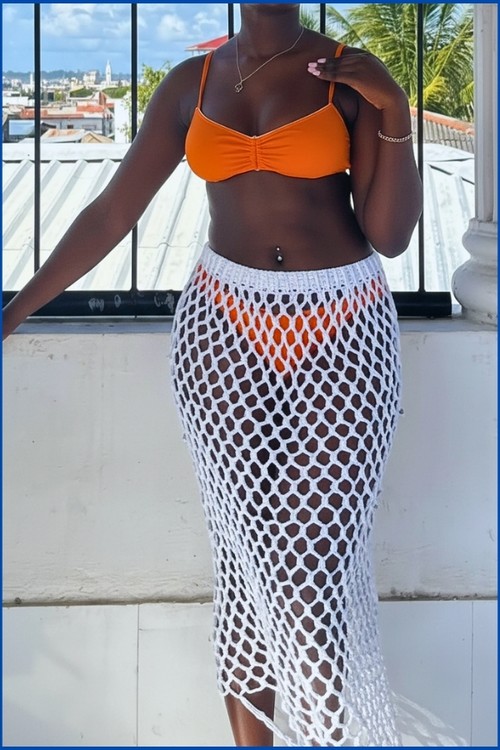
Crochet Swimwear Plus Size
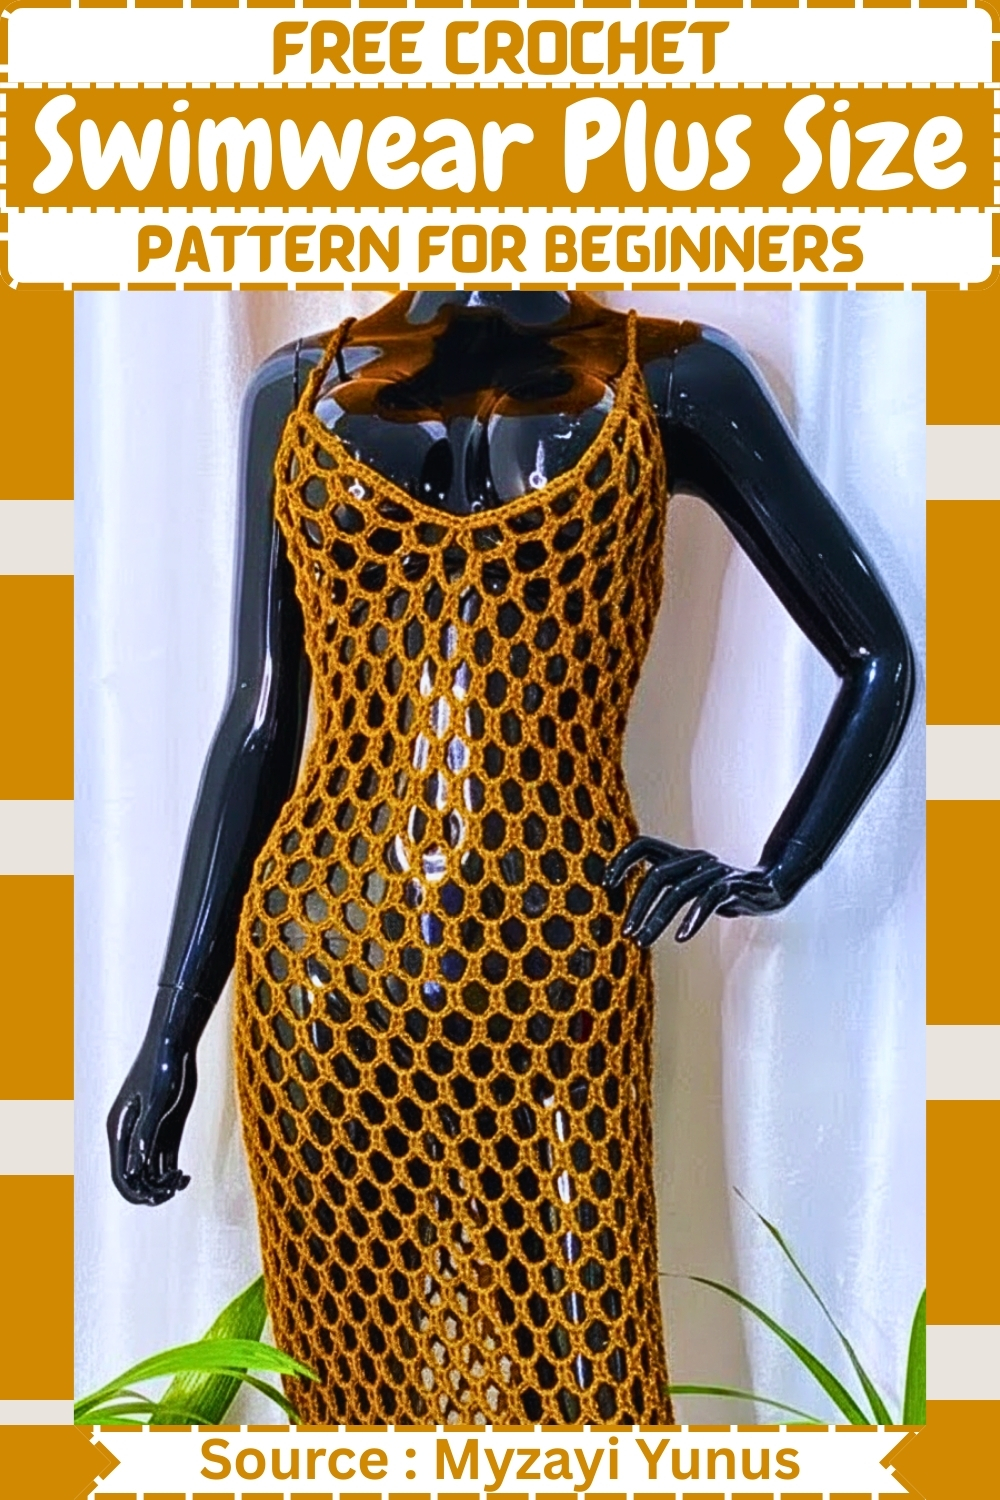
Because every row is open mesh, tension matters more than stitch count here pull too tight and the holes shrink, work too loose and they gape more than intended. Wear it over the swimwear top and bottom set for full support underneath, with the mesh doing the styling on top.
Materials
- Yarn approximately 40 g lightweight yarn
- 4.0 mm crochet hook
- Scissors
- Stitch marker
Stitches Behind the Design
Neckline and Triangle Panels
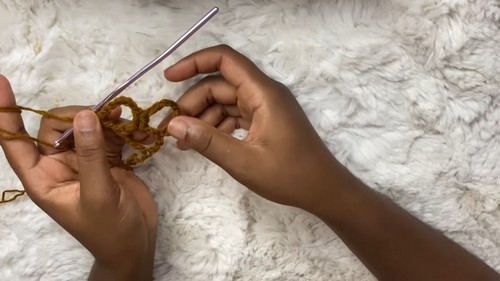
- Make a slip knot and chain 9
- Work 1 treble crochet into the first chain to create the first mesh space
- Chain 9, turn, place 2 double crochets into the chain space, chain 7, and work 1 treble crochet into the same space
- Chain 9, turn, place 2 double crochets in the first space, chain 7, place 2 double crochets in the next space, chain 7, and finish with 1 treble crochet in the last space
- Continue increasing each row by starting with chain 9 and ending with a treble crochet in the final space
- Work 6 rows for small, 7 rows for medium, or 8 to 9 rows for large
- Make two identical triangle panels
Stitch and Shaping Clarity
- Each triangle grows outward by adding one new mesh space per row.
- The chain 9 at the start creates height and width at the same time, while the treble crochet at the end anchors the edge cleanly.
- Keeping your tension even here is important, especially with lightweight yarn, so the triangles stay balanced and symmetrical.
- When working multiple sizes, focus less on row count alone and more on how the triangle covers the bust area.
- The row counts provided give structure, but the shape should feel supportive rather than stretched.
- Still getting the hang of reading crochet patterns? That’s completely okay, the video tutorial below breaks everything down in a simple, beginner-friendly way!
Joining the Neckline
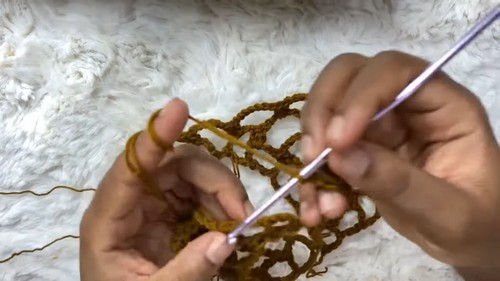
- Keep yarn attached on the second triangle panel
- Use the yarn tail from the first panel to join both pieces at the corners with slip stitches
- Ensure the neckline opening sits evenly before continuing
Fit and Alignment Notes
- Before committing to the join, lay both triangles flat and check that the points and edges align evenly.
- An uneven join here can cause the neckline to twist when worn.
- Slip stitches should be firm but not tight, allowing the mesh to sit flat across the chest.
Expanding the Upper Body
- Continue the mesh pattern across both joined panels
- Start each row with chain 9 and work 2 double crochets into each mesh space with chain 7 between
- Work 2 rows for small, 3 rows for medium, or 4 rows for large
Why This Step Matters
- This section transitions the piece from structured bust shaping into body coverage.
- The added rows provide stability across the ribcage and prevent the triangles from pulling upward.
- For plus-size wearers, this step is especially important for comfort and security.
Joining for the Hips
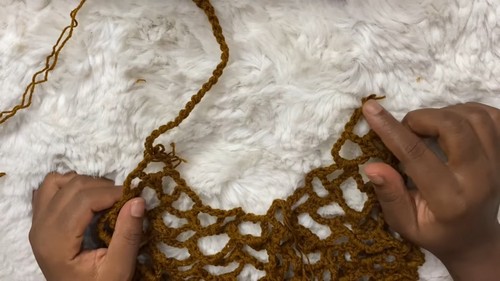
- Chain a bridge on each side to match your hip measurement
- Use chain multiples of 5 for the bridge
- Slip stitch the bridge chains to the opposite side to form a tube
Fit and Sizing Guidance
- This is the most customizable part of the pattern.
- Measure around the widest part of your hips and create bridge chains that match that measurement without stretching.
- Multiples of 5 help maintain even spacing in the mesh once rounds begin.
- If between measurements, slightly longer chains provide a more relaxed fit.
Working the Maxi Skirt in Rounds
- Begin working in continuous rounds without turning
- Chain 7 and place 2 double crochets in the next space
- Repeat the pattern around the dress
- Over the bridge chains, chain 7, skip 4 stitches, and place 2 double crochets into the fifth stitch
- Place a stitch marker at the start of the round
- Continue repeating rounds until your desired dress length is reached
Stitch Flow Explanation
- Working in continuous rounds prevents visible seams and keeps the skirt drape smooth.
- The stitch marker helps track round beginnings, which can otherwise disappear in mesh patterns.
- Over the bridge chains, skipping stitches maintains consistent spacing so the skirt does not flare unevenly.
Finishing and Straps
- Create long chain straps at the top corners for tying the dress
- Work a round of single crochets along the neckline mesh spaces if a cleaner edge is desired
- Fasten off and weave in all ends

Finishing Notes
- Strap length is personal. Longer ties allow for multiple wrapping options around the neck or back, offering better support for fuller busts.
- A single crochet edging along the neckline adds structure and reduces stretch over time, especially when worn in water.
Beginner Notes
- Lightweight yarn can feel slippery at first. Slow, steady stitching helps keep mesh spaces even.
- Count mesh spaces rather than stitches to stay oriented.
- Always check fit before moving from flat work to rounds.
Troubleshooting
- Neckline feels uneven: Check that both triangles have the same row count and tension.
- Skirt pulling at hips: Add a few extra chain stitches to the bridge for ease.
- Mesh looks loose: Slightly tighten your chain tension while keeping double crochets relaxed.
This pattern is designed to adapt to real bodies through adjustable shaping rather than fixed measurements. Taking time to check fit at each joining point will result in a swimwear piece that feels secure, balanced, and comfortable to wear.