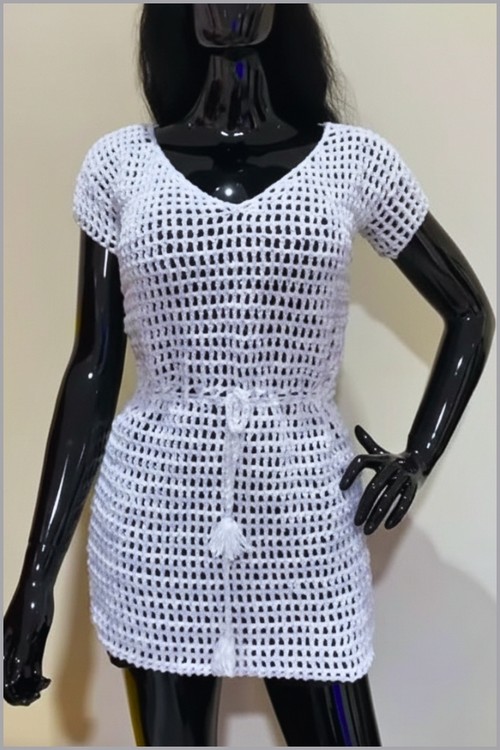
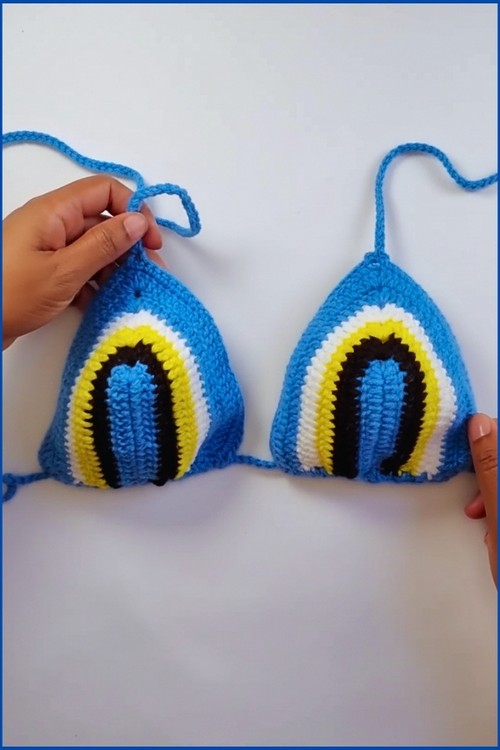
A solid crochet bikini is the make that proves you don’t need a fancy stitch to get a polished result — just clean rows and good cotton. This mustard set has a warm, retro-summer feel, with molded triangle cups up top and cheeky tie-side bottoms finished with little tassels. It reads more advanced than it is, and it sits nicely beside this striped triangle-cup bikini top if you’re deciding which cup style you like better.
Crochet Swimsuit For Summer
 Both pieces are built almost entirely from single crochet, which is exactly why it earns the beginner-friendly label — dense, even rows give the fabric enough structure to hold its shape and stay opaque where you want it. The bottoms grow from the back panel down to a narrow gusset, the cups build outward from a point, and the ties are simple chains you can lengthen to fit. No shaping tricks, just rows you can settle into.
Materials
- Yarn: Cotton yarn (ideal for swimwear as it holds its shape when wet).
- Hook: 2.5 mm crochet hook.
- Extras: Scissors and a tapestry needle for weaving in ends.
Before You Start
What you are making
This bikini bottom is worked in three main sections that all grow from the same small foundation.
- Crotch foundation (a short rectangle in HDC)
- Front panel (still HDC, widened with increases)
- Back panel (DC, widened more boldly for coverage)
Then you add a side clean up border and a decorative shell edging at the top.
Why the pattern switches stitches on the back
The front stays in half double crochet because HDC gives a denser fabric and a flatter look across the front. The back switches to double crochet so the height builds faster, which helps you reach a high waist without needing an excessive number of rows.
A quick sizing mindset
The draft references size Small for the crotch length (12 rows). Everything after that is adjustable by trying it against your body or a similar pair of bottoms. If you want more coverage or a higher waist, you simply work more rows. If you want less coverage, stop earlier.
Pattern

Part 1: The Crotch Foundation
- Foundation Chain: Start with a slip knot and chain 10.
- Row 1: Chain 2 (this counts as your first stitch). Skip 2 chains from the hook and work a half double crochet (HDC) into the third chain. Continue placing one HDC in each chain across.
- Rows 2–12: Chain 2 and turn your work. Work one HDC into every stitch across. For a size Small, the creator completes 12 rows of straight HDC to create the base of the crotch before starting any increases.
- If you’re a beginner and crochet patterns feel confusing, start with the video tutorial below, it’s the easiest way to learn as you go!
Part 2: The Front Panel (Increasing)
- Initial Shaping: To begin widening the front, chain 2 and turn. Place an HDC in the very first stitch (the same space as the chain). This counts as an increase. HDC across the row until the very last stitch, then place 2 HDCs in that final stitch.
- Alternating Increases: To ensure the front isn’t too wide too fast, follow an alternating pattern for the next 6 rows:
- Row A: Increase (2 HDC in the first and last stitch).
- Row B: Normal (1 HDC in every stitch, no increases).
- Repeat this until you have completed about 6 rows of this alternating sequence.

Final Front Shaping: After the first 6 rows, switch to increasing every single row (2 HDC in the first and last stitch of every row). Continue this until the front panel reaches your desired height and width (the creator goes up to about row 28 or 29 total).
Part 3: The Back Panel
- Setup: Flip your work over and attach your yarn to the bottom of the original 10-stitch foundation chain (the start of the crotch).
- Switching Stitches: The back panel uses Double Crochet (DC) to make it grow faster and provide a different look.
- Back Increases: To create the wider “cheeky” look of the back:
- Initial Rows: Place 3 DCs in the first stitch and 3 DCs in the last stitch of the row.
- Middle Rows: Alternate between rows of 3-DC increases and rows of 2-DC increases (2 DCs in the first/last stitch).
- Continue this pattern for approximately 29 rows or until it matches the height of your front panel.
Part 4: The Decorative Edging
Side Border: Work along the raw side edges of the bikini with HDC.
- In the Double Crochet sections, place 2 HDCs per row.
- In the Half Double Crochet sections, place 1 HDC per row. This cleans up the edges.
Shell (Fan) Stitch Top: Once you reach the top edge, create the decorative “fan” border:
- In the corner, work 3 HDCs.
- The Shell: Skip 2 stitches, then work 5 Double Crochets into the exact same stitch.
- The Gap: Skip 2 stitches, then Single Crochet into the next stitch.
- Repeat this pattern (Skip 2, 5 DC in one, Skip 2, 1 SC) all the way across the top of both the front and back panels.
Stitch and Shaping Clarity

The crotch base sets your fit
Those first 12 rows are doing more work than they seem. They determine:
- how wide the bottom feels between the legs
- how stable the piece is before you start shaping
- how neatly the front and back panels can expand
If your crotch area tends to feel tight in handmade swimwear, this is the section you would lengthen by adding rows. If it tends to feel bulky, you would reduce rows.
Understanding the front increases
- When you place an HDC in the first stitch and then 2 HDC in the last stitch, you are widening both sides evenly.
- That matters because it helps the front panel stay centered instead of drifting to one side over time.
- The alternating rows are a smart control step.
- They slow the flare, which keeps the front from turning into a wide triangle too early.
Why the back uses bigger increases
- The back is meant to spread and cover more quickly.
- Working 3 DC in the first and last stitch pushes that shape outward fast.
- Alternating between 3-DC and 2-DC increase rows gives you a gradual transition instead of a sudden ruffle.
- If you ever notice the back edge starting to ripple, it usually means the increases are outpacing the fabric’s ability to lay flat.
- The alternating approach helps prevent that.

Fit and Sizing Guidance
How to decide when to stop the front panel
Stop when the front panel reaches the height you want for coverage and waist rise.
A practical way to check:
- hold the crotch section in place
- bring the front panel up toward your waist
- check if the width looks right at the hip line
- check if the top edge will sit where you want it
If you want a higher waist, you continue rows. If you want a lower rise, stop earlier.
Matching front and back height
- The draft notes about 29 rows on the back or “until it matches the height of your front panel.”
- That matching is important because if the back is shorter, it will pull down; if it is taller, it can gap or bunch at the waist.
- A simple check is to fold the piece in half at the crotch and see if the top edges align.
Beginner Notes That Prevent Common Mistakes
Chain 2 turning chain confusion
This pattern says “chain 2 counts as your first stitch” and also says “place an HDC in the very first stitch (same space as the chain)” when increasing.
That can feel contradictory if you are used to skipping the first stitch.
Here is the practical interpretation that keeps your edges consistent:
- on normal rows, your chain 2 stands in as the first stitch
- on increase rows, you are intentionally adding an extra stitch at the edge by working into that first stitch space
If your edge looks like it is growing too fast, double check whether you are accidentally increasing on rows that should be normal.
Keeping sides smooth
Especially on the back DC section, keep your tension steady. Loose edges can make the sides look wavy. Tight edges can make the sides curl inward.
Troubleshooting
My front panel is getting too wide too soon
- Make sure you really are alternating Row A and Row B for the first set.
- If it still feels wide, you can extend the alternating section longer before switching to increases every row.
My back looks ruffled or wavy
- This usually means too many increases too quickly.
- Check that you are alternating 3-DC increase rows with 2-DC increase rows as written.
- Also check your tension. DC can loosen up compared to HDC.
My sides look uneven after edging
- On the DC side, placing 2 HDC per row helps fill in the taller row height.
- On the HDC side, 1 HDC per row prevents overcrowding.
If you reverse those counts, the edging can pucker or stretch.
Finishing Notes
Weaving in ends for swimwear
Since this is swimwear, take extra care with ends:
- weave through multiple stitches in different directions
- avoid leaving ends only along the edge where they can work loose
- consider weaving into the densest area of the fabric for security
About waist ties or elastic
Your draft does not include ties or elastic instructions, so I have not added them. If you want, you can tell me the exact method you plan to use (ties, elastic casing, or crocheted waistband), and I can add a matching finishing section without changing your base pattern.