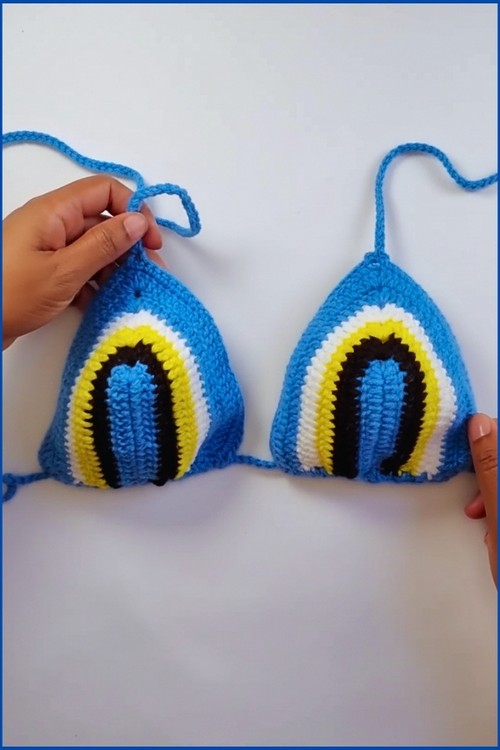
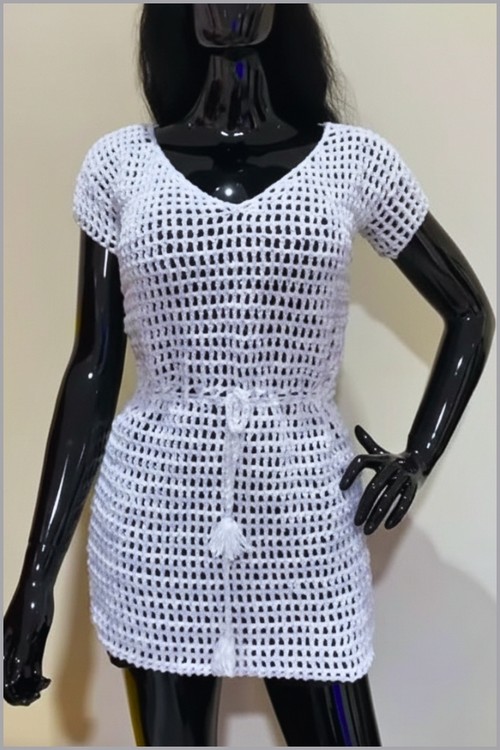
Elastic at the waist and legs is what separates a bikini bottom that actually stays put from one that doesn’t this pattern builds both channels right into the construction rather than adding them as an afterthought. The tan colorway gives it a neutral, mix-and-match quality, and it pairs naturally with the granny stitch bikini top for a contrast-texture set.
Crochet Bikini

The sizing works across a range because the elastic does the fitting work once the crochet is done useful if you’re making this as a gift or want one pattern to cover multiple sizes. For a tie-side alternative without elastic, the tie-side swimsuit bottom is worth bookmarking alongside this one.
Materials
- Cotton or bikini safe yarn
- Standard crochet hook
- Smaller crochet hook for elastic edging
- Flat elastic
- Paperclips
- Yarn needle
- Scissors
Before You Start
What you are making
- You will crochet two shaped panels (front and back).
- Each panel starts narrow and widens with increases.
- Then you connect the side gaps with chains, crochet a double crochet waistband around the top edge, and finish by single crocheting elastic into the waistband and leg openings.
How to use paperclips as stitch markers
- The paperclips are doing an important job early on: they help you identify a specific chain in your foundation so your first “real” stitches land in the correct place.
- If you lose that spot, the whole panel can shift by one chain and look slightly twisted at the start.
About “bikini safe yarn”
- Choose yarn that stays comfortable when wet and does not grow a lot with wear.
- If your yarn tends to stretch, the elastic step becomes even more important, and you may want a slightly snugger elastic measurement.
Fit And Sizing Guidance
Where sizing happens in this pattern
- Panel height and coverage come from how many rows you work on the front and back.
- Width and hip fit come from the increases and the side chains.
- Security and “hug” come from the elastic you crochet in.
The easiest way to size it
Use a pair of underwear or a bikini bottom you like as your guide:
- Match the front panel coverage to the front of your reference piece.
- Match the back panel coverage to the back of your reference piece.
- Use the side gap measurement from your reference piece before you chain to connect the corners.
How much to adjust for larger sizes
Your draft already includes the key sizing note: add rows where needed. The cleanest approach is to keep the shaping the same and adjust with extra rows in the specified places, so the curve stays smooth.
Pattern Instructions

Front Panel
- Chain 10 and place a paperclip in the 9th chain from the hook
- Chain 3 and double crochet into the 9th chain, then double crochet across the row
- Chain 3, turn, and double crochet in each stitch for a total of 4 rows with 10 double crochets
- Chain 3, turn, double crochet into the first stitch to increase, double crochet across, and place 2 double crochets in the last stitch
- Continue increasing by 2 stitches in every row for 8 more rows
- Chain 4, turn, work single crochet back into the third chain, single crochet once more, then double crochet across
- Attach a second strand of yarn near the end of the row, chain 4, fasten off, then continue double crocheting into the new chains and finish with 2 single crochets
- Repeat the widening row once more and add extra rows here for larger sizes if needed
- Reading crochet patterns can be tricky when you’re just starting out, feel free to follow the video tutorial below instead!

Front panel notes that help while you crochet
- Counting rows matters here. The first section is meant to be steady and even (the “total of 4 rows with 10 double crochets”), then the widening begins.
- The increase row is doing two things: it adds width and it starts shaping for coverage. If your edges start looking wavy, check that you are adding exactly one increase at each end.
- That chain 4 turning moment is a shaping move. The two single crochets worked back into the chain create a smaller, firmer corner before you return to double crochet.
- When you attach the second strand, keep it neat. You want the join to feel secure because this area will be pulled when you add elastic later.
Back Panel
- Turn the work and attach yarn to the bottom of the original foundation chain
- Increase by 2 double crochets in every row, one at each end, for the desired number of rows
- Add approximately 3 extra rows for each size increase
- Repeat the same widening technique used for the front panel to finish the back section
Back panel notes that help with fit
- The back often needs more height than the front for comfortable coverage.
- Adding rows here is normal and expected.
- Keep the increases consistent at both ends so the back stays symmetrical and does not lean.
Connecting The Sides
- Try on the piece or measure against well fitting underwear to determine the side gap
- Chain the required number of stitches to connect the back corner to the front corner
- Double crochet evenly around the entire top edge to form a continuous waistband
- Work a second full row of double crochet around the waistband

Side connection notes
- The side chain length controls how high the sides sit on your hips.
- If you want higher sides, use fewer chains. If you want more side coverage, use more chains.
- When you double crochet around the top edge, focus on even spacing.
- If you cram too many stitches into a small area, the waistband can flare. If you place too few, it can pull tight.
Adding The Elastic
- Measure around the hips where the bikini will sit and cut elastic shorter so it fits snugly
- Switch to a smaller hook and single crochet twice into each stitch while trapping the elastic inside
- Gently stretch the elastic as you work to maintain even tension
- Repeat the same process around the leg openings, adjusting the elastic as you crochet
- Secure the elastic with a tight knot once the edging is complete
Elastic tips for a clean, comfortable edge
- Cutting elastic shorter is intentional. The elastic must be under slight tension to keep the bikini secure.
- Stretch the elastic gently and consistently. If you stretch it a lot in one area and not in another, the edge can feel tight in spots and loose in others.
- The smaller hook helps you keep the stitches snug around the elastic. If your stitches still look loose, size down again for the edging only.

Finishing
- Weave in all loose ends securely using a yarn needle
- Check fit and adjust elastic tension if needed before wearing
Beginner Notes
- Use stitch markers early. The paperclip marker is not optional if you tend to lose count in foundation chains.
- Try on before elastic. Elastic changes the fit. Make sure the panel size and side chains feel right before you lock everything in.
- Keep your edges tidy. Smooth edges make the waistband and elastic rounds easier and more even.
Finishing Notes For Long Wear
- Weave ends firmly, especially where you attached a second strand and where elastic begins and ends.
- After the first wear or rinse, re-check the elastic joins and knot, then reinforce if needed. Elastic areas take the most stress.