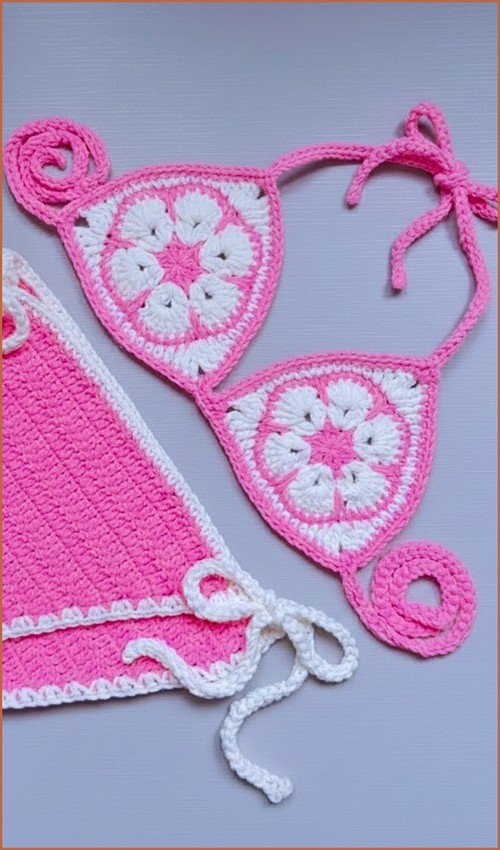
A deep V wrap front, cap sleeves, and a hem that hits mid-thigh this coverup reads more like a dress than a standard beach layer, and the open mesh grid keeps it light enough to throw on straight from the water. The crisscross front styling is built into the construction rather than added with ties, so the silhouette holds its shape on its own. For a different wrap approach in the same category, the mesh wrap top offers a fringe variation worth comparing.
Crochet Beach Cover Up Top

The square mesh repeat works up quickly and the stitch count stays consistent throughout no mid-row shaping interruptions once you’re past the foundation. If you want a coverup that skips the wrap construction entirely, the lace coverup is a straightforward alternative with a different texture.
Materials
- Size 4 acrylic or cotton yarn approximately 340 grams for size large or XL
- 4.25 mm crochet hook
- Stitch markers
- Scissors
- Yarn needle

Crochet Stitches Explained
Getting Started and Sizing
- Measure from shoulder to shoulder and add 7 inches to allow for ease and shrinkage
- Create a foundation chain using multiples of 3 plus 2
- For a size large chain 92 stitches
Sizing and Measurement Guidance
- The shoulder-to-shoulder measurement determines how the garment sits across the upper body, not the bust.
- Adding 7 inches creates ease so the mesh drapes instead of pulling across the shoulders.
- This extra width also allows the wrap fronts to overlap comfortably later.
- The “multiples of 3 plus 2” foundation is essential for keeping the mesh pattern aligned.
- If you change the width for a different size, always adjust in full repeats to avoid broken mesh boxes at the edges.
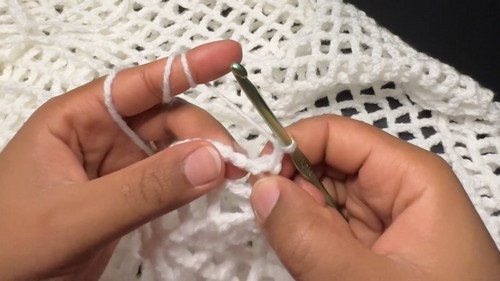
- Reading crochet patterns can be tricky when you’re just starting out, feel free to follow the video tutorial below instead!

Back Panel
- Double crochet into the 8th chain from the hook
- Chain 3 skip 2 chains and double crochet into the next chain
- Repeat the mesh sequence across the row
- Chain 6 and turn to begin the next row
- Double crochet into the next double crochet then chain 3
- Repeat across the row and finish with a double crochet into the turning chain
- Continue repeating this row until the panel reaches your desired length
- The sample size uses 57 rows for approximately 33 inches
Stitch and Shaping Clarity
- The first row sets the mesh spacing.
- Skipping to the 8th chain creates room for the chain-3 spaces that follow and prevents the edge from tightening.
- The chain-6 turn is intentional.
- Three chains replace the height of the double crochet, and the remaining chains form the first mesh space of the next row.
- This keeps both edges straight and prevents the panel from leaning.
- Repeating the same row structure creates a consistent mesh grid.
- Focus on keeping your chain-3 spaces even in height.
- Uneven chains are the most common cause of wavy edges in mesh fabric.
- Row count matters more than exact length.
- Matching the back panel row count later ensures the front panels align cleanly at the shoulders and hem.
Front Panels
- Count the total number of mesh boxes and divide them into three equal sections
- Assign one section to each shoulder and one section for the neckline opening
- Work the mesh pattern only across the first shoulder section for 10 rows
- To begin shaping the neckline chain 6 turn and double crochet in the same space
- Continue the mesh pattern toward the armhole keeping that edge straight
- Repeat the neckline increase for 5 rows to create a V shape
- Continue without increases until the front panel matches the back panel row count
- Repeat the same process for the second front panel on the opposite side
Understanding the Neckline Shaping
- Dividing the mesh boxes rather than stitch counts keeps the neckline centered and symmetrical.
- This matters more in mesh patterns, where visual balance is as important as stitch math.
- The neckline shaping happens only on the inner edge.
- Chaining 6 and working back into the same space adds width gradually without creating a sharp angle.
- This produces a smooth V instead of a pointed notch.
- Keeping the armhole edge straight is key.
- Resist the urge to adjust both sides.
- One edge shapes, one edge stays stable.

When both front panels match the back panel row count, the shoulder seams will sit evenly without twisting.
Assembly and Finishing
- Measure 8 inches down from each shoulder and mark armhole placement
- Seam the sides from the bottom up to the stitch markers using single crochet
- Lay the garment with the wrong side facing upward
- Cross the left front panel over to the right side and the right panel over to the left
- Secure the bottom corners and seam them together using single crochet through all layers
- Work a round of single crochet evenly around the front opening bottom hem and armholes to finish

Fit and Wear Notes
- The 8-inch armhole depth creates a relaxed fit suitable for layering. If you prefer a closer fit, reduce this measurement slightly, but keep both sides identical.
- Crossing the panels on the wrong side helps keep the overlap flat on the right side. Check the wrap direction before seaming permanently to ensure the overlap sits comfortably on your body.
- The single crochet edging stabilizes the mesh and prevents stretching at stress points like the armholes and front opening.
Beginner Notes
- This pattern assumes familiarity with double crochet and chain spaces, but the structure is repetitive and forgiving. Stitch markers can help track the first and last mesh box of each row, especially while shaping the neckline.
- If your mesh looks uneven early on, continue for a few rows before correcting. Mesh often settles once the fabric gains weight.
Troubleshooting
- Edges flaring: Chains may be too loose. Try tightening chain-3 spaces slightly.
- Neckline too wide: Reduce the number of increase rows, but keep both sides identical.
- Panels misaligned: Recount mesh boxes rather than stitches to restore symmetry.
Finishing Notes
- Block lightly if using cotton to help the mesh relax and align.
- Acrylic can be steam-blocked with care.
- Weave in ends along the single crochet seams for durability.