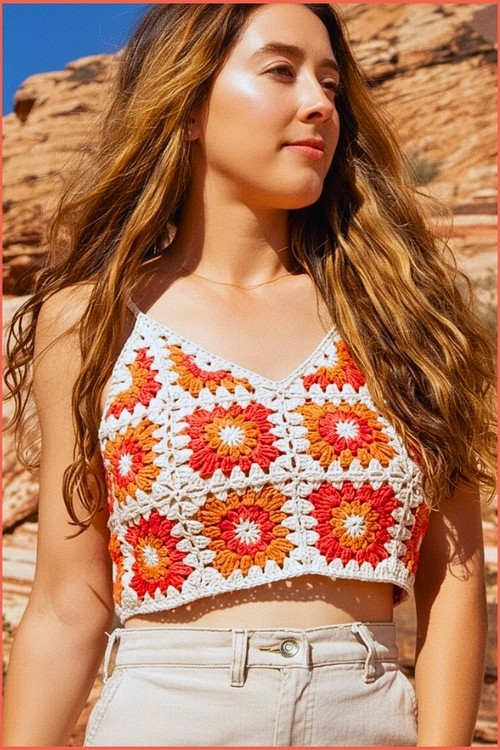
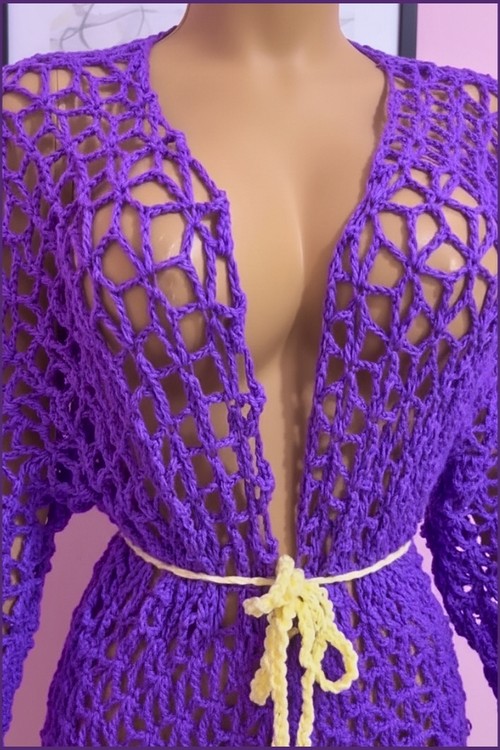
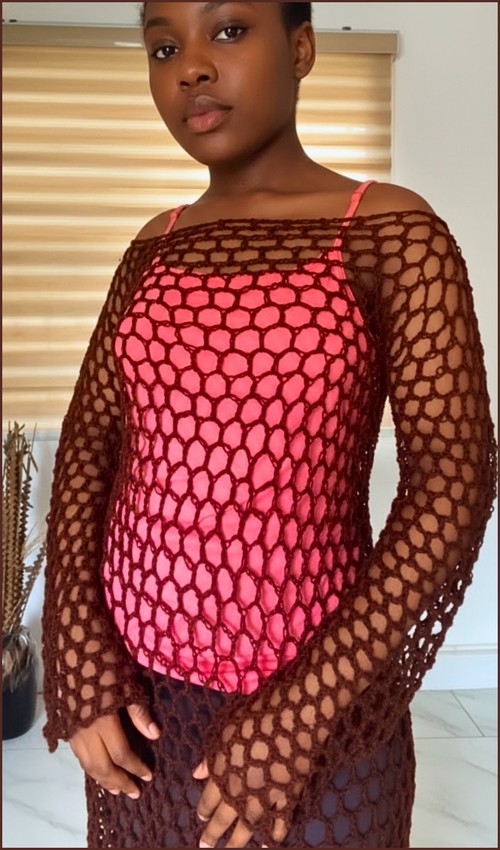
Working with open mesh can feel intimidating when you want a garment that looks intentional rather than accidental. A Crochet Sheer Top relies on balance. The spaces must be even, the fabric needs to drape instead of collapse, and the shaping has to stay stable without becoming stiff. This style uses a structured mesh repeat that keeps the openness controlled, so the finished top feels wearable, breathable, and well-formed instead of fragile or uneven.
Crochet Sheer Top

Open mesh garments often look simple, but many crocheters hesitate because they are unsure how spacing, turning chains, and neckline gaps will behave once worn. This design uses a repeatable double crochet mesh that grows evenly, stays flexible, and creates clean openings without cutting or rejoining yarn. Understanding how the mesh spaces work is the key to feeling confident while making this top.
Materials
- 6.5 mm crochet hook
- Yarn in your chosen color
- Darning needle
- Scissors

Pattern Construction Overview
- This garment is worked as one continuous piece.
- You crochet the front panel, shape the neck opening directly into the fabric, continue seamlessly into the back panel, and then fold and join the sides to create sleeves.
- There are no separate pieces to attach later.
- The sleeves are formed by working directly into the armholes after assembly, which keeps the structure clean and reduces finishing work.
Front Panel
- Start with a slip knot and chain half of your bust measurement or desired width
- Chain 9 more stitches
- Yarn over, skip the first 9 chains, and work one double crochet into the 10th chain
- Chain 3, skip 3 chains, and work one double crochet into the next chain
- Repeat chain 3, skip 3, double crochet across the row
- At the end of the row, chain 6 and turn
- Work one double crochet into the first mesh space
- Chain 3 and work one double crochet into the next mesh space
- Repeat this mesh pattern across the row
- Continue working rows in this manner until the panel reaches your desired length
Stitch and Shaping Clarity
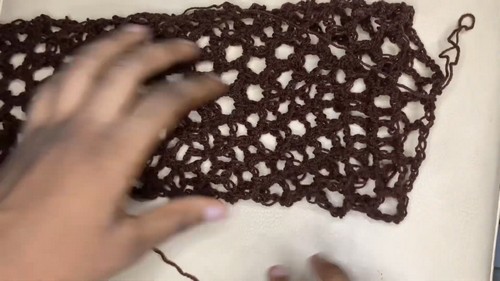
- The fabric is built using mesh spaces, not solid stitches.
- Each space is formed by chain stitches that act as flexible gaps.
- When you turn your work, you are always placing the next double crochet into a mesh space rather than into a chain itself.
- The chain-6 turn at the end of the row creates height and spacing at once.
- It functions as both a turning chain and the first mesh opening of the next row.

Neck Opening
- Work the mesh pattern normally across the first few spaces
- Identify the center section for the neckline opening
- Calculate the center chain by multiplying the number of middle spaces by 4 and adding 3
- Chain the calculated number and skip the center spaces
- Work one double crochet into the corresponding space on the opposite side
- Continue the mesh pattern to finish the row
- On the next row, work chain 3, skip 3 chains, and double crochet into the next chain across the long center chain
- Continue until the mesh pattern is restored
Understanding the Neckline Calculation
- Each mesh space spans four stitches worth of width when laid flat.
- Multiplying the number of skipped spaces by four accounts for this width, and adding three creates the correct turning and spacing for the mesh to reconnect smoothly.
- The long chain may look excessive at first, but it prevents pulling and keeps the neckline flexible once worn.
- On the following row, working directly into that chain rebuilds the mesh without gaps or puckering.
Back Panel
Continue working the mesh pattern for the same number of rows as the front panel
Fit and Length Notes
- Matching the front and back row counts ensures the shoulder seams align cleanly when folded.
- If you want extra back coverage, you may add rows here, but keep in mind that it will lower the armholes slightly.
Assembly and Sleeves
- Fold the piece at the shoulders
- Slip stitch the sides together from the bottom edge up to the armhole
- Do not cut the yarn at the armhole
- Chain 3 and work double crochet stitches into each mesh space around the arm opening
- Continue working in rounds using chain 3 and double crochet until the sleeve reaches your desired length
- Repeat the same process for the second sleeve
- Chain 3, slip stitch into the final space, chain 2, and fasten off
- Weave in all loose ends using a darning needle
Sleeve Construction Explanation
- Leaving the yarn attached allows the sleeve to grow naturally from the body.
- Working into mesh spaces instead of individual stitches keeps the sleeve opening even and prevents stiff edges.
- Because the sleeves are worked in rounds, the fabric drapes softly rather than flaring outward.
- You can stop after a few rounds for a short sleeve or continue longer for more coverage.
Beginner Notes
- Use stitch markers to track the center neckline spaces if counting feels confusing
- Keep chains relaxed to avoid a tight mesh
- Always insert double crochets into spaces, not directly into chain strands
Troubleshooting
- Neck opening feels too tight: The center chain may have been shortened. Make sure the calculation includes both the skipped spaces and the added three chains.
- Edges look uneven: This usually happens when double crochets are placed into chains instead of mesh spaces. Focus on the open gaps, not the strands.
- Sleeves feel stiff: Try loosening your tension or using a slightly larger hook just for the sleeve rounds.
Finishing Notes
- Block lightly if needed to help the mesh relax and open evenly.
- This design benefits from gentle shaping rather than heavy stretching.
- Once worn, the fabric settles naturally and becomes more comfortable with movement.