
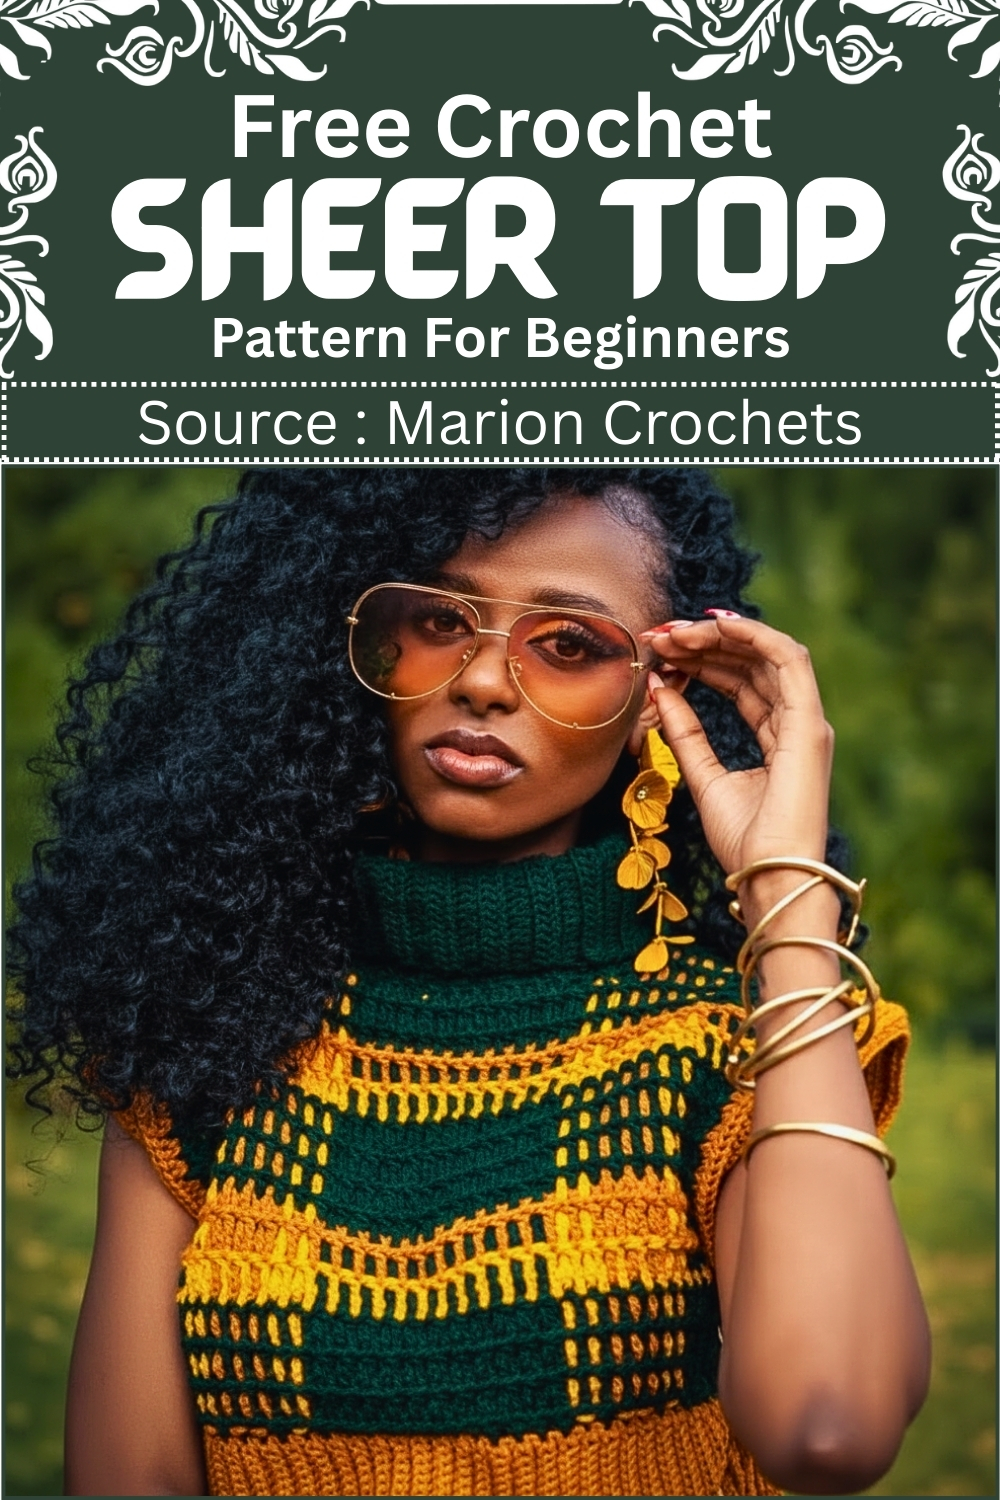
Robin acrylic in two colorways keeps the yarn weight consistent across the color bands, which matters for the ladder rows to sit evenly. For a turtleneck silhouette in a completely different stitch and color approach, the mesh turtleneck top wait, that’s this post’s own slug. Correcting: the cut-out front turtleneck top offers a modern turtleneck variation worth comparing.
Materials
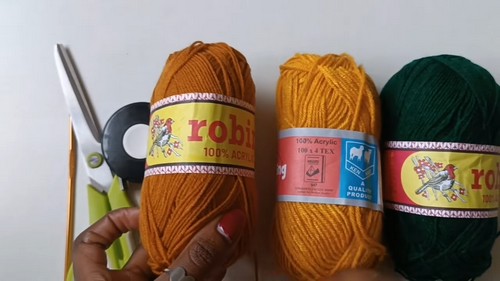
- Yarn 100 percent acrylic medium weight size 3 in three colors
- Crochet hook 3.5 mm
- Darning needle
- Scissors
- Measuring tape
Crochet Stitches at a Glance
Measurements and Fit Planning
Before you crochet a single stitch, the measuring stage sets the success of the entire top.
- Measure your bust and divide by two. This gives you the width of one flat panel (front or back).
- Subtract one inch to calculate the panel width. This negative ease helps the ribbing and mesh sit closer to the body instead of hanging loose.
- Decide the finished length of the top before starting. Because the body is worked straight upward, knowing your target length prevents having to unravel rows later.
Why this matters: This pattern relies on panels rather than shaping increases or decreases. Accurate width and length at the start ensure the top fits correctly once the front and back are joined.
Ribbing Bottom Band
The ribbing creates stretch and structure at the hem.
- Chain 11 to create the ribbing foundation
- Single crochet in the second chain from the hook and in each chain across
- Chain 1 turn and single crochet in the back loop only across
- Repeat the back loop single crochet rows until the strip reaches the required panel width
Working single crochet in the back loop only forms vertical ridges that stretch horizontally. This allows the bottom edge to hug the body without needing elastic.
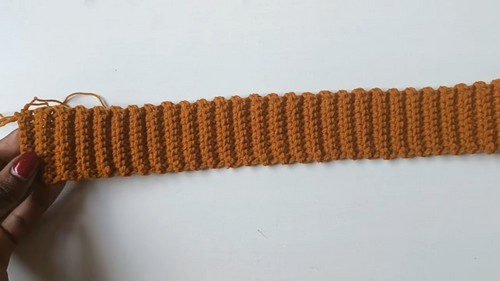
- Rotate the ribbing and work one row of single crochet evenly along the long edge
This turning step converts the ribbing strip into a foundation edge for the mesh body. Work evenly, aiming for one single crochet per rib to keep the mesh straight.
Mesh Body
- Attach the main color yarn
- Chain 3 to count as a double crochet and chain one
- Skip one stitch and work one double crochet into the next stitch
- Repeat double crochet chain one skip one across the row
This creates a classic open mesh. The skipped stitches create airflow and flexibility, which is important for comfort and layering.
- Continue working the same mesh pattern for each row
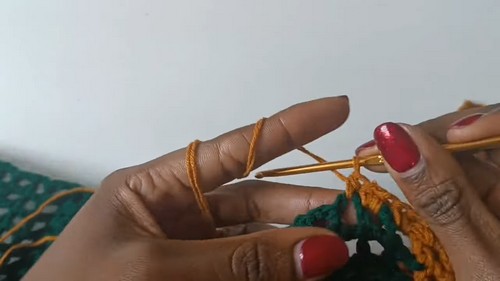
Keep your turning consistent so the mesh holes align vertically.
- Follow the color sequence of seven rows in the first color two rows in the second color and three rows in the third color
- Repeat the sequence until the panel reaches the desired height
The repeating color blocks are what later support the plaid effect when the chains are woven through.
- Never read a crochet pattern before? No problem! The video tutorial below is perfect for beginners, or give the written pattern below a try!
Shaping the Neckline
- Stop working in the center of the panel to leave an opening for the head
This creates a straight neckline opening rather than a scooped or curved shape.
- Continue working the mesh pattern on each side separately
- Complete two additional rows on each shoulder section
- Ensure the top section finishes in the main color
Working both sides separately maintains symmetry. Ending in the main color keeps the neckline visually clean once the collar is added.
Joining the Panels
- Place the front and back panels with right sides facing
- Single crochet the shoulder seams together evenly
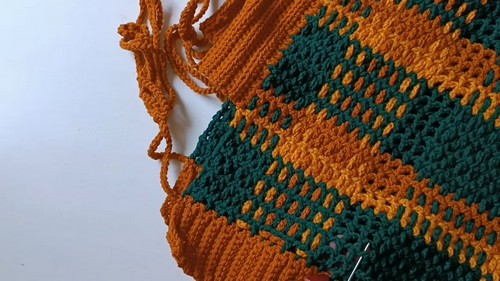
Single crochet seams add strength without bulk. Keep your stitch tension relaxed so the neckline opening does not tighten.
Shoulder Extensions and Straps
- Attach yarn at the side edge near the upper rows
- Work half double crochet stitches in the back loop only
- Repeat for six to seven rows to form ribbed extensions
Back loop half double crochet creates horizontal stretch and visual continuity with the bottom ribbing.
- At the end of each extension crochet long chains using tripled yarn
- Use the chains as adjustable side ties
Tripling the yarn adds durability so the ties do not stretch out with wear.
Turtleneck Collar
- Chain enough stitches to reach five to six inches in width
- Double crochet in the back loop only across each row
- Repeat until the strip fits comfortably around the head
Back loop double crochet creates vertical ribbing that stretches over the head while maintaining structure.
- Join the short ends to form a loop
- Sew the collar evenly around the neckline
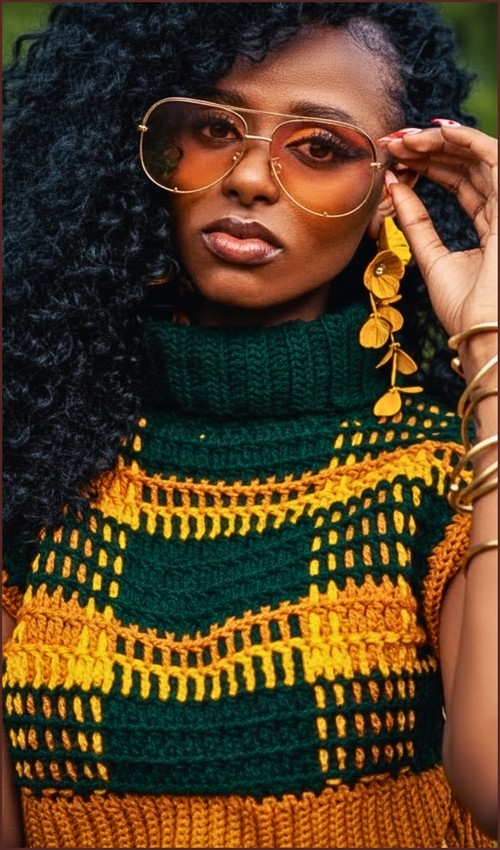
Sew slowly and evenly, matching stitch to stitch so the collar sits flat without rippling.
Creating the Plaid Texture
This step transforms the mesh into a plaid-style surface.
- Crochet very long chains in each of the three colors
- Thread the chains vertically through the mesh spaces using a darning needle
- Follow the horizontal color placement to form a grid pattern
The woven chains visually intersect with the horizontal color rows to create a plaid effect.
- Keep the woven chains loose to maintain stretch and prevent puckering
If the chains are pulled too tight, the fabric will lose elasticity and distort the mesh.
Stitch and Shaping Clarity
- Back loop stitches are used throughout to create stretch and texture without adding bulk.
- The mesh body stays completely straight. All shaping comes from stopping and starting rows rather than increasing or decreasing.
- The plaid effect is decorative and added after construction, so it does not affect fit.
Beginner Notes
- Count rows rather than relying only on visual length, especially during color changes.
- Use stitch markers at the neckline split to keep both sides even.
- Acrylic yarn works well here because it holds shape and color clearly in the plaid overlay.
Troubleshooting
- Ribbing feels too tight: Add one or two extra back loop rows before rotating the band.
- Mesh looks uneven: Check that you are consistently skipping one stitch between double crochets.
- Neck opening feels small: Lightly stretch the opening before attaching the collar, or loosen seam tension at the shoulders.
- Plaid puckers: Remove and re-thread the chains more loosely.
Finishing Notes
Weave in all ends before adding the plaid chains so nothing interferes with the grid pattern. Lightly block the panels flat before sewing the collar to help the neckline sit evenly. Avoid high heat when blocking acrylic yarn.


