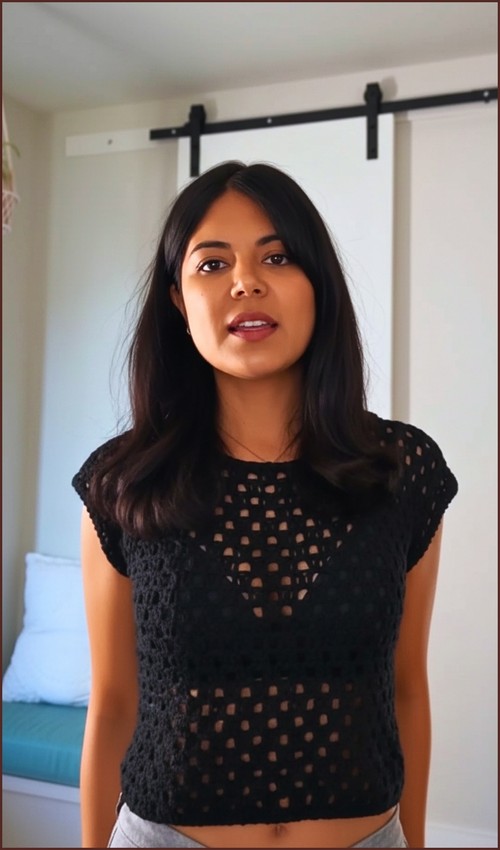
Where most granny-square tops stop at straps, this one adds a pair of soft flutter sleeves and a little collar turning the usual boho crop into something with a bit more coverage and a lot more seventies attitude. The palette leans full autumn: chocolate, caramel, and cream sunbursts stacked into a cropped body with a cheery striped band at the waist. If you like your granny squares with sleeves, this sleeved granny square top is its closest cousin on the site.
Crochet Granny Square Top Short Sleeves
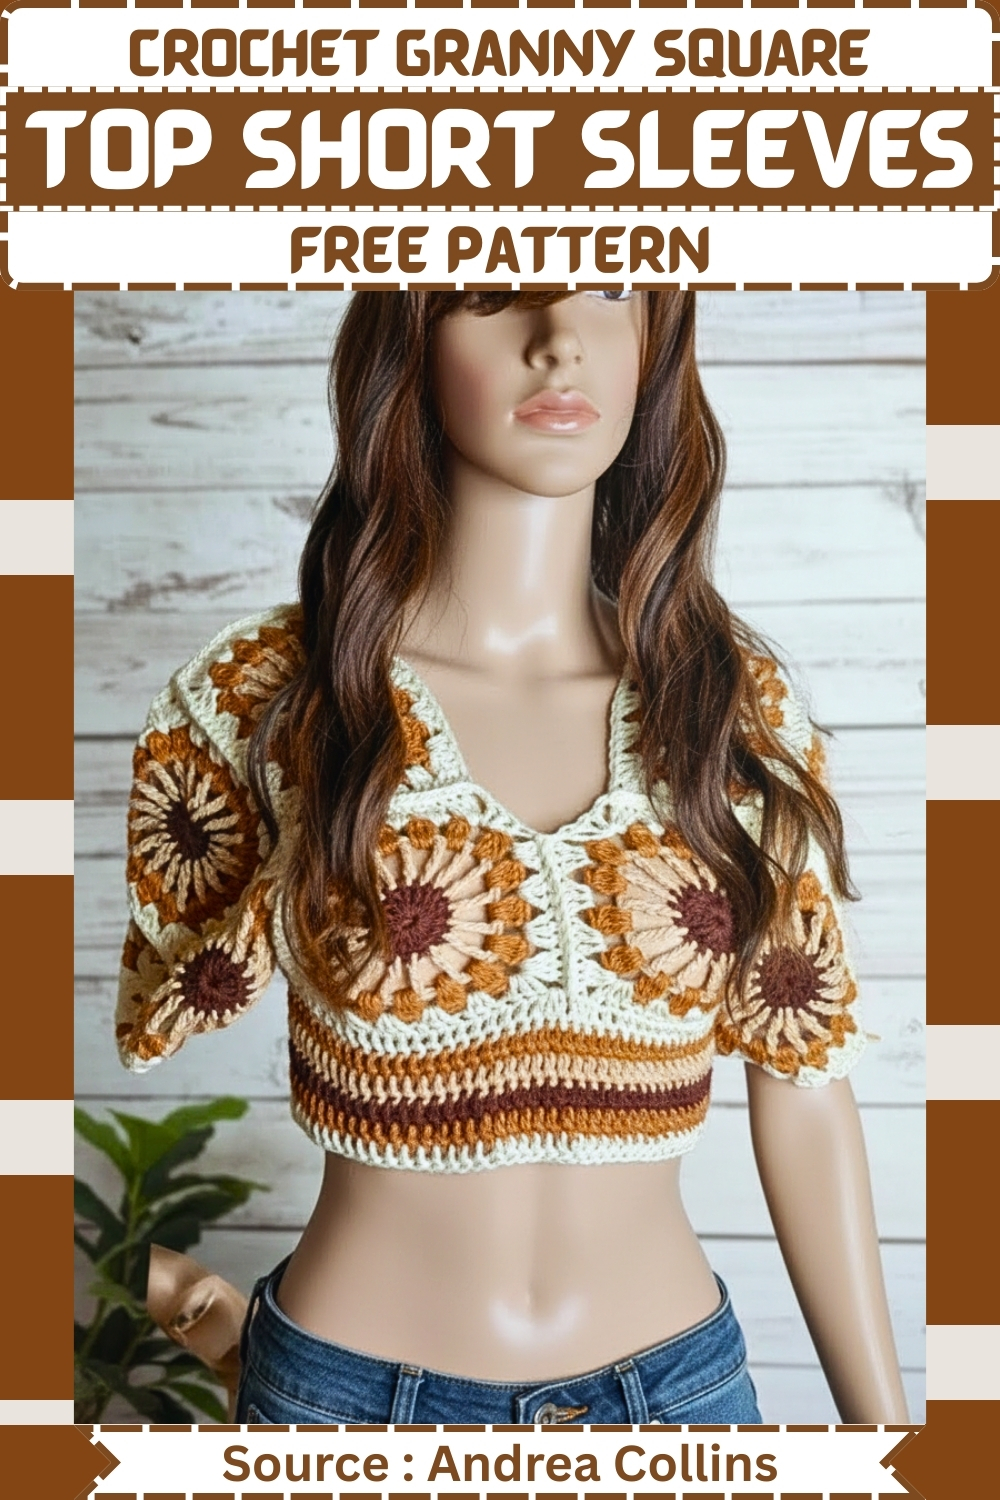
Each square is its own tiny project work up a pile, then join and add the sleeve panels and band last, so the make never feels overwhelming. The striped waistband pulls the crop in for a flattering finish against high-waisted jeans. For the strappy, sun-soaked version of this same motif, my sunburst granny halter trades sleeves for a breezy V-neck. Warm-toned cottons make those sunburst centers glow.
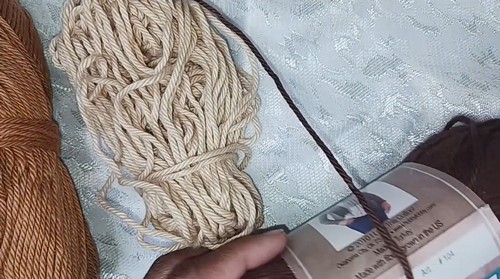
Materials
- Yarn in four colors of your choice
- Crochet hook suitable for your yarn
- Scissors
- Tapestry needle
Stitches Used to Create This Design
Granny Square Pattern
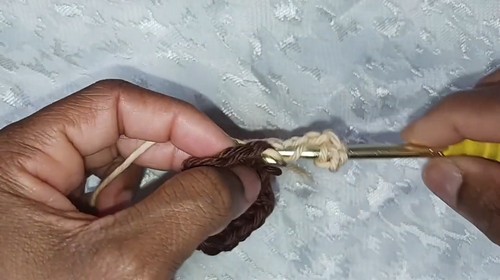
Round 1 The Center
- Start with a magic ring
- Chain 3 to count as the first double crochet
- Work 15 double crochets into the ring for a total of 16 stitches
- Pull the tail to close the ring and slip stitch into the top of the starting chain
Round 2 The Spindles
- Attach a new color with a slip knot
- Chain 6
- Work 1 triple crochet into the next stitch
- Chain 2
- Repeat triple crochet and chain 2 in every stitch around
- Slip stitch into the top of the starting chain to close
Round 3 The Clusters
- Attach a new color into any chain space
- Chain 3
- Work a 4 double crochet cluster in the same space
- Chain 2
- Move to the next space and repeat the cluster and chain 2
- Continue around the entire square
- If you’re new to reading crochet patterns, don’t worry, just follow along with the video tutorial below and use the written pattern as a reference!
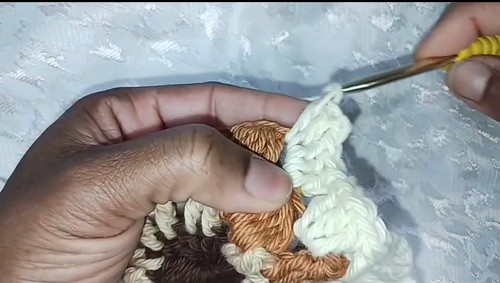
Round 4 Squaring Off
- Attach the final color into any chain space
- Chain 3
- Work 3 double crochets, chain 2, and 3 double crochets in the same space to form a corner
- Work 3 double crochets into each of the next three spaces
- Repeat the corner and side sequence around the square
- Slip stitch to close and fasten off
Stitch and Round Clarity
Each round has a specific role in shaping the square.
- Round 1 creates a dense, stable center that anchors the entire square.
- Keeping your stitch count accurate here is important because every later round relies on that spacing.
- Round 2 introduces height and openness.
- The chain 6 and triple crochet combination stretches the fabric outward evenly.
- This round can look loose while working, but it settles once the next rounds are added.
- Round 3 adds texture and visual weight.
- The clusters fill in the open spaces from the previous round, which helps balance the tall stitches and keeps the square from feeling flimsy.
- Round 4 locks everything into a clean square shape.
- The corners are clearly defined, and the side stitches even out the edges, making joining much easier later.
Assembly
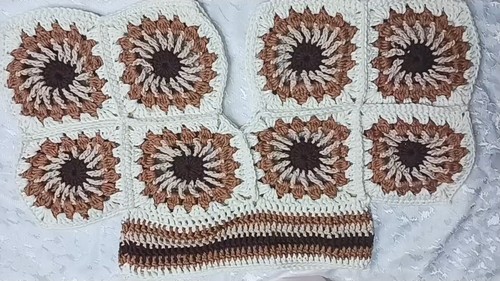
Layout and Joining
- Make 16 granny squares total
- Divide them into two panels with 8 squares each
- Arrange each panel in a 4 by 2 layout
- Single crochet the squares together along the long edges with right sides facing
Forming the Sleeves and Body
- Fold each panel in half
- Sew one square length on each side to create the sleeve openings
- Join the two panels together at the center for the front
- Repeat the same joining for the back
Waistband
- Attach yarn to the bottom edge of the top
- Work double crochet stitches evenly around the entire opening
- Add additional rows if desired to adjust the length
How the Garment Construction Works
- The top is built from two identical rectangular panels.
- Joining the squares into panels first gives you flat, stable pieces that are easy to measure and adjust before shaping the garment.
- Folding each panel in half creates the arm openings automatically.
- By sewing only one square length on each side, the sleeves stay relaxed rather than tight.
- Joining the panels at the center forms a balanced front and back with minimal shaping effort.
The waistband is worked last so you can fine-tune the length and weight of the garment.
Adding rows here also helps the top hang straight instead of flaring.

Fit and Sizing Guidance
- This pattern produces a relaxed, boxy fit.
- If you want more width, add squares to the panel length rather than stretching stitch tension.
- For a shorter or longer top, adjust the waistband rows instead of changing the square size, which keeps the overall proportions consistent.
Try the panels on your body or lay them over a similar-fitting top before final joining to confirm sleeve depth and length.
Beginner Notes
- Take time to count stitches in the first two rounds of each square.
- Small errors there can cause twisting or uneven edges later.
- Blocking the squares before assembly helps the panels line up cleanly and makes joining easier, especially when working with multiple colors.
Troubleshooting
- If squares curl, check tension in Round 2 and avoid pulling chain stitches too tight.
- If panels feel stiff, consider a slightly larger hook for the joining step.
- If the neckline feels tight, adjust the center join length before sewing the full seam.
Finishing
- Weave in all loose ends neatly
- Block lightly if needed to smooth the shape
Light blocking at the end helps the stitches relax and the panels settle into their final shape, giving the top a clean and finished look without distorting the square structure.