
Red and white, stacked into a crisp checkerboard this matching set has a picnic-blanket charm that’s pure retro fun. The bralette-style top pairs triangular cups with a snug ribbed band, and the skirt carries the same gingham grid right down, so you can wear them together for full effect or split them across outfits. It’s a beginner-friendly build from start to finish: make your squares, join, done. For another coordinated two-piece, this granny square top and skirt set offers a second take on the matching-set idea.
Crochet Granny Square Top And Skirt Set
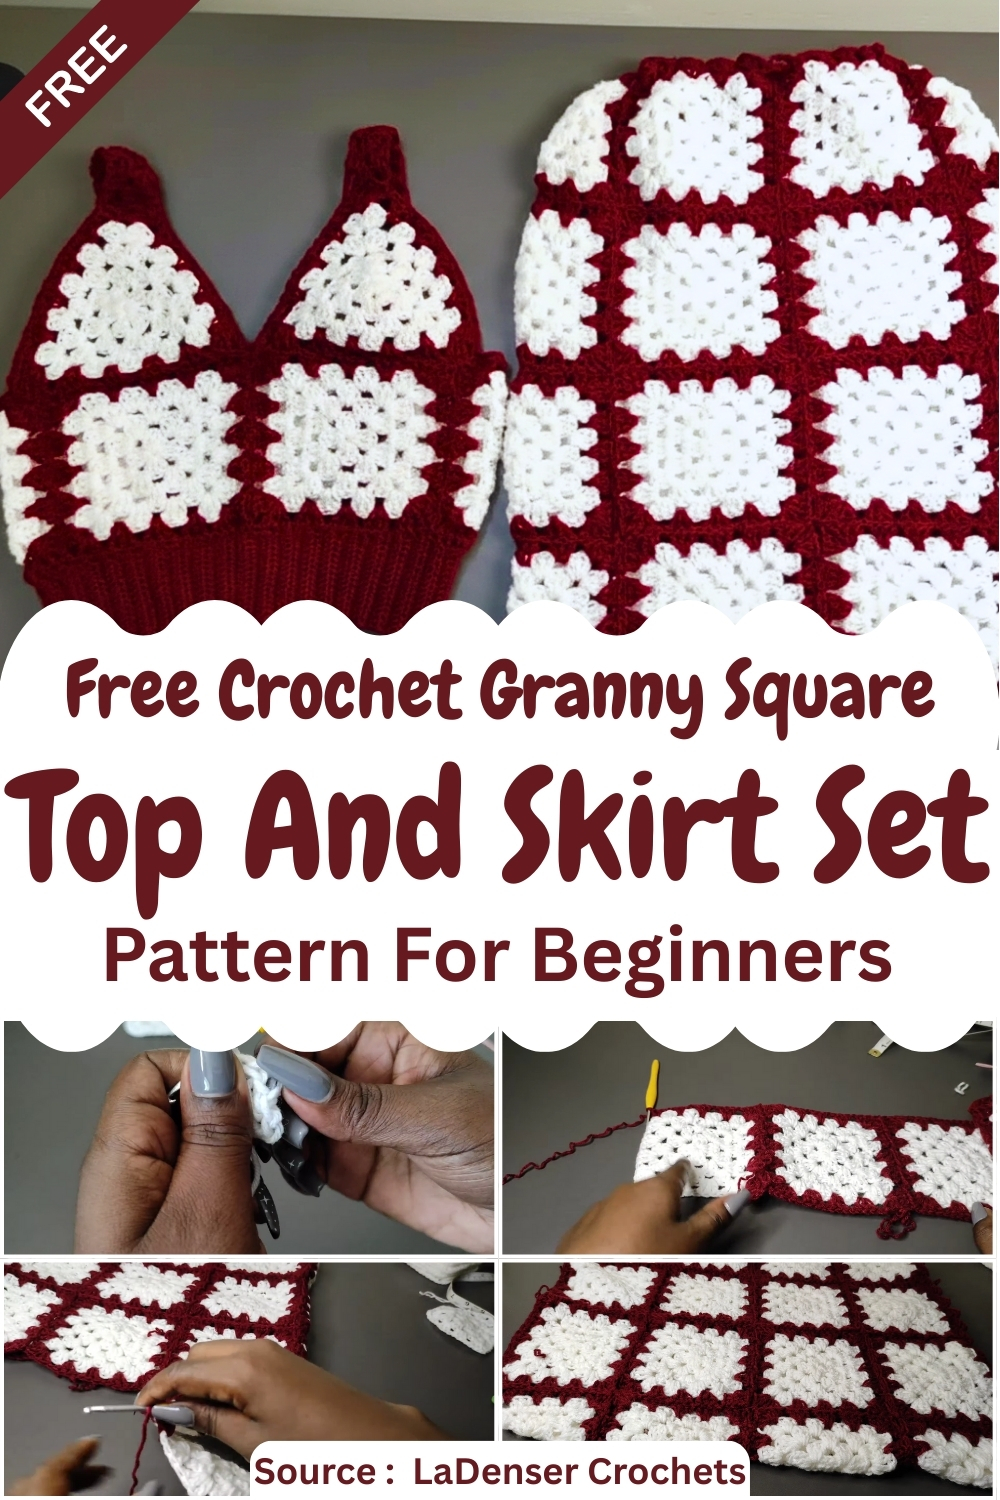
Working a full set in squares is genuinely relaxing the top and skirt are just the same motif repeated and joined to different dimensions, so once you’ve got the square down, you’ve got the whole outfit. That ribbed band gives the top some hold and a clean line under the bust. If you love the granny-square look in a single strappy piece, this granny stitch halter top is a quicker make. Two high-contrast colors are what give this its sharp gingham pop a smooth cotton keeps those edges tidy.
Materials
- Medium weight yarn
- 3.5 mm crochet hook
- Scissors
- Darning needle
- Measuring tape
Stitches That Make Up This Pattern
Before You Start: Sizing and Planning That Actually Helps
This pattern is intentionally flexible, which is great, but it means you’ll get the best result if you plan using one finished square.
Make one test square first
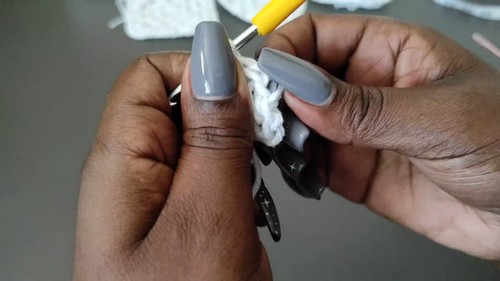
Your skirt size depends on the size of your granny squares after finishing. A “medium weight yarn + 3.5 mm hook” can still vary a lot depending on your tension and yarn. So before you commit to 30 squares, make one square, fasten off, and measure it.
Measure in a way that matches the skirt
- Measure the square width from one side to the other, not corner to corner.
- Decide where the skirt should sit: this pattern suggests fitting around the hips first. That’s smart because hips are often the widest point and the tube needs to slide over them.
How to estimate number of squares for the tube
- Measure your hip circumference where you want the skirt to fit.
- Measure one finished square width.
- Divide hip measurement by square width to estimate how many squares you need around.
- Aim for “comfortably fits” rather than skin-tight, because joining and edging can slightly firm up the fabric.
You can always adjust by adding or removing one square before closing the tube.
Stitch and Shape Clarity (So the Steps Make Sense)
- A cluster of 3 double crochets is the basic building block.
- Corner spaces are made by chaining (often chain 2 in this pattern), and corners get “more stitches” so the square (or triangle) can turn.
- Sides stay flatter by using chain 1 between clusters.
If your square starts to ripple or cup, it’s almost always one of these:
- corners not matching (missing chain 2 or missing a cluster)
- accidentally adding extra chain spaces on the sides
- turning inconsistently (some people always work without turning; this pattern includes turning)
Pattern Instructions
Everything below is your original pattern, kept exactly as given. After each section, I add guidance to help readers execute it cleanly.
How to Make a Granny Square
- Create a magic ring or chain 4 and slip stitch to form a ring
- Chain 2 to start, then work 2 double crochets into the ring
- Chain 2 and work 3 double crochets into the ring
- Repeat until you have four clusters of 3 double crochets
- Chain 2 and slip stitch to the top of the starting chain
- Chain 2 and turn to begin the next round
- Work 2 double crochets, chain 2, and 3 double crochets in each corner space
- Chain 1 between corner clusters on the sides
- Continue building rounds by placing shells in corners and clusters in side spaces
- Fasten off and weave in all ends
- Make approximately 30 squares or as many as needed for your size
- If you’re a beginner and crochet patterns feel confusing, start with the video tutorial below, it’s the easiest way to learn as you go!
Granny square help notes
- Magic ring vs chain ring: Magic ring gives a tighter center. Chain 4 ring is simpler and works fine. If you use chain 4, keep your first round snug so the hole doesn’t grow.
- About “Chain 2 to start”: In many granny patterns, this chain counts as the first double crochet or as a “standing start.” Consistency matters more than which approach you use. Work it the same way for every square so your corners match.
- Turning between rounds: Turning can help keep the square from twisting and can balance the look of stitches. If you notice your seam line traveling, turning helps keep it more even.
- Corners: This pattern uses chain 2 corners. Keep those corner chains consistent, because they’re the “anchor” spaces you’ll join into later.
Make a Granny Triangle
- Chain 4 and slip stitch to form a ring
- Chain 2 and work 2 double crochets into the ring
- Chain 2 and work 3 double crochets repeatedly until six clusters are formed
- Slip stitch to close the round
- Chain 2 and turn
- Work a shell stitch in the first gap to form a corner
- Chain 1 and work 3 double crochets in the next gap
- Chain 1 and work another shell to create the next corner
- Continue until three corners form a triangle
- Add one more round following the same granny pattern
- Fasten off and weave in ends
Granny triangle help notes
- Why six clusters in Round 1: A triangle needs three corners, and the extra clusters give you enough “structure” to create those corners when you start shaping.
- “Shell stitch” here means: a corner shell usually looks like 3 double crochets, chain 2, 3 double crochets worked into the same space. Your pattern calls it a shell to form corners, so treat it like the square corner structure, but arranged into a triangle layout.
- Turning again matters: Turning helps triangles stay flatter and keeps corners crisp.
These triangles are your shaping pieces at the waist when you need less width.
Joining the Pieces
- Measure one finished granny square to calculate sizing
- Use enough squares to comfortably fit around the hips
- Work one square completely with an added border round
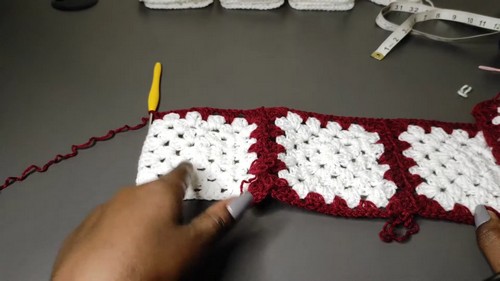
- Start the border of the next square and slip stitch into the corner of the completed square
- Continue joining by slip stitching into matching spaces as you crochet
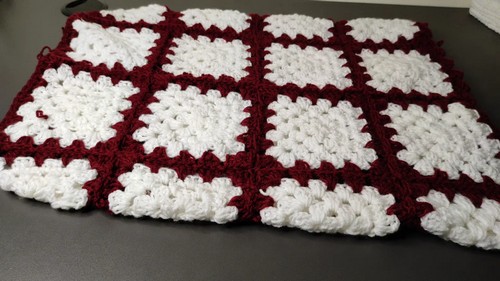
- Join all squares into a horizontal strip
- Connect the first and last square to form a tube
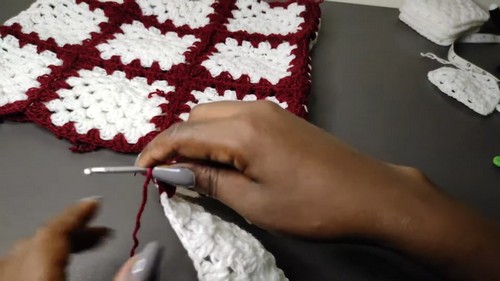
- Add additional rows of squares vertically until the skirt reaches your desired length
Joining clarity and best practices
Joining while you crochet the border is a clean method because it eliminates later sewing and keeps edges aligned. Here are the parts that usually confuse crocheters:
1) Choose what counts as a “matching space”
In granny squares, the most reliable join points are:
- corner chain spaces
- side chain spaces between clusters
When you slip stitch join, always slip stitch into the same type of space on both squares (corner-to-corner, side-to-side). If you mix stitch tops and chain spaces, the join will pucker.
2) Keep your squares oriented the same way
If you turn between rounds, your squares may have a visible “front” and “back.” Decide early whether the right side will face out. Keep them consistent so the skirt looks intentional and not patchy.
3) Border round matters
Your pattern says: “Work one square completely with an added border round.”
That means one square becomes your “anchor” square. When you start the border of the next square, you join into the finished square as you go. This is easier than trying to line everything up later.
4) Closing the tube
When you connect the first and last square, check fit before committing:
- Does it slide over hips comfortably?
- Does it sit where you want it to sit?
If it’s too snug, add one square. If it’s too loose, remove one.
5) Building length vertically
Once the tube is correct, adding more rows is straightforward. Keep checking length as you go because skirts often grow slightly after the first wash or after wearing.
Edging and Waistband
- Attach yarn at the bottom edge of the skirt
- Slip stitch into a gap and work a shell stitch for decorative edging
- Repeat the shell edging around the entire hem
- Use granny triangles at the waist to reduce width if needed
- Finish the top edge with a round of single crochet stitches
- Fasten off and weave in all remaining ends

Hem and waistband guidance
Shell edging on the hem
- Start in a gap (chain space) rather than a stitch top if possible. It makes the shells sit evenly.
- If your stitch count doesn’t line up perfectly for shells, don’t force it by cramming stitches into small spaces. Instead, space shells by eye using the gaps.
Waist shaping with triangles
This is the key fit tool in your pattern. If the skirt fits your hips but the waist is loose, triangles let you “remove width” without harsh gathers.
How to use them cleanly:
- Place triangles evenly around the waist so the narrowing is balanced.
- Avoid clustering all triangles on one side or you’ll get a weird tilt.
Single crochet finish at the top
A single crochet round does two important things:
- It stabilizes the top edge so it doesn’t stretch out.
- It gives a clean place to add a drawstring or elastic later (optional, if you choose).
Beginner Notes
- Granny work is repetitive, but counting and consistency matter. If you’re new to joining-as-you-go, practice with two squares first.
- Weave ends as you go. A granny skirt can have a lot of tails, and leaving them all for the end is the fastest way to abandon the project.
Troubleshooting
My squares aren’t the same size
This usually comes from tension differences, not the pattern. Try:
- using the same hook and yarn for all squares
- finishing each square the same way (turning or not turning consistently)
- lightly blocking your squares before joining
My skirt tube twists or looks slanted
Common causes:
- squares joined in inconsistent orientation
- turning some squares and not others
Fix: lay squares out first and keep the same “top edge” direction.
The hem ruffles after edging
That means too many stitches were added in the edging round.
Try:
- spacing shells farther apart
- using fewer joins into small gaps
- keeping shell placement consistent
The waist is too loose
Use more granny triangles, or place triangles in more positions around the waist so the narrowing is distributed.
Finishing Notes
- Weave in ends securely, especially at join points and corners. Those are high-stress areas when wearing.
- Consider light blocking after assembly. It helps the skirt hang straight and makes joins look smoother.
- If you plan to wash the skirt, test-wash and dry your yarn swatch or one square. Some medium weight yarns relax and grow.


