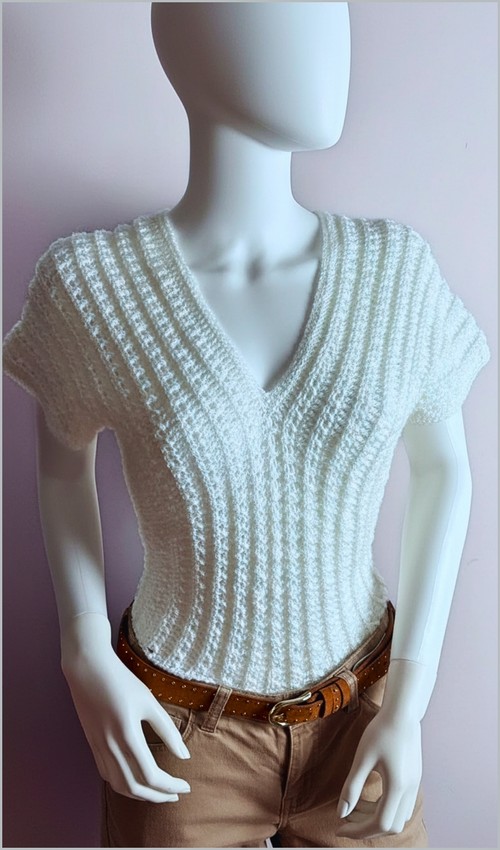
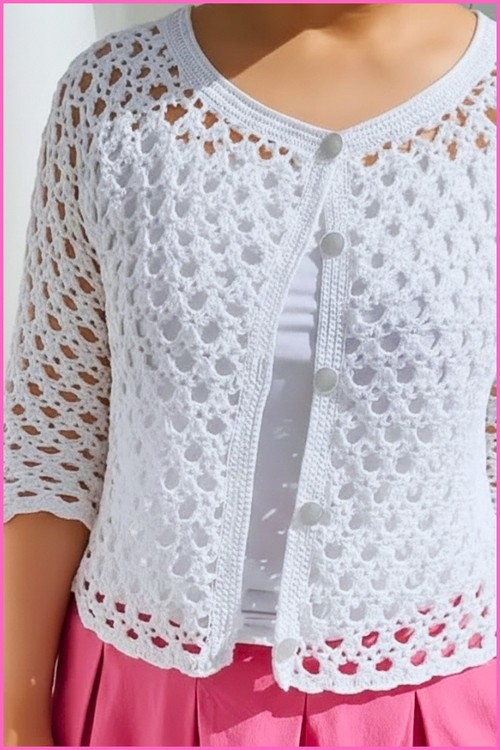
Shell stitch fans at the cups and a solid hdc body give this peplum top a nicely layered construction — the textured yoke draws the eye while the body works up fast in a single stitch. The blue-grey colourway keeps it versatile enough to style across seasons. For a peplum top that goes all-in on shell stitch throughout, the backless top with bow is a full-shell version worth comparing.
Crochet Peplum Top

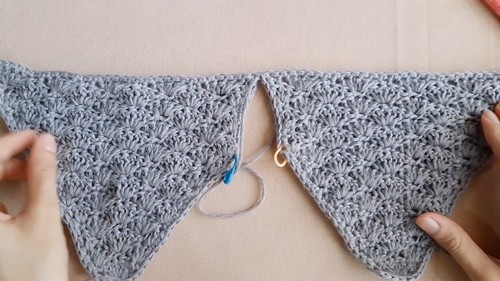
The cup sections are worked separately in shell fans, then joined at centre front before you continue with the hdc body rows — a logical construction order that makes fitting easier mid-project. The peplum flare is added at the waist as a final section. For a peplum with more lace drama, the green peplum top takes the open construction further.
Materials & Tools
- Yarn suitable for your desired drape (a fiber with good flow works best here — more on that below)
- A crochet hook compatible with your chosen yarn
- Scissors
- Stitch markers
- Yarn needle for weaving in ends
That’s genuinely all you need. The pattern is written to flex around the yarn and hook you choose, which is part of what makes it so wearable across body types and seasons.
Stitching Skills Required
Difficulty & Time
This sits comfortably in the intermediate range. None of the individual stitches are hard — single, double, half double, and treble crochet are the whole toolkit — but the shaping asks you to read your work and keep track of which side you’re on. If you can work a shell stitch confidently and you’re comfortable counting your way across a row, you’re ready.
Plan for a relaxed weekend of crocheting, give or take, depending on your yarn weight and how long you make the peplum.
A Few Notes Before You Begin
The bust here is built from shell stitches — clusters of double crochet worked into a single stitch, with single crochets anchoring between them. As you work, the shells from one row nestle into the gaps of the row below, which is what creates that lovely textured, slightly stretchy fabric. If a row ever looks off, lay it flat and check that your shells are stacking into the valleys of the previous row. That single habit will save you almost every time.
Keep your stitch marker honest. In the shaping section you’ll be treating the two sides of the panel differently, and the marker is the only thing telling you which is which once the piece gets tall.
The Pattern
Section 1 — The Upper Bust Triangle Panels
- You’ll make two of these panels to form the bust.
- Foundation Make a slip knot and chain 6.
- Row 1 Single crochet into the second chain from the hook. Skip 1 chain and work 5 double crochet into the next chain. Skip 1 chain and single crochet into the last chain. Chain 2 and turn.
- Row 2 Work 4 double crochet into the first stitch. Skip 2 stitches and work 1 single crochet into the center of the shell. Skip 2 stitches and work 4 double crochet into the last stitch. Chain 2 and turn.
- Row 3 Work 2 single crochet into the first stitch. Work 1 single crochet into the next stitch. Skip 2 stitches and work 5 double crochet into the next stitch. Skip 2 stitches and work 1 single crochet into the next stitch. Work 2 double crochet into the last stitch. Chain 1 and turn.
- Row 4 Work 1 single crochet into the first stitch. Skip 1 stitch and work 5 double crochet into the next single crochet. Skip 2 stitches and work 1 single crochet into the center of the shell. Skip 2 stitches and work 5 double crochet into the next single crochet. Skip 1 stitch and work 1 single crochet into the last stitch. Chain 2 and turn.
- Repeat Repeat the logic of Rows 2 through 4 until the triangle reaches your desired width.
- New to crochet and not sure how to read a pattern yet? The video tutorial below will guide you through it step by step, you’ve got this!

Section 2 — The Bust Increasing for Body
- This section expands the triangles to shape the lower bust.
- Row 1 Work 4 double crochet into the first stitch. Continue the shell pattern across. Finish with 3 double crochet into the last stitch. Place a stitch marker on this side.
- Row 2 Work 1 single crochet into the first stitch. Continue the shell pattern across. Work 1 single crochet into the next-to-last stitch. Work 2 double crochet into the final stitch.
- Row 3 Work 1 single crochet into the first stitch. Continue the shell pattern across. Finish with 3 double crochet into the last stitch.
- Shaping logic On the marked side, alternate between ending rows with 3 double crochet and 1 single crochet. On the opposite side, alternate your endings using 4 double crochet, 2 double crochet, and 1 single crochet.
Section 3 — Connecting and the Peplum Bottom
- Single crochet evenly across the bottom edges of both bust panels to join them. Chain the required number for the back and connect to form a circle.
- Peplum Round 1 Chain 4. Work 2 treble crochet into every stitch and chain around. Slip stitch to join.
- Peplum Rounds Chain 4. Work 1 treble crochet into every stitch around. Repeat until the desired length is reached.
Section 4 — Straps and Edging
- Work single crochet evenly around the top edges of the bust. Create a buttonhole by chaining 3 and skipping 2 stitches near the back corner.
- Straps Chain to your desired length. For thicker straps, work rows of 4 double crochet back and forth until you reach the width and length you prefer.
- Mini Scallop Edging Working into back loops only, work 5 half double crochet into one stitch, then slip stitch into the next stitch. Repeat across the top edge.
- Final Touches Create ribbon ties by chaining to your desired length and slip stitching back down the chain. Weave in all ends securely.

Tips & Troubleshooting
- Make both bust panels to the same row count. Before you join, lay them side by side and confirm they match. Two panels that drifted to different widths will throw off the whole front symmetry.
- Mark the right side of your work early. Beyond the shaping marker, a small contrasting marker on the public-facing side keeps your scallop edging and buttonhole on the correct face of the garment.
- Join the peplum on a stitch you can find again. When you chain the back and form your circle, note where the join sits so the back seam stays centered and tidy.
- Check your treble tension on Peplum Round 1. That first round with 2 trebles per stitch is what creates the flare. If it’s pulling tight, loosen your hand or go up a hook size for the peplum only — the ruffle wants room to move.
- Block before you add straps. Wet- or steam-blocking the body first relaxes the shell texture and the peplum drape, so you can pin the top edge to your actual frame and measure strap length against a finished, settled garment.
Yarn Substitution
The single biggest decision in this top is drape, so let your yarn choice lead. A cotton or cotton-blend in a DK or sport weight gives crisp stitch definition and a peplum that holds a gentle structured flounce — lovely for a polished daytime look. A bamboo, viscose, or silk-blend will pour and swing more, giving you a softer, more romantic movement at the waist.
If you reach for a wool or acrylic, you’ll get warmth and a fuller-bodied fabric, but watch that it doesn’t get heavy — a stiff yarn fights the peplum’s flare. Whatever you pick, work a small shell swatch first and hold it up. If it falls the way you want a hem to fall, you’ve found your yarn.
Customization Ideas
- Strap style: Skinny chained straps read delicate and summery; the thicker double-crochet straps give more support and a sturdier, everyday feel. You can also make four straps and tie them at the shoulder for an adjustable look.
- Peplum length: Stop short for a cropped, flirty silhouette, or keep adding treble rounds for a longer, tunic-leaning hem.
- Back closure: The buttonhole-and-button option is clean and secure, but the ribbon ties give a prettier, adjustable back if you’d rather lace it.
- Edging: Love the mini scallops, but want something subtler? A simple single-crochet or reverse single-crochet edge keeps the neckline minimal and modern.

FAQ
Can a confident beginner make this top? If you can work a shell stitch and read where your stitches land, yes — though it leans intermediate. The stitches themselves are basic, but the shaping rewards a little patience and the habit of checking your work as you go.
How do I make sure the top actually fits me? The pattern is written to grow to your measurements, so the key is to try the panels against your body as you build them. Work the triangles to your bust width, expand the shaping to sit where your underbust does, and measure the joined body around you before committing to the peplum.
Why is my peplum not flaring out? Almost always tension on that first peplum round, where you work 2 trebles into every stitch. If it’s too tight the ruffle can’t open up. Loosen your grip or size up your hook for the peplum, and block it afterward to coax out the flare.
Should I use a button or the ribbon ties for the back? Either works — it’s about the look and fit you want. A button gives a fixed, neat closure; the ties let you adjust the snugness and add a softer detail. You can even do both for a little extra security.
Do I really need to block it? For this one, I’d say yes. Blocking evens out the shell texture, settles the peplum drape, and lets you measure strap placement against the finished shape rather than a curled-up edge. It’s a small step that makes the top look properly made.