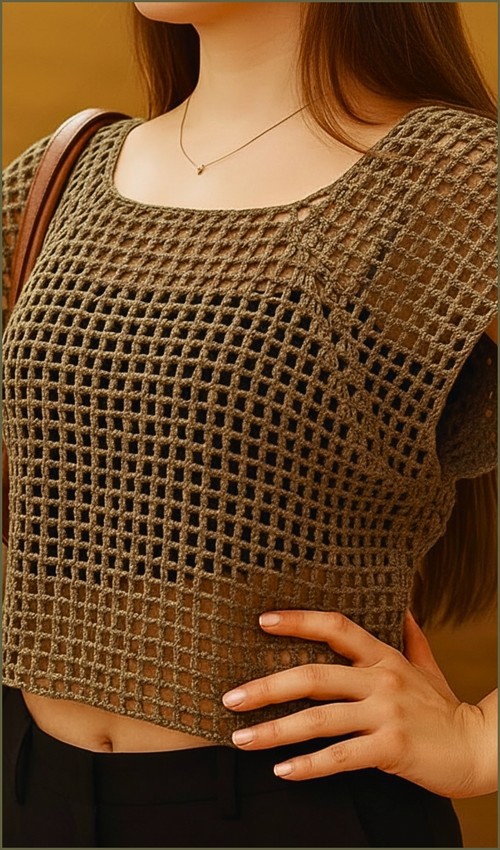
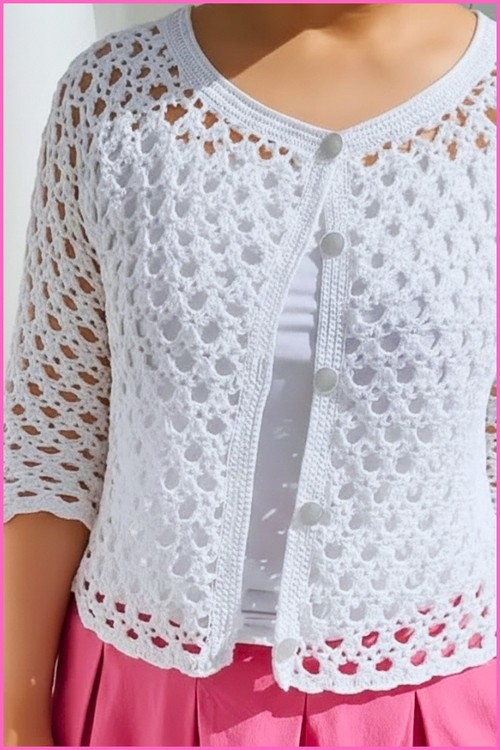
White lace cardigans occupy a specific niche, dressed up enough for a summer dinner, casual enough to throw over a beach outfit, and the kind of thing that gets reached for constantly once it’s in your wardrobe. This one earns that versatility through its allover shell lace pattern, which creates an open, airy fabric that still has real structure thanks to the round yoke and scalloped hem. The styling concept here — lace over a white button-up, is one worth borrowing, and the pattern itself sits naturally alongside the lace going-out top with cowl neck for fans of white lace crochet.
Crochet Top Over White Button-Up
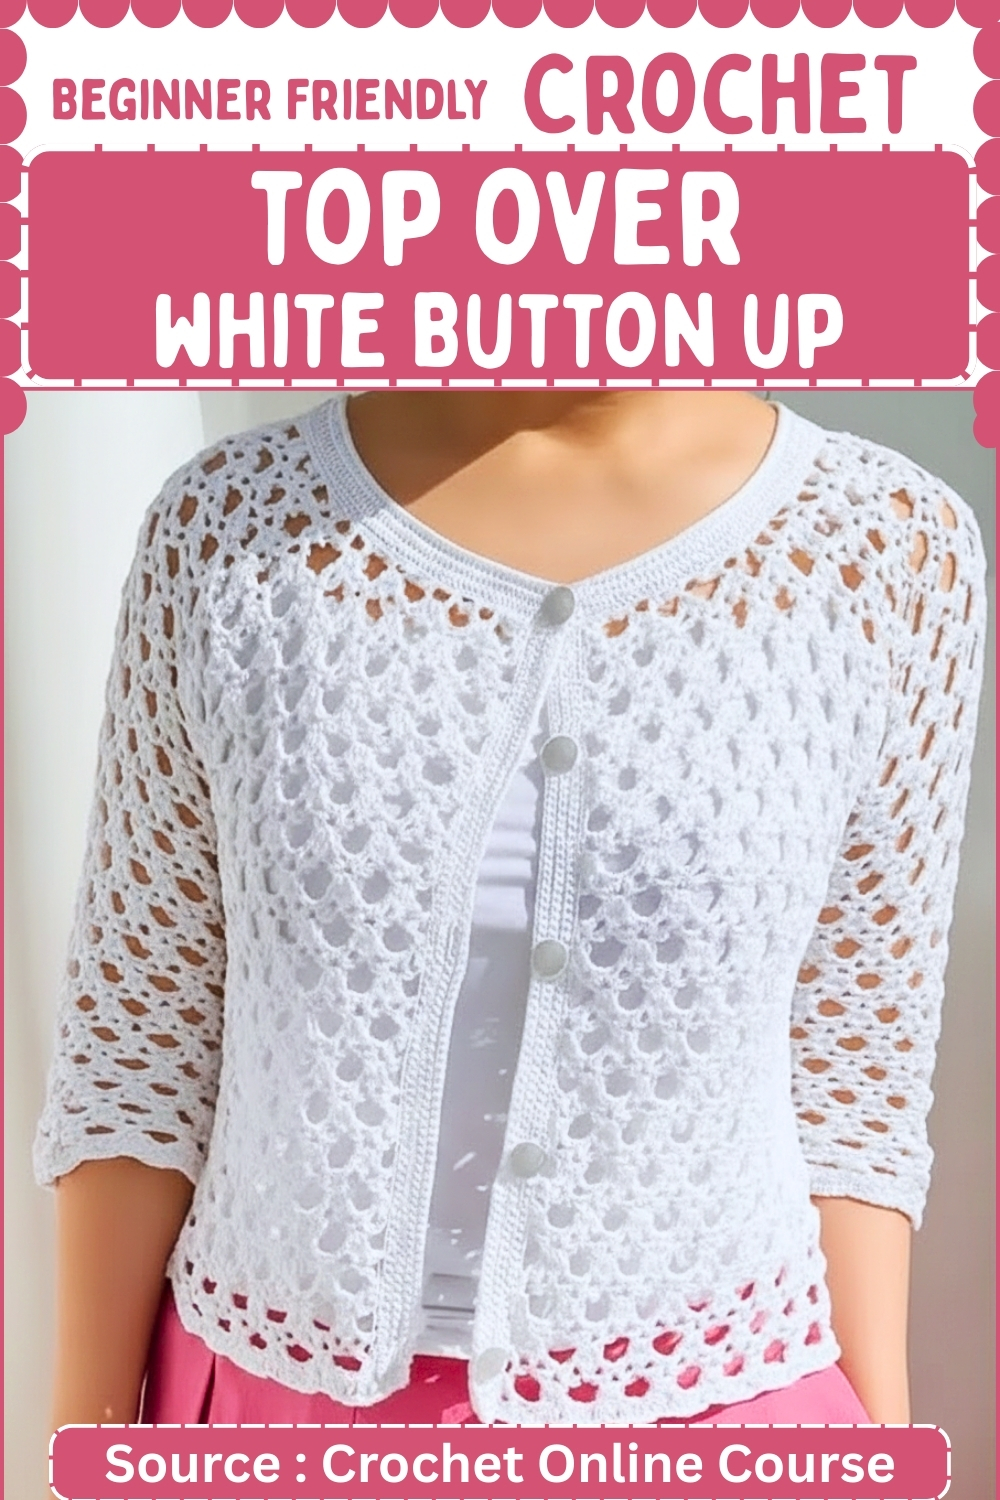
The cardigan is worked in repeating shell clusters throughout the body and sleeves, with the scallop edge built into the final hem row rather than added as a separate border. The round neckline is finished with a simple edging, and the button band runs down both front edges. For another shell stitch make that shows how versatile the pattern repeat can be, the bamboo yarn shell stitch ruffle top takes the same cluster format in a completely different direction.
Pattern Details & Materials
Before diving into the stitching, let’s gather your materials and review the sizing basics for this project.
Materials Needed
Yarn: Medium weight (Category 4 / Worsted or Aran weight) yarn. Cotton or a cotton blend works beautifully for structured layering.
Hook: 3.0 mm crochet hook (or size needed to obtain your preferred fabric drape).
Notions: Tapestry needle for weaving in ends, scissors, and stitch markers.
Quick Stitch Guide
Sizing & Measurements
This pattern uses a repeating stitch profile that allows you to easily customize the fit:
Stitch Multiple: 10 plus 2 extra chains.
Sizing Tip: To customize the width of your panel to fit over your favorite white button-up, chain in multiples of 10 until the chain reaches your desired width (making sure to allow a little extra room for layering), then add 2 more chains before starting Row 1.
Written Pattern
Foundation
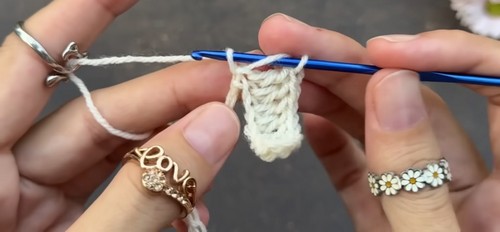
Create a slip knot on your hook. Crochet a foundation chain using a multiple of 10, then add 2 extra chains.
Row 1
Work 1 single crochet in the second chain from your hook.
Chain 5, skip the next 4 chains, and work 1 single crochet in the next chain.
Repeat the instructions from * to * across the entire row.
End the row by working 1 single crochet into the very final chain.
Row 2
Chain 1 and turn your work.
Work 1 single crochet in the first single crochet stitch of the row.
Chain 2.
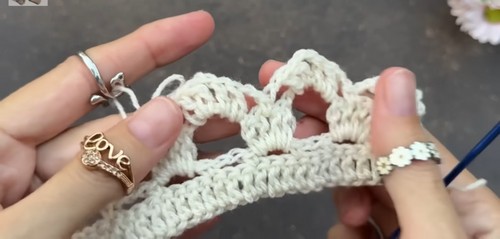
In the center of the next chain-5 space, work a Shell Stitch: 3 double crochet, chain 2, and 3 double crochet all into that same space.
Chain 2, then work 1 single crochet in the next single crochet stitch.
Repeat the sequence: Chain 2, work a Shell Stitch in the next chain-5 space, chain 2, and work 1 single crochet in the next single crochet stitch across the row.
End the row with a single crochet in the last stitch.
Row 3
Chain 5 and turn your work (this counts as your first stitch and space).
Work 1 single crochet into the chain-2 space at the center of the previous row’s Shell Stitch.
Chain 5, then work 1 single crochet into the next single crochet stitch.
Repeat the sequence of Chain 5, 1 single crochet in the center of the shell, chain 5, 1 single crochet in the next single crochet across the row.
Finish the row with a chain 5 and 1 single crochet in the final stitch.
- Reading crochet patterns can be tricky when you’re just starting out, feel free to follow the video tutorial below instead!
Row 4
Chain 3 and turn your work (this counts as your first double crochet).
In the first chain-5 space, work a V-Stitch variant: 2 double crochet, chain 1, and 2 double crochet all into that space.
Chain 1.
Move to the next chain-5 space and repeat the V-Stitch variant (2 double crochet, chain 1, 2 double crochet), followed by a chain 1.
Continue this pattern across the row into each chain-5 space.
End the row by working 1 double crochet into the final stitch.
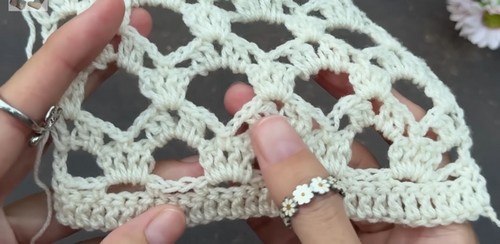
Pattern Repeat
Repeat Rows 3 and 4 sequentially until your fabric reaches your desired height to match your favorite button-up shirt.
Fasten off and weave in your ends.
Pro-Tips & Technique Explainers
Pro-Tip: Navigating Chain Spaces
When working into the “center” of a chain-5 space in Row 2, you don’t need to pierce the exact 3rd chain stitch with your hook. Instead, simply insert your hook underneath the entire chain loop (into the open space). This allows your stitches to slide naturally into the perfect center alignment and makes the pattern work up much faster!
Technique Explainer: Perfecting the Shell Stitch
The Shell Stitch used in Row 2 creates the beautiful, fan-like lace design. To keep your edges looking crisp against a white background, ensure your tension remains consistent on the “chain 2” sections. If you notice your shells pulling tight or warping the fabric, try loosening your chains slightly to give the double crochets room to bloom.