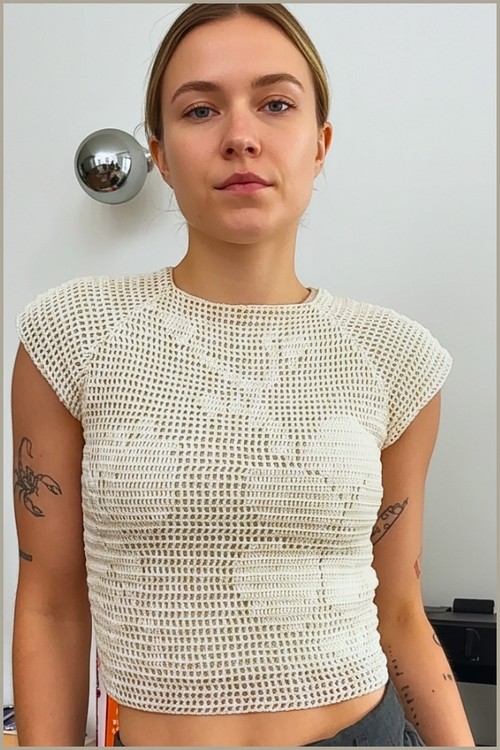
Deep vertical ribbing on the body and open-mesh balloon sleeves make this hot pink top one of the more visually striking makes in the off-shoulder category, the contrast between the two fabrics does most of the work. For another off-shoulder top with a different sleeve approach, the off-shoulder long-sleeve top offers full coverage with a softer silhouette.
Crochet Cut-Out Shoulder Top

The body works up in ribbing rows that give it a structured, fitted feel, while the balloon sleeves are worked in the round and attached separately. If you love the balloon sleeve detail and want to try it on a different neckline, the corset-style puff sleeved top is a natural companion.
Materials & Tools
- Yarn of your choice, in any weight — pick based on the drape you want (lighter for floaty sleeves, heavier for more body)
- Crochet hooks: 2.25 mm, 2.5 mm, 4 mm, and 5 mm
- Tape measure
- Stitch markers
- Yarn needle
Crochet Basics for This Project
Difficulty & Time
A confident-beginner to intermediate project. The body is repetitive and meditative; the sleeves ask a little more of you with the net stitch and hook changes, but nothing here is genuinely hard. Give it a few relaxed sessions.
A Few Technique Notes
- Back loop only (BLO) single crochet is what gives the body panel its stretchy, ribbed texture — work into only the back loop of each stitch so the front loops form visible ridges.
- Net stitch (double crochet, chain 1, skip 1) creates the open, airy mesh of the balloon sleeves. Keep your tension relaxed and even so the holes stay uniform.
- Hook changes are doing real work here. The smaller hooks tighten the cuff and body; the larger 5 mm opens up the sleeve. Don’t skip the switches — they’re how the silhouette holds its shape.
The Pattern

Body Panel
- Using a 2.5 mm hook, chain the desired height of the top from underarm to waist.
- Single crochet in the second chain from the hook and in every chain across.
- Chain 1 and turn.
- Single crochet in the back loop only across the row.
- Chain 1 and turn.
- Repeat the back loop single crochet rows until the panel stretches comfortably around your body.
- Fold the rectangle with right sides together.
- Slip stitch the first and last rows together through the remaining loops to form a tube.
- Don’t let crochet patterns intimidate you! If you’re a beginner, the video tutorial below makes it super easy to follow along!

Balloon Sleeves (Make Two)
- Chain a length that fits around the upper arm.
- Join with a slip stitch, taking care not to twist the chain.
- Single crochet in every chain around.
- Work two single crochets into every stitch to increase sleeve volume.
- Switch to a 5 mm hook.

- Work net stitch: one double crochet, chain 1, skip 1, around.
- Continue net stitch rounds until the sleeve reaches the elbow.
- Work one round of double crochet into each double crochet only.
- Work one round of double crochet while skipping every other stitch.
- Switch to a 2.25 mm hook.
- Work several rounds of single crochet to create a snug cuff.

Assembly & Top Edging
- Lay the body panel flat and mark the sleeve attachment points on both sides.
- Attach each sleeve by single crocheting through both the sleeve and body at the marked sections.
- Continue single crochet around the entire top edge, including the sleeves.
- Work multiple rounds to secure the neckline.
- Reduce evenly if needed to tighten the off-shoulder fit.
- Fasten off and weave in all ends.

Tips & Troubleshooting
- Check your tube stretch before seaming. The BLO ribbing is stretchy, so make the panel slightly shorter around than your actual measurement — it’ll relax into a snug, secure fit.
- Mark sleeve points symmetrically. Use your stitch markers and a tape measure to place attachment points evenly on both sides, or one sleeve will sit higher than the other.
- Mind the off-shoulder edge. Since the body relies on a stretchy ribbed tube and a tightened neckline to stay up, don’t over-loosen those final edging rounds — that snugness is what keeps the top in place.
- Don’t twist the sleeve join. Lay the chain flat before slip stitching closed; a twist there can’t be undone later without ripping back.
Yarn Substitution
Because the pattern works in any weight, your yarn choice mostly shapes the mood. A drapey cotton, bamboo, or linen blend gives those balloon sleeves their soft, floaty fall — ideal for warm weather. A wool or acrylic with more loft makes a cozier, more structured version for cooler evenings. Whatever you pick, swatch the net stitch first to see how open the mesh becomes, since fiber and weight change that look dramatically.
Customization Ideas
- Lengthen the body panel into a crop-to-waist or longer fit depending on where you stop the ribbing.
- Shorten the sleeves to a puffed cap by ending the net stitch before the elbow.
- Skip the cuff rounds for a loose, bell-style sleeve instead of a gathered balloon.
- Add more net-stitch rounds for an even fuller, more dramatic sleeve.
FAQ
- 1. Will an off-shoulder top like this actually stay up? It relies on the stretchy BLO ribbed tube plus a tightened neckline edge. Work the body panel slightly snug and don’t loosen those final reducing rounds — that combination is what holds it on your shoulders.
- 2. Can I really use any yarn weight? Yes. The pattern is measurement-based rather than count-based, so it adapts to any weight. Just adjust your hooks to suit and swatch the net stitch to check the openness of the mesh.
- 3. Why are there four different hook sizes? Each does a job: smaller hooks tighten the body and cuff for a secure fit, while the 5 mm opens up the sleeve into that airy balloon. The contrast in fabric is intentional.
- 4. My balloon sleeves look flat, not full. What happened? Volume comes from two single crochets into every stitch on the increase round plus the open net stitch. If they’re flat, you likely missed increases or worked the net stitch too tightly — relax your tension and double-check that increase round.