
A sheer mesh button-up reads very differently to a solid one the open grid keeps the silhouette light even with a full collar and long sleeves, so the result feels more like a layering piece than a traditional shirt. Worn over a matching blue top the way it’s styled here, it functions almost like a statement layer that happens to be crocheted. The construction is straightforward mesh all the way through, which means once you’ve got the stitch rhythm, the rest is just counting rows a similar approach to the oversized mesh off-shoulder top but with a much more structured silhouette.
Crochet Mesh Button-Up Top
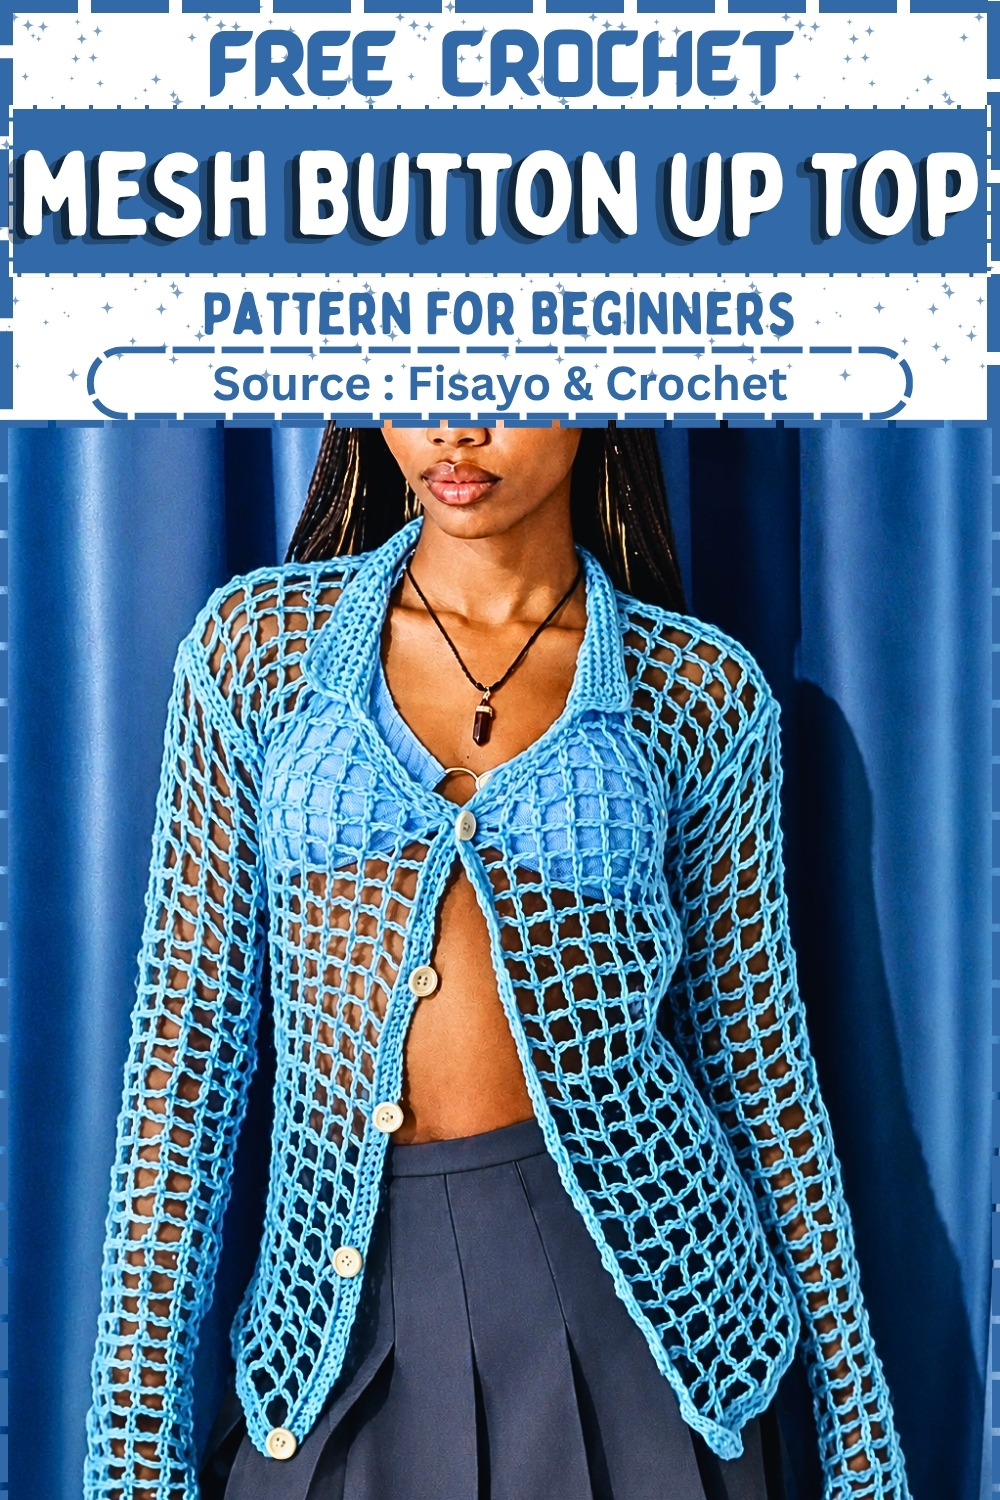
The body panels are worked flat in mesh stitch rows, with the collar picked up from the neckline and the button band worked along the front edges once the panels are complete. Sleeves are added last, keeping the main construction clean and simple. For a sleeveless take on the same open grid fabric, the backless crochet top shows how far the same stitch can stretch in a different direction.
Materials & Tools
Yarn: Lace weight or Sport weight Mohair yarn (held single for a sheer look, or double for more opacity).
Hook: 5.0 mm (H-8) crochet hook (or size needed to obtain desired drape).
Notions: Yarn needle, scissors, stitch markers, and optional buttons for the front closure.

Your Pattern Stitch List
Technique Explainers & Pro-Tips
Pro-Tip: Working with Mohair
Mohair can be notoriously tricky to froglike (rip out) because the fine fibers lock together. To make it easier, work with a loose tension and a smooth hook. If you need to undo stitches, pull gently and use a tapestry needle to separate any stubborn fibers.
Technique Explainer: The Invisible Decrease (Mesh DC2tog)
For the neckline shaping, you will be joining two mesh spaces together using a variation of the Double Crochet Two Together (DC2tog).
Yarn over, insert your hook into the designated stitch or space, yarn over, and pull up a loop (3 loops on hook).
Yarn over, pull through 2 loops (2 loops on hook).
Yarn over, insert your hook into the next designated stitch or space, yarn over, and pull up a loop (4 loops on hook).
Yarn over, pull through 2 loops (3 loops on hook).
Yarn over and pull through all 3 loops on your hook.
Sizing & Customization Notes
This pattern is written for a standard Size Small/Extra Small but can be easily customized:
Width: To adjust the width, ensure your starting chain is a multiple of 4 + 2.
Length: Add or subtract rows in the main body section before beginning the neckline decreases.
The Pattern Instructions

Front Panel (Make 2)
- Row 1: Chain 40. Hold the 40th chain, then chain an additional 6 (counts as your first double crochet and a chain-3 space). Work 1 double crochet into the 40th chain from your hook. *Chain 3, skip the next 3 chain spaces, and work 1 double crochet into the next chain space.* Repeat from * to * across the entire row. Turn.
- Row 2: Chain 6 (counts as 1 double crochet and a chain-3 space). *Work 1 double crochet into the double crochet stitch of the previous row, then chain 3.* Repeat from * to * across the row, ending with a double crochet in the turning chain space. Turn.
- Rows 3–23: Repeat Row 2. Continue this mesh pattern until you reach 23 rows total, or your desired length before the bust.
- If you’re still learning how to read crochet patterns, no stress! Follow the video tutorial below and use the written pattern below as you get more comfortable!
Neckline Shaping & Decreasing
- Row 24: Work in the established mesh pattern across the row until only 3 mesh spaces remain. To shape the neckline, join the next two spaces together by making an unfinished double crochet in each space and pulling through all loops (Mesh DC2tog decrease). Turn.
- Row 25–26: Chain 4 (counts as an unfinished double crochet stitch). Repeat the decrease technique across these rows to continue tapering the neckline. Turn.
- Rows 27–30: Work 4 additional rows in the standard mesh pattern without any further decreases. You should have a total of 30 rows. Fasten off.
Back Panel (Make 1)
- Row 1: Chain 70 (or adjust to a multiple of 4 + 2 to match your desired width). Work 1 double crochet into the 8th chain from the hook (counts as first double crochet and chain-3 space). *Chain 3, skip 3 spaces, double crochet into the next space.* Repeat from * to * across the row. Turn.
- Row 2: Chain 6 (counts as 1 double crochet and a chain-3 space). *Work 1 double crochet into the double crochet stitch of the previous row, chain 3.* Repeat from * to * across the row. Turn.
- Remaining Rows: Repeat Row 2 continuously. Do not decrease for the back panel. Work until the back panel matches the total row count and length of your front panels. Fasten off.
Sleeves (Make 2)
- Row 1: Chain 50 for a loose, relaxed wrist fit. Chain an additional 9 chains to begin the mesh stitch pattern. Work 1 double crochet into the 10th chain from the hook. *Chain 3, skip 3 spaces, work 1 double crochet into the next space.* Repeat from * to * across the row. Turn.
- Row 2: Chain 6 (counts as 1 double crochet and a chain-3 space). *Work 1 double crochet into the double crochet of the previous row, chain 3.* Repeat from * to * across the row. Turn.
- Remaining Rows: Continue repeating Row 2 without increasing or decreasing. Work approximately 35 rows, or until the sleeve reaches your desired length. Fasten off.
Edging and Assembly

Ribbed Border & Clean Edges
Before joining the pieces together, we will add a clean edge to all panels.
Attach your yarn to any corner of a completed panel.
Work half double crochets evenly around all panel edges.
The Golden Rule for the Mesh: Place exactly 3 half double crochets inside each chain-3 mesh space, and 1 half double crochet directly into the top of each double crochet stitch. Fasten off and weave in ends.

Assembly Steps
Lay the back panel flat. Place the two front panels on top with the wrong sides facing out.
Using a crochet hook, slip stitch the front panels to the back panel along the shoulder seams.
Fold each sleeve in half lengthwise to find the exact center point and mark it with a stitch marker.
Align this center marker perfectly with the shoulder seam you just created. Slip stitch the sleeve to the body panels.
Finally, slip stitch down the sides of the main body and continuously along the inside seam of the sleeves to close the garment. Turn right side out.
Collar & Finishing Touches
Lay your garment flat. Count 4 mesh rows up from the bottom edges of the front panels and place a stitch marker on both the left and right panels.
Attach your yarn at the first stitch marker.
Work rows of half double crochets around the neckline, traveling up the front panel, around the back neck, and down to the second stitch marker on the opposite panel. Turn.
Repeat this process until you have completed 8 rows of half double crochets, creating a cozy, plush fold-over collar.
Final Trim: To finish cleanly, work one final row of half double crochet stitches seamlessly down the front edges of the collar and opening.
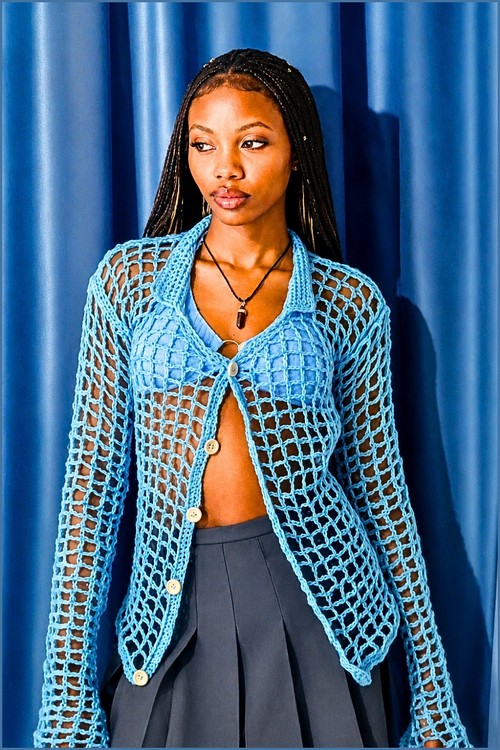
Optional: Sew your buttons onto the front edge, aligning them carefully with the natural gaps in the mesh stitches on the opposite panel to use as buttonholes!


