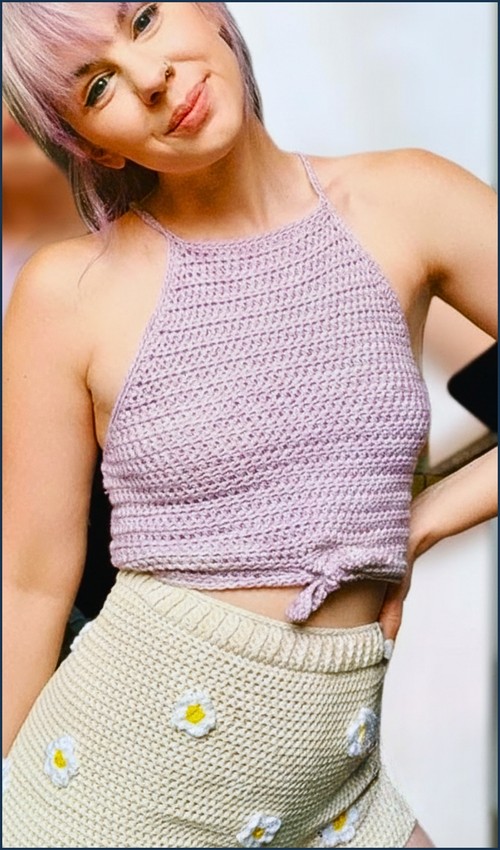
Filet crochet is one of those techniques where the finished result looks far more elaborate than what you’re actually doing row by row, alternating filled and open squares, following a chart, watching a shape emerge. This rose tube top is a good example: the motif is striking against white cotton, and the construction is a single rectangular panel that seams into a strapless silhouette. For a different take on filet worked into a wearable top, the crochet filet halter top shows how the same open-grid logic adapts to a completely different neckline and shape.
Crochet Filet Top Rose
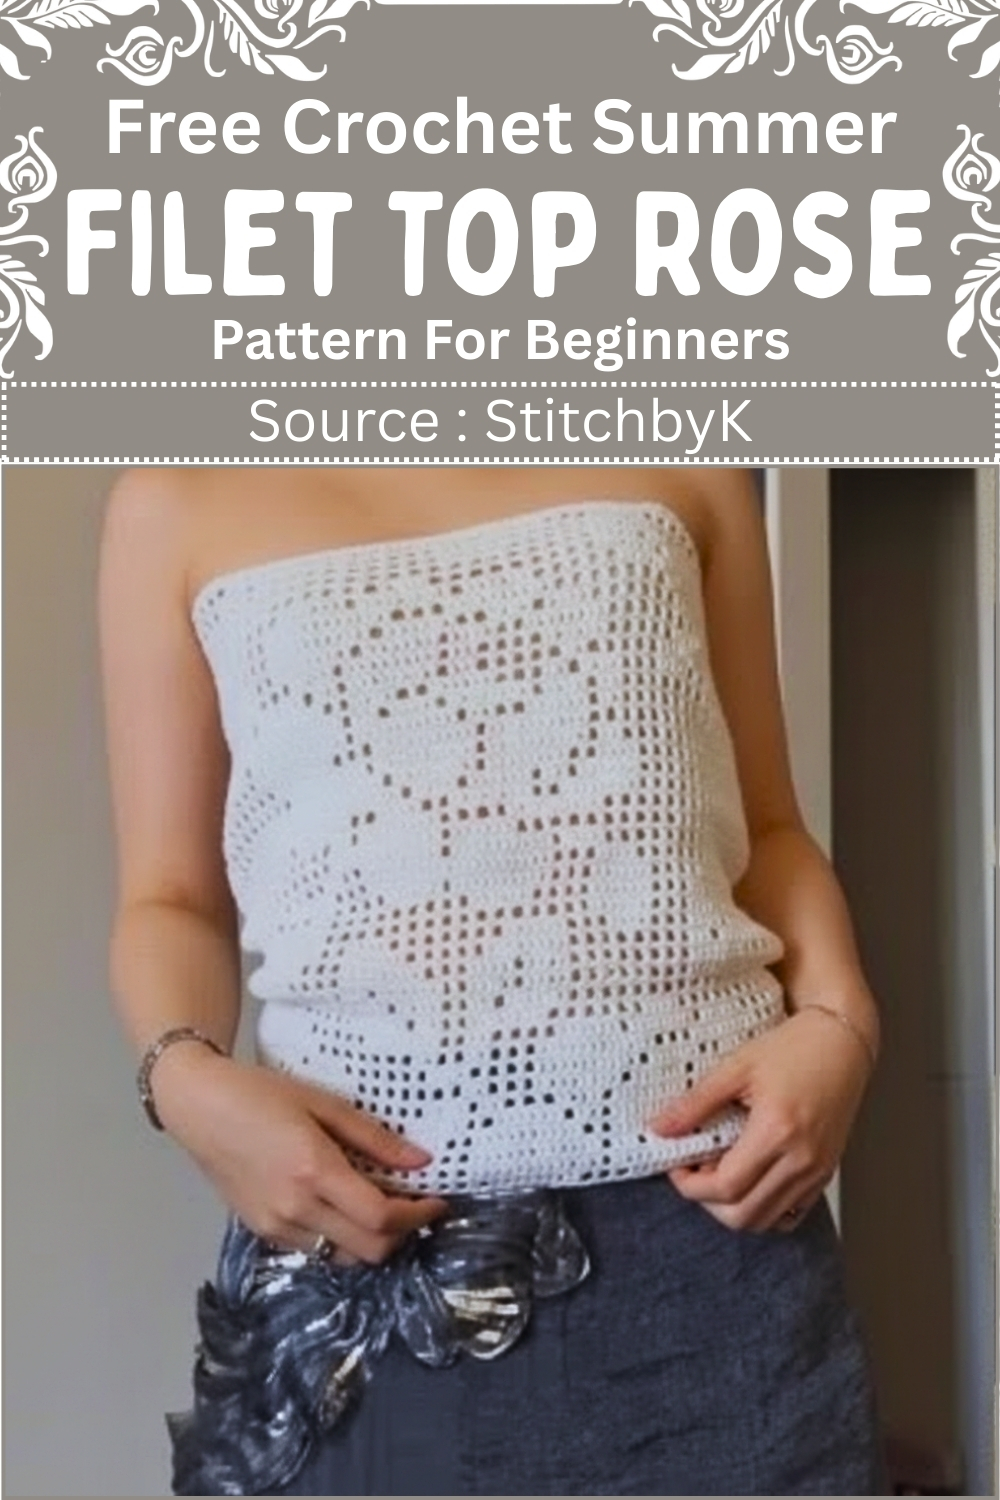
The panel works up flat a foundation chain sets the width, then rows of dc-and-chain-space repeats build the grid while the rose chart fills in across the fabric. Once the panel reaches the right height it seams at the side into a tube, and the top is done. No shaping, no sleeves, no assembly beyond that one seam. If you want to see the filet technique carried further into an open-front layering piece, the filet crochet top with a tie back is a natural companion project.
Materials
- 100 percent cotton yarn
- 2.5 mm crochet hook
- Scissors
- Stitch markers
- Tapestry needle
- Filet crochet rose chart with 57 squares width
Before You Start
What you’re making
This is a filet crochet tube style top worked in joined rounds. You’ll create a mesh body, work the rose motif from a chart, then add straps where they fit you best.
Why cotton and a small hook matter here
Filet charts rely on crisp grid lines. Cotton holds stitch definition well and doesn’t “bloom” like some acrylics can, so the motif stays readable. The 2.5 mm hook keeps the mesh structured and prevents the squares from stretching too much after wear.
Measuring And Foundation Chain
- Decide the chart width which is 57 squares
- Multiply squares by two to calculate chains for the chart section
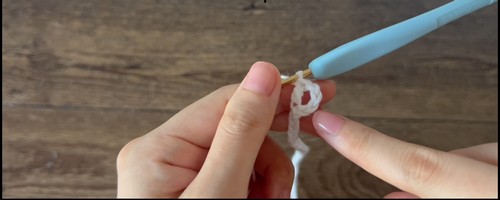
- Chain 114 for the rose chart base
- Wrap the chain around the bust to check fit
- Add an even number of chains equally to both sides if more width is needed
- Ensure the final chain count is an even number
Fit and sizing guidance for the foundation
- Where to measure: Wrap the chain around the area you want the top to sit (usually high bust or full bust). Keep it snug but not tight.
- What you’re checking: You’re checking circumference, but also whether the mesh will sit smoothly without pulling open too much.
- Why add chains equally to both sides: Your chart section is centered. Adding evenly keeps the rose motif centered on the front instead of drifting toward one side.
- Why the final chain count must be even: Your filet “white square” uses a repeat that depends on chaining and skipping. An even chain count keeps the mesh spacing consistent and prevents a half-square situation at the join.
Tip: If your chain feels tighter than you want the finished top to be, remember that chains often tighten more than the rest of the fabric. You can intentionally chain a touch looser, but keep the stitch count rules the same.
Filet Crochet Square Guide
- White square is made with one double crochet, one chain, skip one stitch, one double crochet
- Black square is made with three double crochets
- For multiple black squares in a row, use the formula squares multiplied by two plus one to calculate total double crochets
How to “read” these squares in real stitches
In filet crochet, the chart squares translate into groups of stitches:
- A white square creates an open window (mesh).
- A black square creates a filled block.
When you’re following a chart, you’re not counting individual stitches the whole time—you’re counting squares. The stitch marker setup later helps you stay in the chart zone without constantly recounting.
Why the black-square formula works
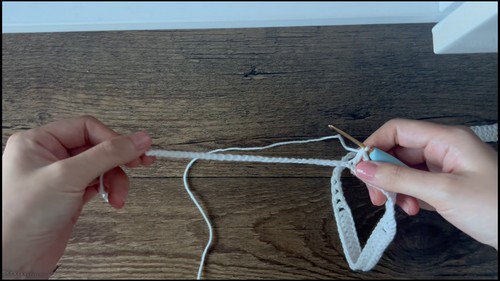
Each filled square shares stitches with the next one. That’s why it’s not simply 3 double crochets per square when they’re in a row.
- If you’re new to reading crochet patterns, don’t worry, just follow along with the video tutorial below and use the written pattern as a reference!
The formula:
- squares multiplied by two plus one
- keeps the fill continuous without extra stitches making the fabric flare.
Crocheting The Body
- Chain four to begin the row
- Double crochet into the fifth chain from the hook
- Work white squares until reaching the chart start
- Place a stitch marker to mark chart beginning
- Follow the filet chart from right to left for each row
- Work white squares and black squares exactly as shown in the chart
- Place another stitch marker after completing the chart section
- Finish the row with white squares
- Join with a slip stitch into the third chain of the starting chain four
- Begin every new round with four chains
- Continue following the chart row by row until the rose motif is complete
- Continue mesh rows if additional length is desired
Step-by-step clarity for this section (without changing your steps)
Joining and the “chain four” start
- Your chain four acts as both height and spacing at the start of the round.
- When you join with a slip stitch into the third chain, you’re joining into the turning-chain area (not a regular stitch). This keeps the top edge from looking too bulky.
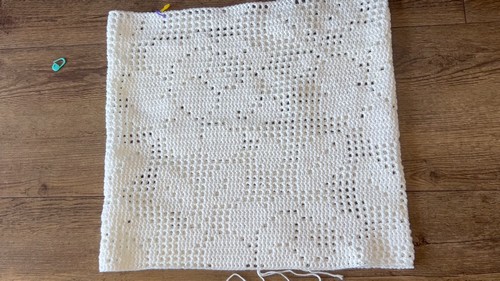
Common confusion: People often join into the wrong chain. If you count from the hook, the chain you join into is the one that mimics the top of your first double crochet height. Joining into the third chain is what your pattern calls for—be consistent every round.
Placing stitch markers for the chart
You’re using stitch markers for two jobs:
- Chart start marker tells you: “Everything after this is chart work.”
- Chart end marker tells you: “Chart is done, go back to white squares.”
This is what prevents the motif from sliding left or right as you work.
Practical tip: Place the markers through the same logical spot each round (for example, into the chain space right before the first chart square and right after the last chart square). Consistency helps if you need to frog back.
Reading the chart direction
You’ll follow the filet chart from right to left for each row.
Because you’re working in joined rounds, it can feel odd to think “rows,” but you can treat each round like a row of the chart. The important part is that you always start the motif at the marker and work the chart across in the stated direction.
If your chart is printed for rows (back and forth):
- You are still following right to left as your pattern states.
- The “right to left” instruction becomes your rule even if the visual looks like it wants to alternate. Stick to the rule you wrote.
Keeping the mesh even as you go
- Try to keep your chain spaces consistent. If some chain spaces are tight and others loose, your rose edges will look wavy.
- Cotton can show tension changes clearly, so pause occasionally and smooth the fabric with your hands to check if your squares look uniform.
Adjusting length
Once the rose motif is complete, continuing mesh rows is the cleanest way to add length without distorting the chart. This keeps the motif area exactly as designed and places customization below it.

Fit and Sizing Notes
- Ease: A filet mesh top usually needs a little ease so it doesn’t ride up when you move. If the foundation chain barely closes around you, consider adding a small even number of chains to both sides for comfort.
- Motif placement: If you want the rose centered over the front bust, take a moment after your first completed round to ensure the chart markers sit where you want them before you commit to many rounds.
- Stretch over time: Cotton relaxes slightly with wear. If you’re between two widths, it’s usually better to choose the slightly snugger option, especially if you plan to wear it without a layer underneath.
Beginner Notes That Still Help Experienced Crocheters
- Count in squares, not stitches: For filet work, counting squares keeps you from losing your place.
- Use locking stitch markers: Regular markers can pop out when you’re trying on the top.
- Check the join line early: If the seam look bothers you, you can position it so it sits under an arm rather than at the center back.
Troubleshooting
My chart section is drifting
- Make sure you’re placing markers in the same spot every round.
- Confirm you are working the chart between the markers only.
- Double-check that you’re consistently joining into the third chain as written. Joining into a different chain can shift alignment.
My squares look rectangular instead of square
- This often comes from tension differences or hook/yarn mismatch.
- Cotton with a 2.5 mm hook should give a tight grid, but if your chains are loose, white squares can look taller. Tighten the chain-one slightly or make your double crochets a bit shorter by controlling the pull-through.
The top feels too loose at the upper edge
- Filet mesh can relax at the neckline.
- You can keep straps slightly more supportive by placing them a touch closer toward the center than you think, then testing before fastening off.
The strap twists when I attach it
- Your pattern already warns about twisting—good.
- Before you slip stitch to the opposite marker, let the strap chain hang and visually confirm it lies flat, then connect.
Straps And Finishing
- Try the top on and mark strap positions with stitch markers
- Attach yarn at the first marker
- Chain to the desired strap length
- Slip stitch to the matching marker on the opposite side
- Make sure the strap is not twisted
- Fasten off and weave in ends
- Repeat for the second strap
Strap placement tips
- Put the top on and stand naturally. Don’t over-tighten the fabric when marking.
- If you prefer a more secure fit, place straps slightly closer to the neck. For a wider neckline, place them closer to the sides.
- Match your left and right placement by counting squares from the chart markers or from the join line.
Finishing notes
- Weave in ends on the wrong side, following the path of the double crochets so the ends disappear into the structure.
- If you plan to wash the top, weave in securely. Cotton can loosen ends if they’re not anchored well.
Quick Reference Reminders
- Keep the final foundation chain count even
- Use stitch markers to lock chart placement
- Follow the chart right to left each round
- Add mesh length after the motif if needed
- Place straps on your body, not by guessing