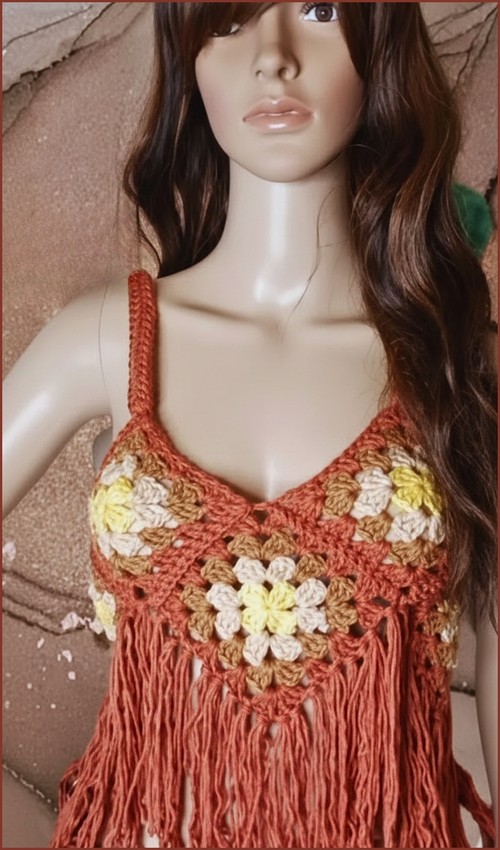
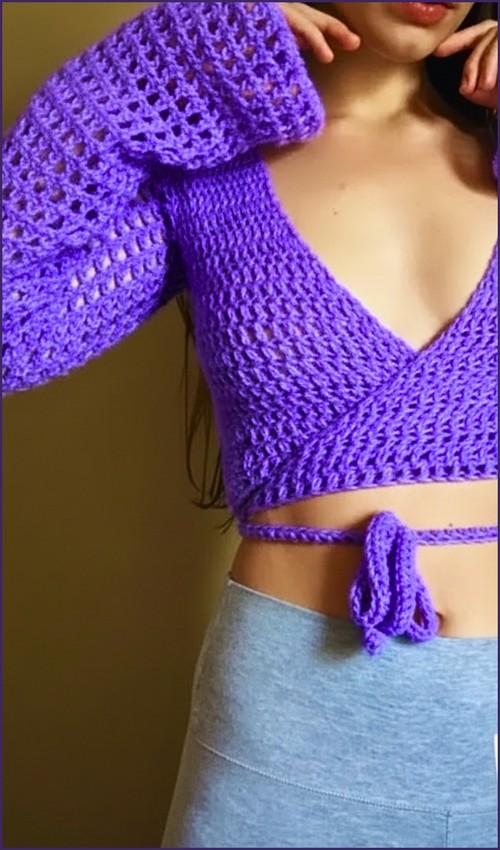
Asymmetrical design is having a moment, and this one-sleeve draped top earns every bit of the attention. One long flared sleeve on the left, one bare shoulder on the right the silhouette alone makes it a standout, and the soft grey yarn keeps the whole thing wearable rather than costume-y. If you liked the structured edge on the free wrap crochet top, this takes that idea somewhere more editorial.
Asymmetrical Crochet Top

The construction is panel-based, you work two flat pieces and join them, which makes sizing adjustments more manageable than shaping in the round. The hem drops at an angle from one hip to the other, giving it that effortless draped quality without any complicated shaping rows. For another take on unconventional structure, the asymmetrical long sleeve top uses a similar one-sleeve concept with a different silhouette if you want to compare before you start.
Pattern Overview & Notes
Skill Level: Advanced Beginner / Intermediate
Sizing: This pattern is written for a size Small. However, the length and width are highly customizable. You can adjust the initial chain for length or add/subtract rows for width.
Stitch Pattern: The body of this top is worked almost entirely in Single Crochet Front Loop Only (SC FLO), which creates a flexible, ribbed fabric.
Construction: The top is constructed by working two body panels vertically from side to side, followed by a single dramatic sleeve.
Materials Needed
Yarn: Approximately 100g per 200m of standard cotton yarn (or any weight that achieves your desired drape)
Hook: 8mm crochet hook (using a larger hook with thinner yarn creates an open, loose drape and speeds up the project)
Notions: Stitch markers, scissors, tapestry needle
Quick Stitch Guide
Finished Measurements (Size Small)
Front/Back Panel Width: 39 rows (approx. 14–15 inches flat)
Length: Customizable (Foundation chain of 80 creates a standard bodice length)
Sleeve: 54 stitches wide by 44 rows long
Pro-Tips & Technique Explainers
Tech Explainer: Single Crochet Front Loop Only (SC FLO)
Instead of inserting your hook under both loops at the top of the stitch, insert your hook only into the loop closest to you (the front loop). This creates a highly elastic, beautiful ribbed texture. When working row ends or decreases, the pattern will sometimes specify working through both loops to create a sturdier, cleaner edge.
Pro-Tip: Clean Row End Decreases
When a row tells you to decrease by leaving stitches unworked, do not chain before turning. Just turn the work and immediately start your first stitch of the new row in the designated stitch. This keeps the slopes of your asymmetrical top perfectly smooth instead of jagged.
Step-by-Step Pattern Instructions

1. Front Panel
The front panel is worked vertically from side to side.
Foundation Chain: Chain 80 (or adjust to your preferred sweater length when held against your shoulder from top to bottom).
Row 1: Chain 1 (counts as turning chain), work regular single crochet into each chain across. At the very end of the row, work a decrease by single crocheting into the second-to-last chain, leaving the final chain unworked. Turn your work without making a turning chain.
Row 2: Start in the second stitch from your hook. Work Single Crochet Front Loop Only (SC FLO) across the entire row. Work the very last stitch through both loops for stability (no decrease). Chain 1, turn.
Row 3: Work SC FLO across the row. Stop 3 stitches before the end of the row. Leave the last two stitches completely unworked and work a single crochet into the third stitch from the end through both loops. Turn your work without making a turning chain. (Place a stitch marker in this last stitch to aid in assembly later).
Rows 4–25 (Sharp Bottom Decreases): Continue alternating these sharp decreases on the bottom edge to create a distinct, slanted hemline.
Neckline Shaper (Starts on Row 4): Simultaneously, at the top edge (neckline side), work into the second-to-last stitch through both loops, turn without a turning chain, and start the subsequent row in the second stitch from the hook. This creates smooth, gradual neckline decreases.
- If you’re new to reading crochet patterns, don’t worry, just follow along with the video tutorial below and use the written pattern as a reference!
Row 16 (Middle of Neckline): You should have approximately 43 stitches remaining. Place a stitch marker in the last stitch.
Rows 17–28 (Neckline Increases): To mirror the neckline slope, chain 2 at the end of every even row on the top edge. Turn your work and start the next row in the second chain from your hook.
Row 25 (Bottom Edge Shift): At Row 25, transition from the sharp bottom decreases to smoother decreases. Do this by leaving only 1 stitch unworked at the bottom edge instead of 2. This comfortably wraps up your length.
Rows 28–33 (Second Shoulder): Work the last stitch of Row 28 and chain 3 (this forms your largest increase). Cease making decreases on the top neckline section; simply crochet straight for 5 rows while continuing your smooth decreases along the bottom edge.
Rows 33–39 (Straight Finish): Stop doing decreases on the bottom edge entirely. Crochet completely straight across both ends until you complete Row 39. Fasten off and weave in your tail.
2. Back Panel

The back panel mirrors the bottom shape of the front panel but omits the scooped neckline.
Foundation Chain: Chain 80.
Rows 1–39: Crochet the back panel exactly the same way as the front panel’s bottom edge, mimicking all bottom decreases and shifts.
Exception: Do not shape or crochet a neckline. Keep the top shoulder line completely straight without any top-edge decreases. Fasten off at Row 39.
3. Sleeve (Make One)
Foundation Chain: Chain 54.
Rows 1–44: Crochet a basic rectangle by working SC FLO back and forth for 44 rows. Do not add any increases or decreases.
Sleeve Edging: To make assembly clean and easy, chain 2 at the corner of your finished rectangle and work a row of single crochets as evenly as possible along the row ends of the side edge. Aim for roughly 44 to 45 stitches across. Fasten off.
4. Assembly & Joining

Shoulder Seams
Lay your front and back panels flat on top of each other with right sides facing.
Thin Strap Side: Align the 3-row thin strap of the front panel to the corresponding 3 rows on the back panel and seam them together.
Wide Strap Side: Count over and connect the 10th stitch of the front panel to the back panel.
Sew these sections from the center outward using single crochets through both loops of both panels.
Attaching the Sleeve
Find the exact middle stitch of your sleeve’s edging row (e.g., the 23rd stitch) and mark it with a stitch marker. Attach this middle stitch directly to your wide shoulder seam.
Count an equal number of stitches on both the front and back panels (22 stitches on each side) and pin the outer corners of the sleeve to the panels.
The Long Seam
Start joining at the bottom hem of the sweater panels, slip-stitching the front and back sides together through the outer loops only.
When you reach the armhole, continue seamlessly to slip-stitch the sleeve to the front panel, cross over the shoulder seam, connect the sleeve to the back panel, and then sew right down the length of the sleeve to the cuff.

Second Armhole
On the sleeveless side of the top, leave an open armhole of 22 stitches on both the front and back panels.
Securely sew together the side seam everything below that 22-stitch opening down to the hem.
5. Distressed/Drooping Trim Edging

Give the bottom edges a trendy, distressed look using this decorative technique:
Attach your yarn to any point on the bottom hemline and work with the wrong side of the garment facing you.
Work a few regular slip stitches along the edge.
To Create a Drooping Loop: Whenever you want a distressed strand, chain 1, pull your loop out long to your desired length to stretch it out, chain 1 again to lock that long loop securely in place, and slip stitch right back into the next edge stitch so it sags slightly.
Repeat this drooping process periodically and randomly across the bottom edges of both panels.
Fasten off and weave in all remaining loose ends to finish your top!