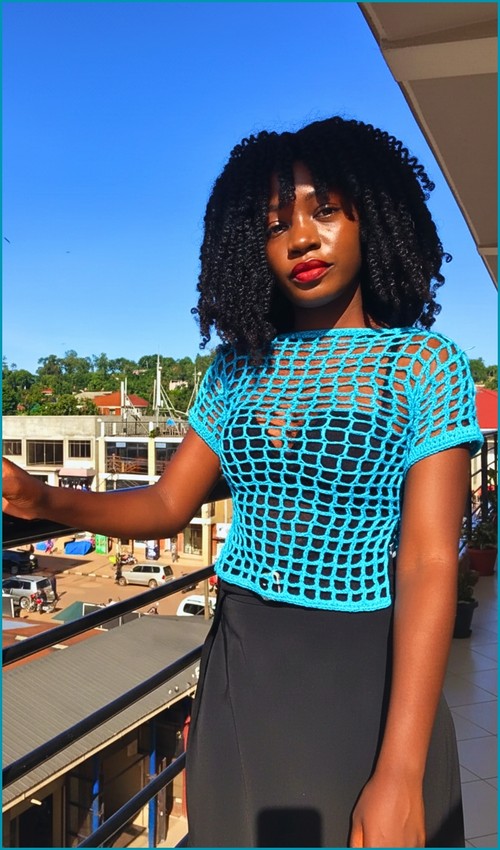
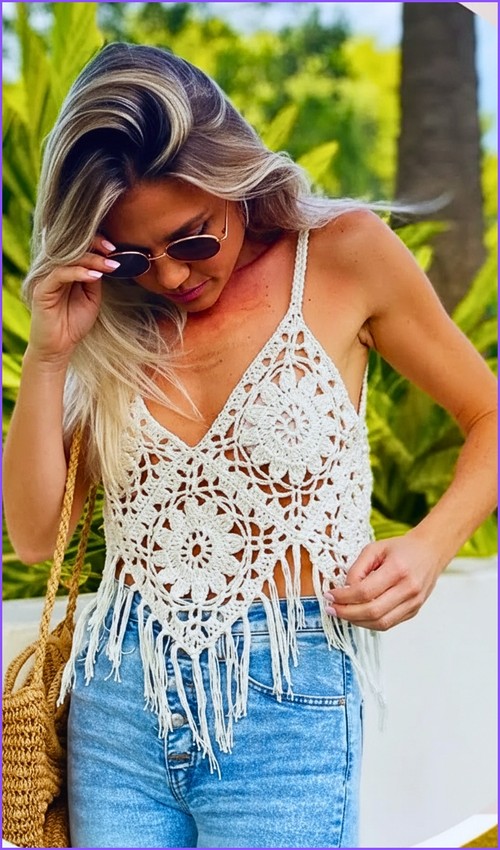
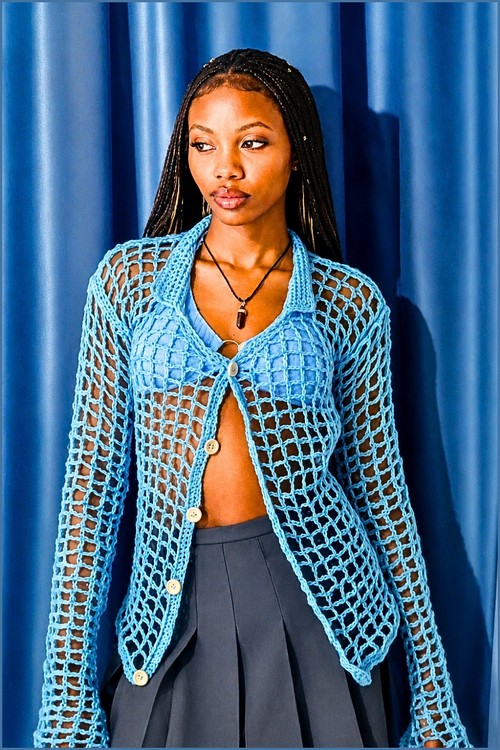
Long sleeves on a mesh top sounds like a contradiction until you actually wear one the open grid lets air through everywhere, so the coverage feels light rather than warm. This raglan construction makes sizing up or down straightforward, which is part of why it works well for beginners. If you want a sleeveless version in a similar open structure, the crochet mesh top for men with V-neckline is a clean comparison for how the same grid reads differently with different shaping.
Crochet Mesh Top Long Sleeves
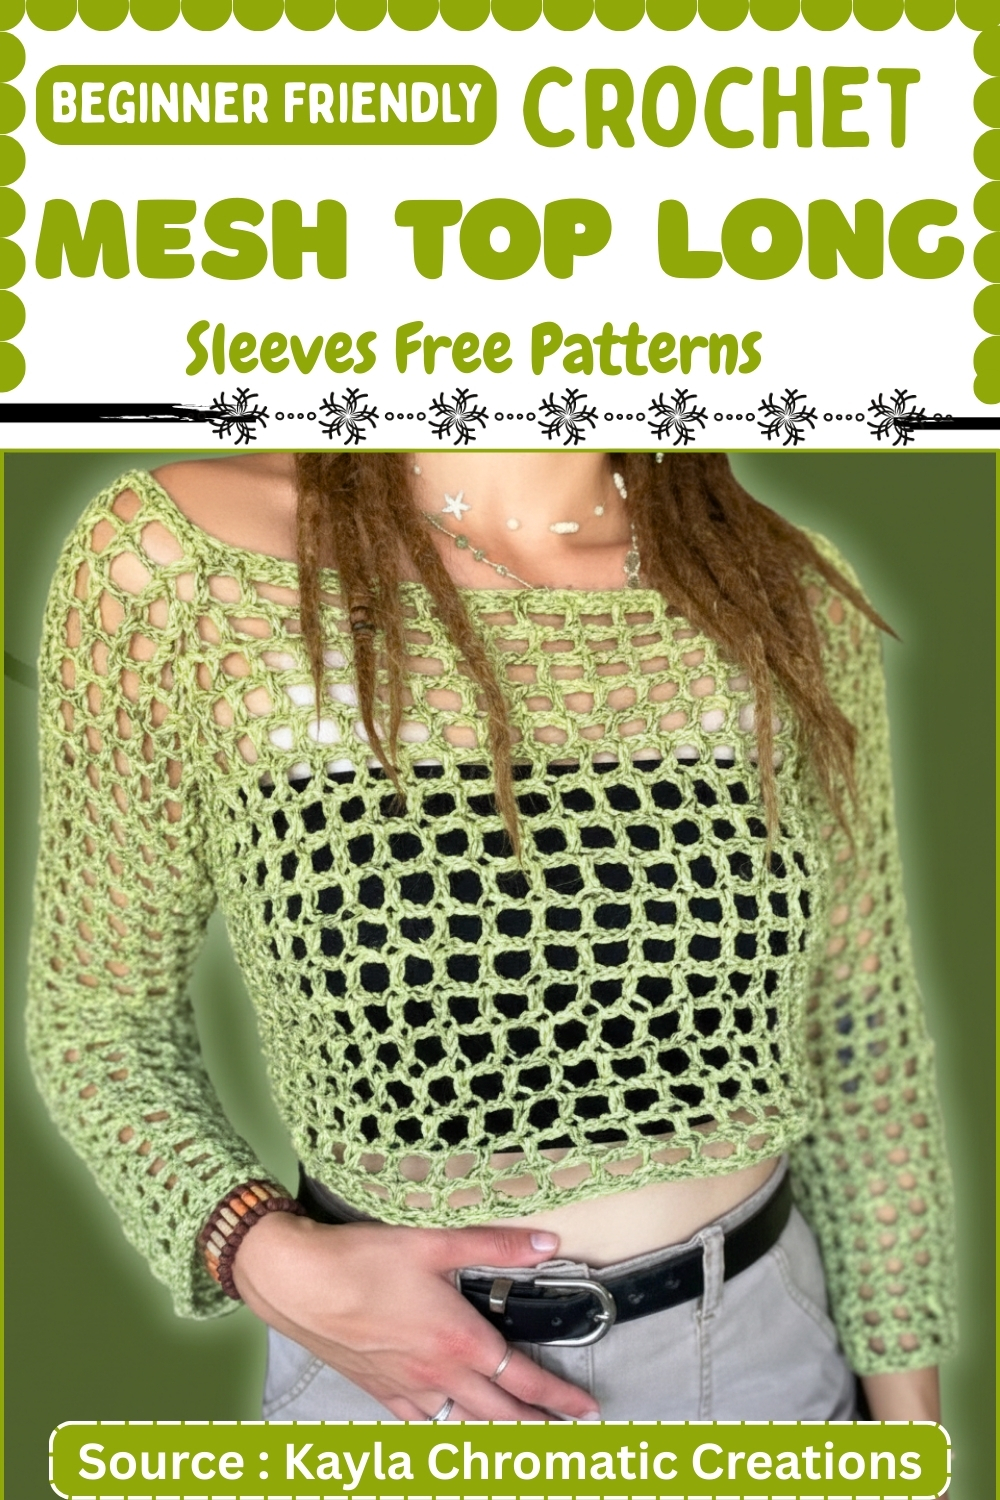
The square-neck opening on this one is a small detail that lifts it out of basic territory it frames the neckline without adding any construction complexity. Cotton yarn in a light sage like the sample here keeps the whole thing wearable well into spring. For a completely different sleeve treatment that still uses an open stitch, the crochet mesh top with triple crochet sleeves is worth bookmarking alongside this one.
Pattern Overview
- This top is worked seamlessly from the neckline downward.
- You begin with a simple chain that fits over the head, establish four raglan corners, and then increase evenly while working a mesh stitch.
- Once the fabric reaches underarm depth, the sleeves are separated, and the body and sleeves are finished in continuous rounds.
- Because the pattern is based on fit rather than fixed numbers, it works well with a wide range of yarns and can be adjusted as you go.
Materials
- Yarn in any weight from 1 to 4
- Crochet hook slightly larger than yarn label recommendation
- Four stitch markers
- Tapestry needle
- Scissors
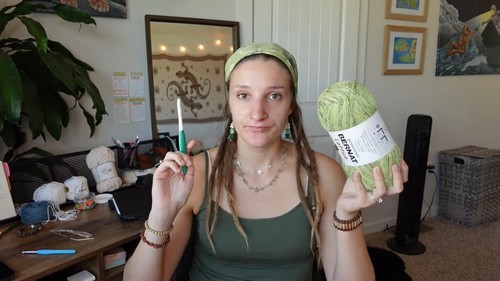
Helpful Stitch to Know
Neckline Foundation
- Chain an even number until it fits comfortably over your head.
- Join with a slip stitch to form a circle, making sure the chain is not twisted.
Why this matters: The neckline is your starting circumference, so comfort here is key. A chain that is too tight will make the top hard to put on, while a very loose chain can cause gaping later. Using an even number of chains ensures the mesh stitch will stay balanced around the round.
- If you’re still learning how to read crochet patterns, no stress! Follow the video tutorial below and use the written pattern below as you get more comfortable!
Marking the Raglan Corners
- Divide the total stitch count into four sections for front, back, and two shoulders.
- Place stitch markers at each corner division to mark increase points.
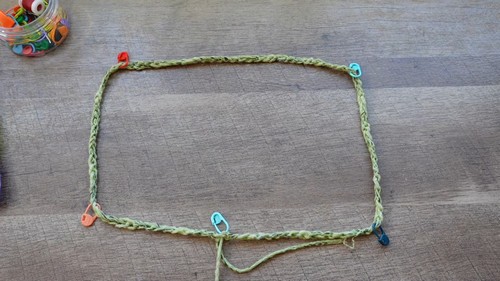
Stitch clarity: These markers are essential. They tell you exactly where the raglan increases happen on every round. Moving them correctly as you work keeps the shaping clean and symmetrical.
Round One Setup
- Work one single crochet into each chain around.
- At each stitch marker, work one single crochet, chain one, then one single crochet into the same stitch.
- Move each marker into the new chain one space.
Why this setup round is important: This round stabilizes the neckline and creates the first defined corner spaces. The chain one at each corner becomes the space where future increases will be placed, so keeping markers in those spaces makes the rest of the pattern easier to follow.
Mesh Pattern and Increases
- Chain four to begin the round.
- Skip two stitches and work one double crochet into the next stitch.
- Chain two, skip two stitches, and double crochet into the next stitch.
- At each corner space, work one double crochet, chain two, then another double crochet into the same space.
- Continue repeating these rounds until the corners reach comfortably under the arms.
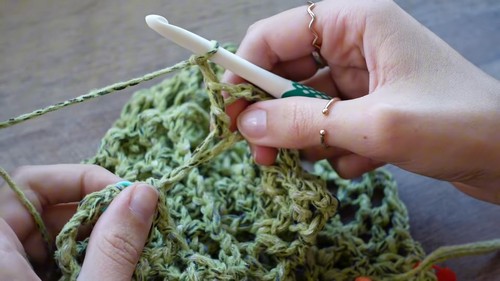
Understanding the shaping: Each round adds width at the four raglan corners while the mesh stitch keeps the fabric open and flexible. Try the piece on as you go. When the fabric can sit smoothly under your arms without pulling, you are ready to separate the sleeves.
Separating the Sleeves
- At the corner space, chain enough stitches to create the underarm opening.
- Slip stitch into the matching corner on the opposite side.
- Repeat this process for the second sleeve opening.
Fit guidance: The number of chains you add here determines armhole comfort. Fewer chains create a closer fit, while more chains give ease. Make sure you can move your arms comfortably before continuing.
Body
- Continue working the mesh stitch pattern around the torso.
- Optional decreases can be added under the arms every other round for a more fitted look.
- Continue until the desired body length is reached.
Shaping notes: Decreases are optional and subtle. They are best placed directly under the arms to avoid disrupting the mesh pattern. If you prefer a relaxed fit, you can skip them entirely.
Sleeves
- Attach yarn at the underarm opening.
- Work the mesh stitch in continuous rounds down each sleeve.
- Continue until the preferred sleeve length is achieved.
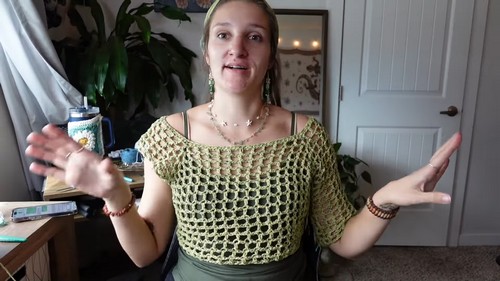
Consistency tip: Count your rounds on the first sleeve and repeat the same number on the second sleeve to keep them even.
Finishing
- Work one round of single crochet around the neckline, hem, and sleeve cuffs.
- Fasten off and weave in all ends.

Why this finishing round helps: A single crochet edging gives structure to the mesh fabric and prevents stretching at the edges, especially around the neckline.
Fit and Sizing Guidance
This pattern is intentionally flexible.
Fit is controlled by:
- The starting neckline chain
- How many increase rounds you work before separating sleeves
- The number of underarm chains
Trying the top on at key stages is the best way to ensure a comfortable fit.
Beginner Notes
- Move stitch markers carefully into the new corner spaces every round.
- Keep chain spaces consistent to maintain an even mesh.
- If your fabric feels stiff, consider going up another hook size.
Troubleshooting
- Neckline feels tight: Your foundation chain may be too short or worked too tightly. Restart with a looser chain or a larger hook.
- Corners twisting or uneven: Check that increases are always worked into the chain spaces, not stitches.
- Sleeves feel restrictive: Add more chains at the underarm opening or reduce optional decreases in the body.
Final Notes
- This mesh raglan top is designed to grow with your choices.
- Yarn weight, hook size, and fit adjustments all work together to create a garment that suits your style.
- Take your time, try it on often, and let the construction guide you as you crochet.